
I am working on decor for an upcoming Sprinkle. When I saw these No Sew Burlap Silverware Holders on Ann's blog On Sutton Place I knew I had to try to make them. The total cost was less than $10. And they took me less than an hour, well more like 10 minutes here and there over 3 days. If you have a toddler you can relate.
Items you will need:
- 5 in. x 22 in. piece of burlap
- Fusible tape or hot glue gun
- Embellishments of your choice - Personally I love bows, so I used pink and white ribbon.
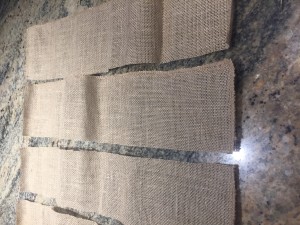
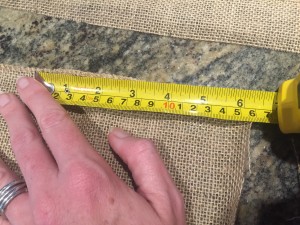
Step 1: Cut the burlap into 5" wide by 22" long pieces. If the pieces are a little smaller it is ok. I wanted to use the entire piece of burlap that I had so a couple of pieces were closer to 20". If you have a board with measurements I would use it to ensure you are cutting straight. I marked the top and the bottom of each piece and found that a couple of my pieces were smaller.
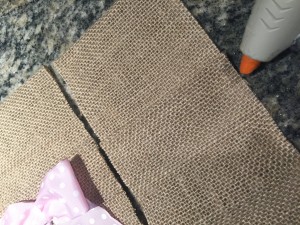
Step 2 - Fold one end of the burlap over 6 in. (this will be the top). Ann used an fusible tape, I ended up using my hot glue gun instead. I put glue on all 4 sides and then fold it over. If you use hot glue gun, be careful. I burned myself a couple of times.
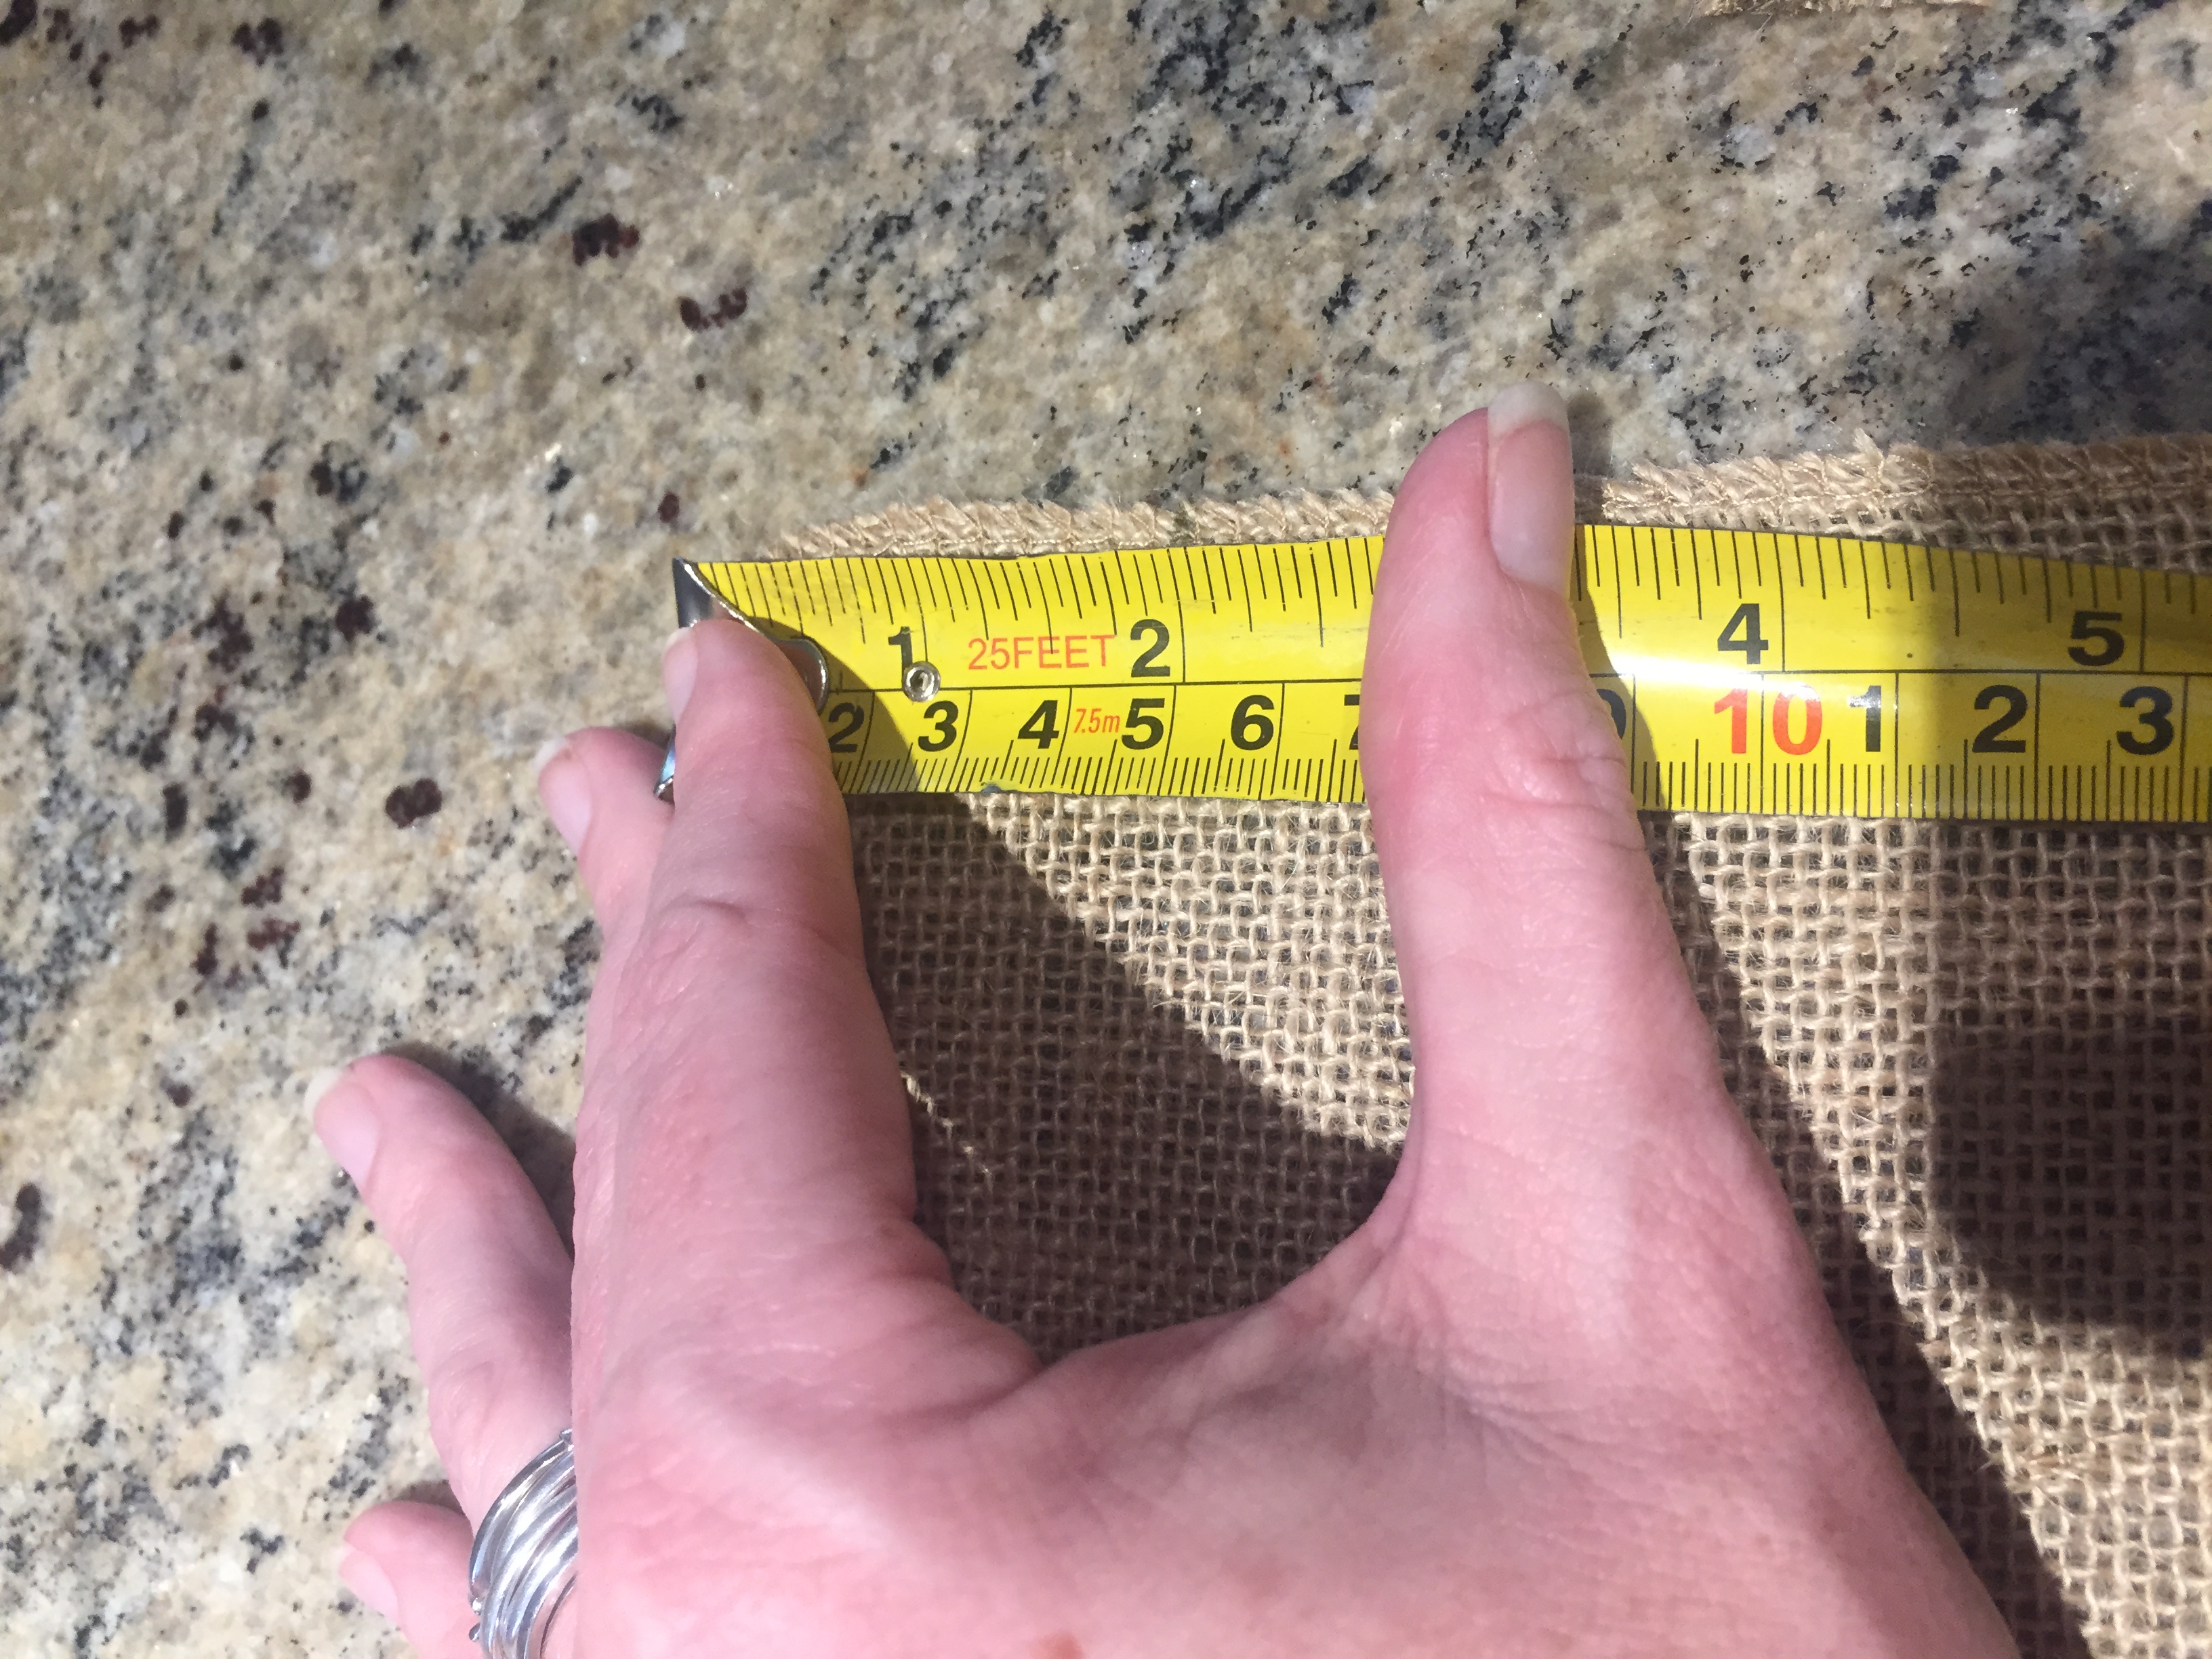
Step 3 - At the opposite end fold over 2 in and glue down the 4 sides. Take the 2 in. end and fold it over again 5 inches. Hot glue again on 3 sides so there is an opening for the silverware. I used my first one as a guide so that all the holders would be the same size and I did not have to keep using the ruler.
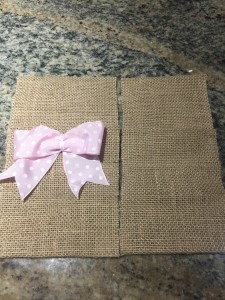
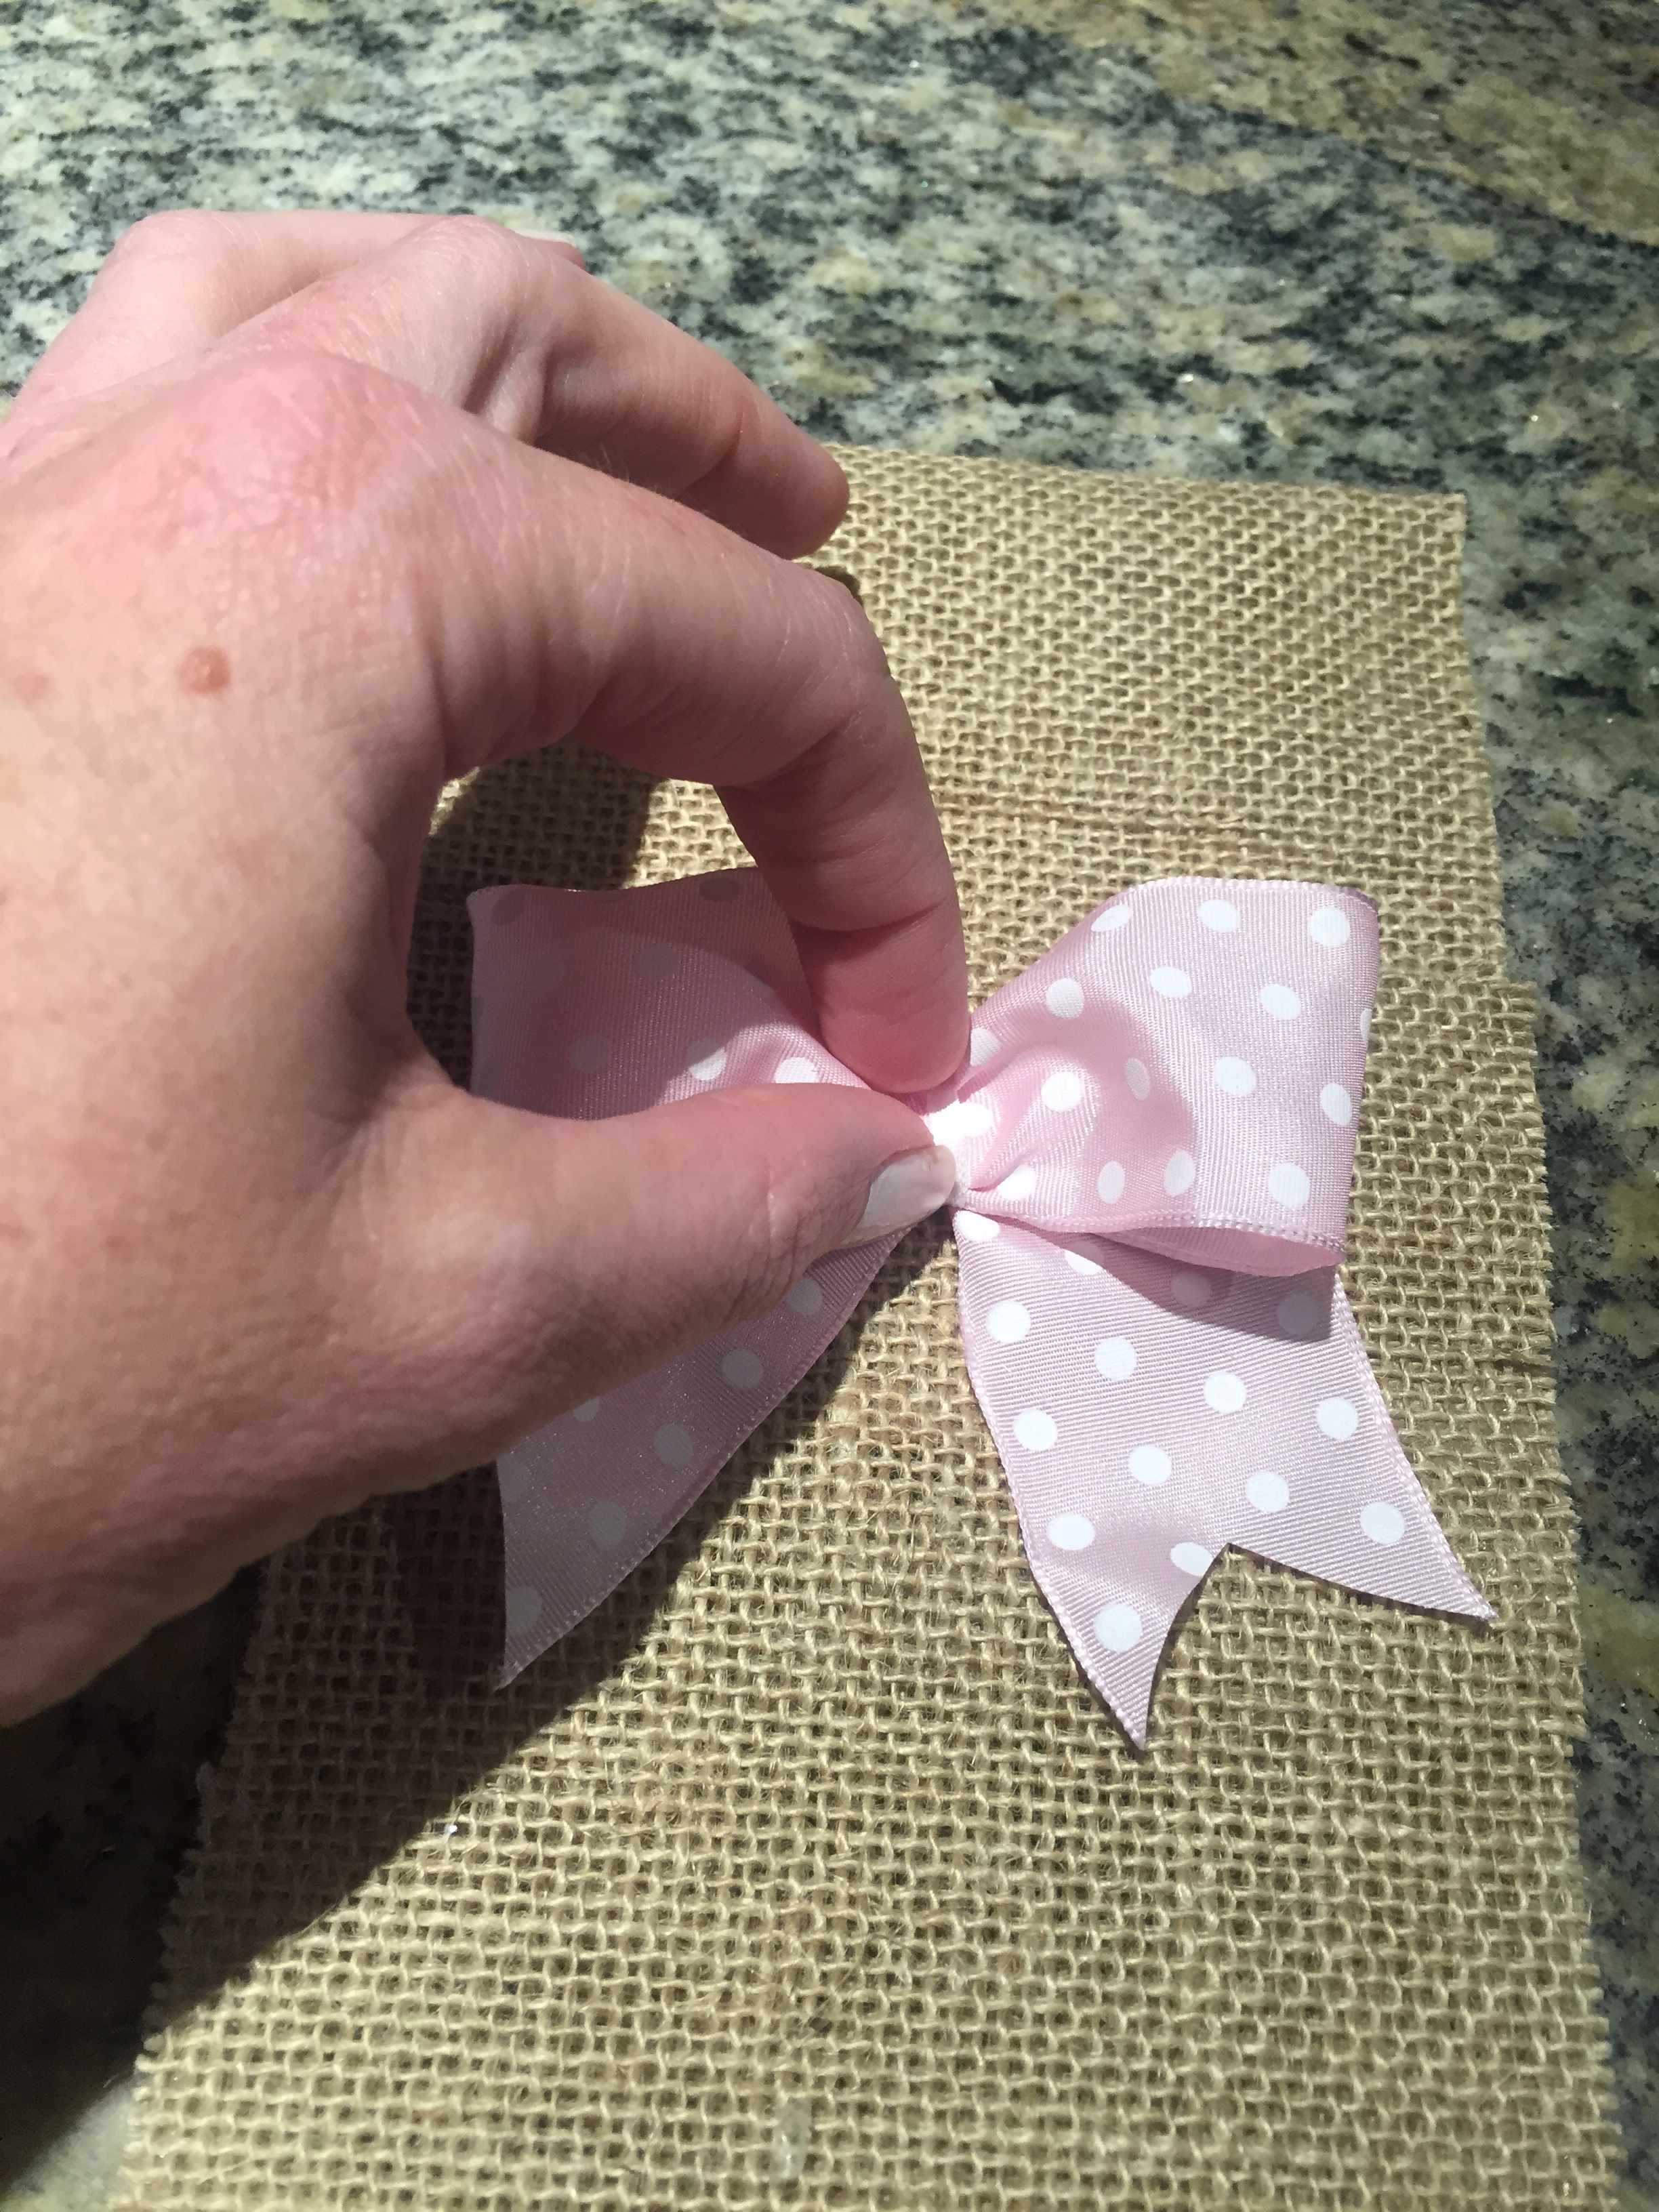
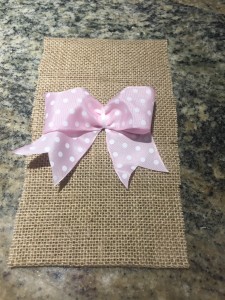
Step 4 - Now it is time to add the accents. I made a little bow out of the pink ribbon (wired). I glued it to the burlap. Ann recommends tucking it into the flap of the pocket or adding a safety pin to attach it.
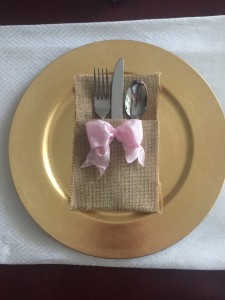
I cannot wait to set the entire table for the sprinkle so I can see these in action. I am working on a gender reveal and and Easter celebration, I think I will be using these for all three events.
What do you think? What decoration would you add to the burlap?
Leave a Reply