• Skip to primary navigation
  • Skip to main content
  • Skip to primary sidebar
Happy Family Blog logo
  • About
    • Newsletter
    • Contact Me
    • Collaborate
    • Resource Page
    • Press
  • Recipes
  • LIfestyle
  • Travel
  • Shop
    • My Favorite Products
    • Make Money Working with Brands
menu icon
go to homepage
subscribe
search icon
Homepage link
  • About
    • Newsletter
    • Contact Me
    • Collaborate
    • Resource Page
    • Press
  • Recipes
  • LIfestyle
  • Travel
  • Shop
    • My Favorite Products
    • Make Money Working with Brands
    • Facebook
    • Instagram
    • Pinterest
    • Twitter
  • ×

    Home » DIY Projects » Party Decor

    DIY Tutorial: Nautical Yarn Wreath for a Nautical Birthday Party

    Feb 29, 2016 · Leave a Comment

    57 shares
    • Share
    • Tweet

    I love everything nautical.  From nautical home decor to nautical birthday party decor!  When I was asked to style a Nautical Birthday I was over the moon.  I immediately knew that I want to focus on blue and white to create the ideal nautical theme.  I found a nautical wreath online when I saw this one I knew I had to make it.  I was in love so much so that I asked my husband to go back to Michael’s to get new supplies at 8pm the night before I left to go to Sarasota for the big birthday party.   It was my first time working with yarn.  Thank you to Chelsea's blog: Making Home Base for a great tutorial.

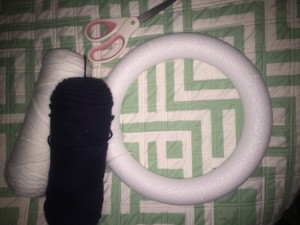
    Supplies you will need:

    • Wreath form or a dollar store pool noodle
    • Tape
    • Navy and white yarn
    • Sisal rope
    • Glue gun
    • Ribbon and burlap for embellishment - optional
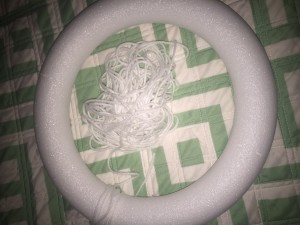
    Happy Family Blog - Nautical Yarn Wreath

    Step 1:

    Measure and mark up the wreath into 4 sections.  Since I was at my brother’s house and did not have my craft box I used a piece of yard and eye balled it.


    Step 2:

    When I first started I used tape to hold the yarn in place.  I eyeballed how much yard I would need instead of using the entire ball of yarn.  Don’t worry if you under estimate it.  You can easily add more and you will not notice where you added it.  Then start wrapping it.  I wrapped it four or five times and then would pull it tight and put each strand into place.
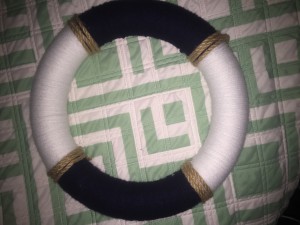
    IMG_0254

    Step 3:

    Alternate the colors so you have white, blue, white, and blue.


    Step 4:

    Add the accent rope.  This is the only part I glue.  I used a hot glue gun to hold it in place.
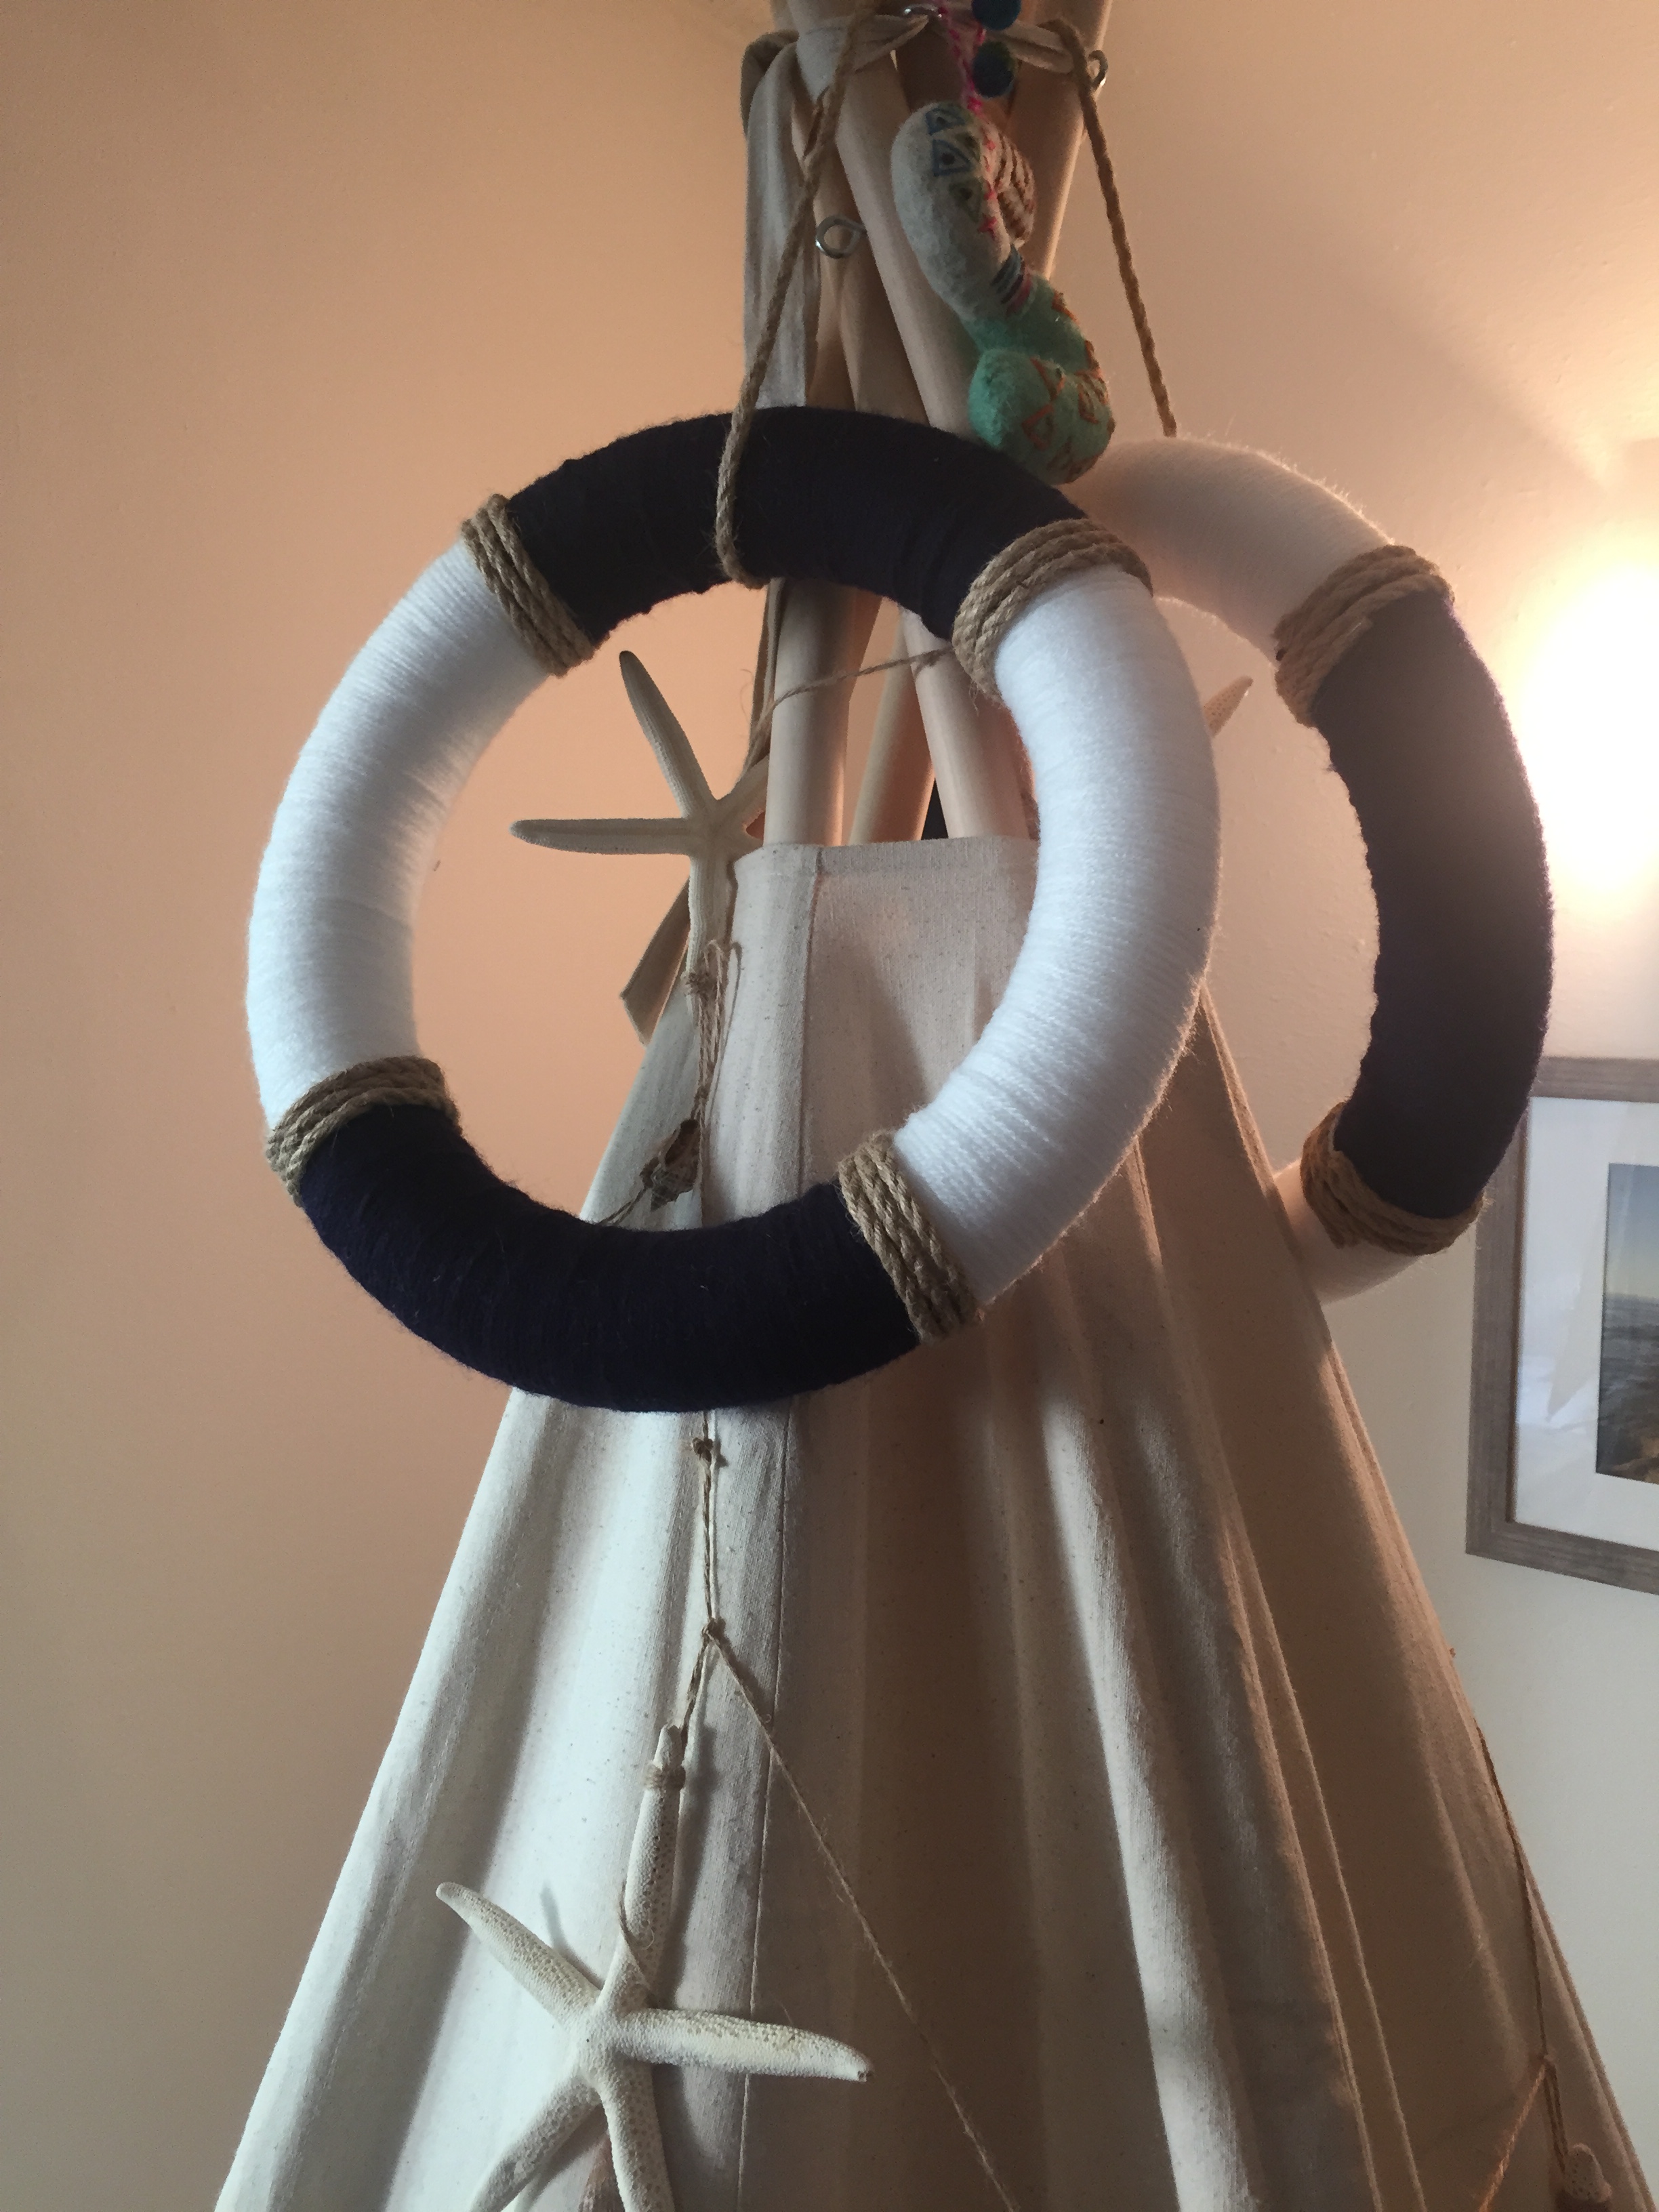
    IMG_0256

    Step 5:

    Hang them, step back and enjoy!!!

    DIY Tutorial: Nautical Wreath

    Happy Family Blog - Nautical Wreath

    Do you have a favorite craft with yarn?  I would love to know about it.  Looking for my next project.

    Reader Interactions

    Leave a Reply Cancel reply

    Your email address will not be published. Required fields are marked *

    Recipe Rating


    Primary Sidebar

    Join the Party!

    Subscribe for exclusive party inspiration, hosting tips, recipes and family fun ideas.

    • Facebook
    • Instagram
    • Pinterest
    • Twitter

    Amazon Disclosure

    We are a participant in the Amazon Services LLC Associates Program, an affiliate advertising program designed to provide a means for us to earn fees by linking to Amazon.com and affiliated sites.

    Footer

    ↑ back to top

    About

    • Privacy Policy

    Newsletter

    • Sign Up! for emails and updates

    Contact

    • Press
    • Partner

    As an Amazon Associate I earn from qualifying purchases.

    Copyright © 2023 Happy Family Blog