
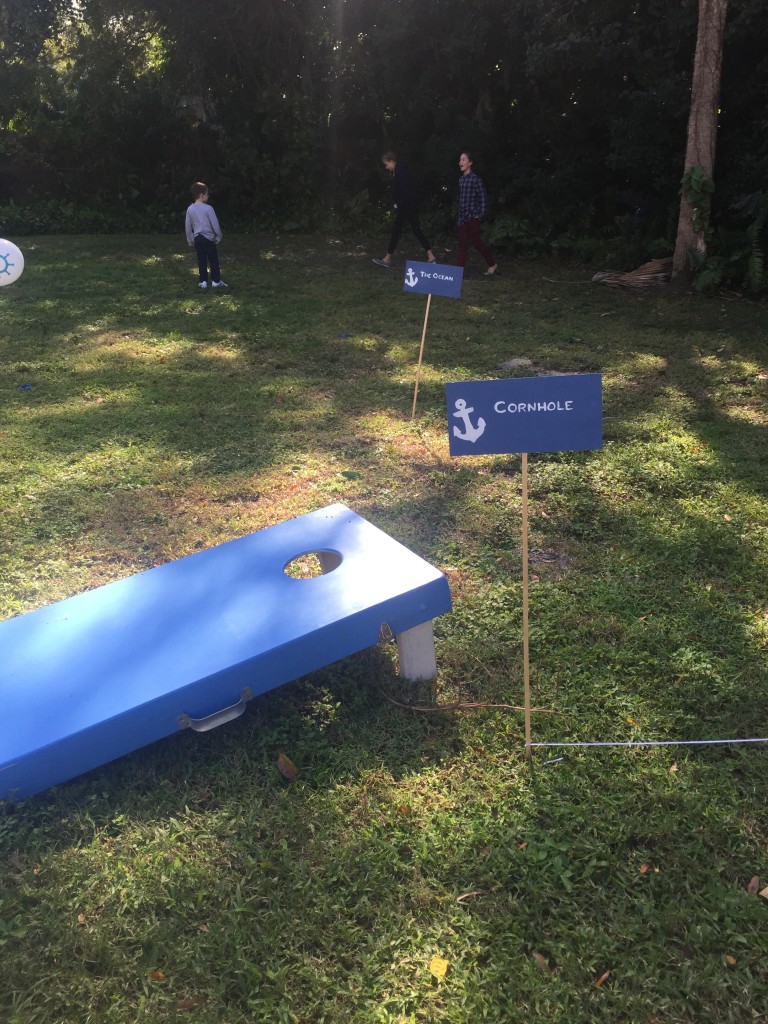
For my nephew’s 1st birthday party my brother and his wife had a vision of using their backyard as a playground for all the kids with different station. I knew exactly the type of signs I wanted to create because a good friend had created similar one. In an attempt to avoid a trip to Home Depot I was excited when I found the perfect supplies at Hobby Lobby.
Items you need:
- Wooden Stakes
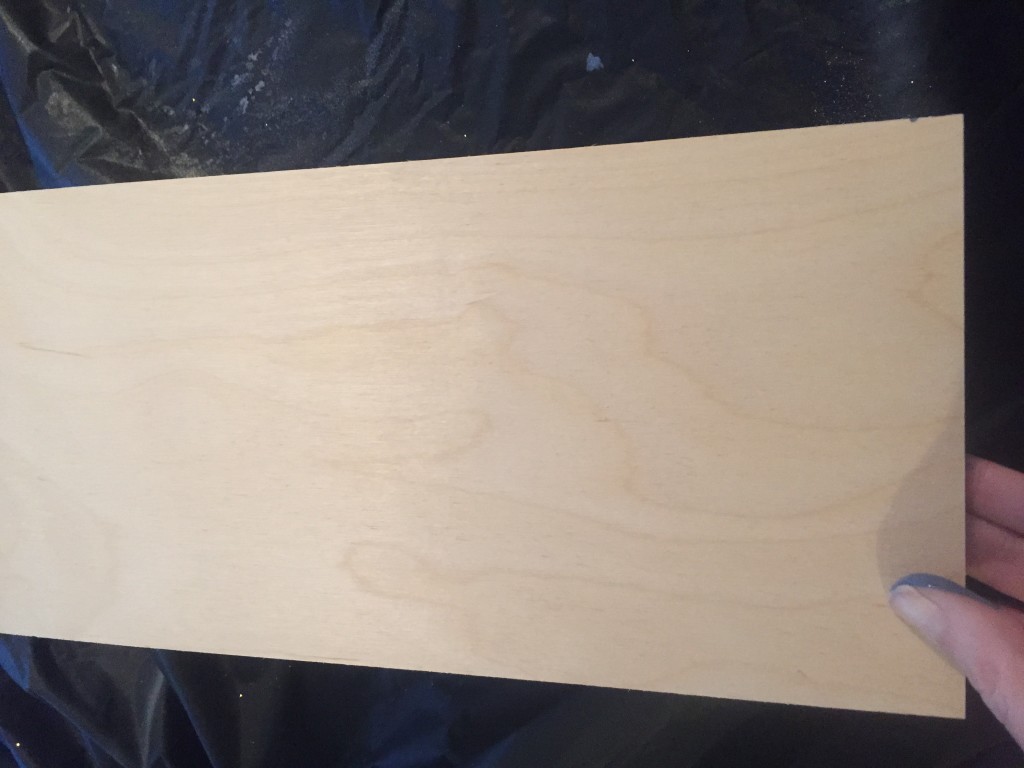
- Wooden Signs
- Super Glue
- A Printer
- Paint and Paintbrush
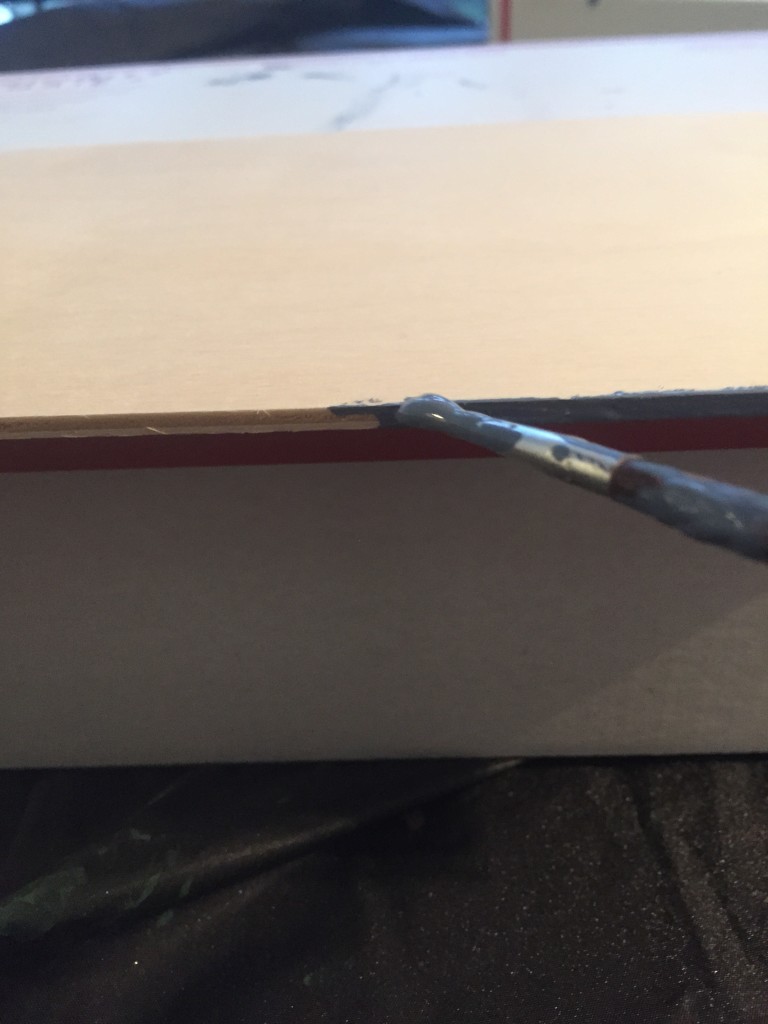
Step 1 - Paint the signs a solid color that matches your décor. I like to prop items on top of a box so I can easily paint the sides without painting the table. Set them aside to dry. I like to let them drive overnight.

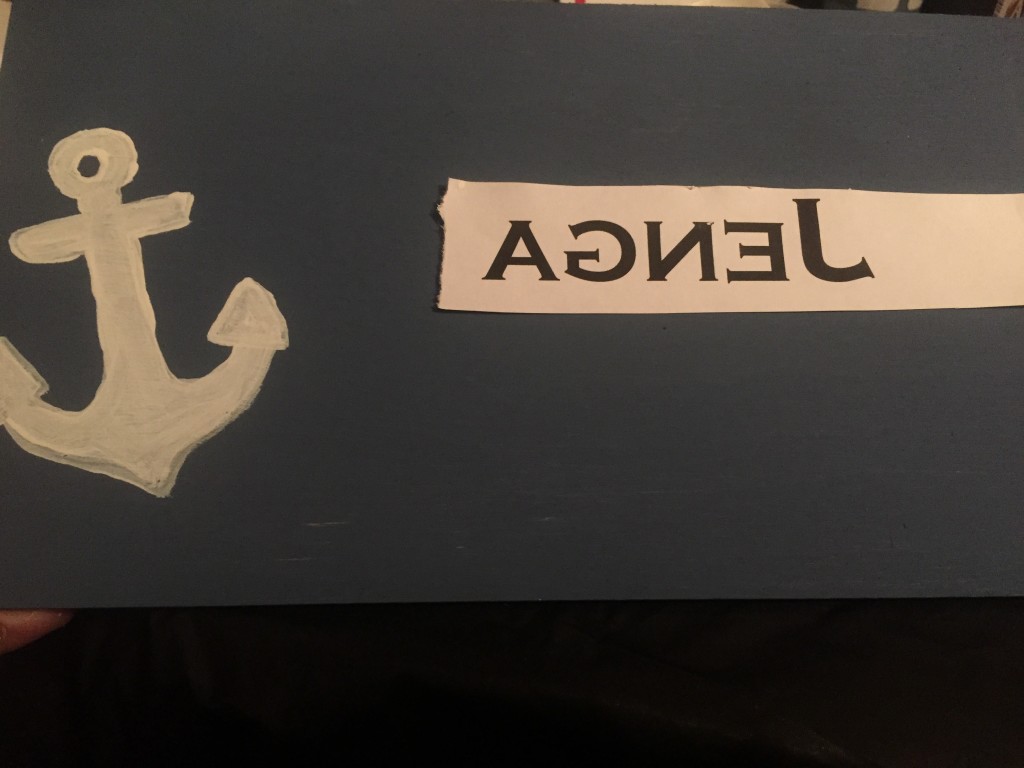
Step 2 - Using Word or Photoshop to create a mirror image of the words you want on your signs.
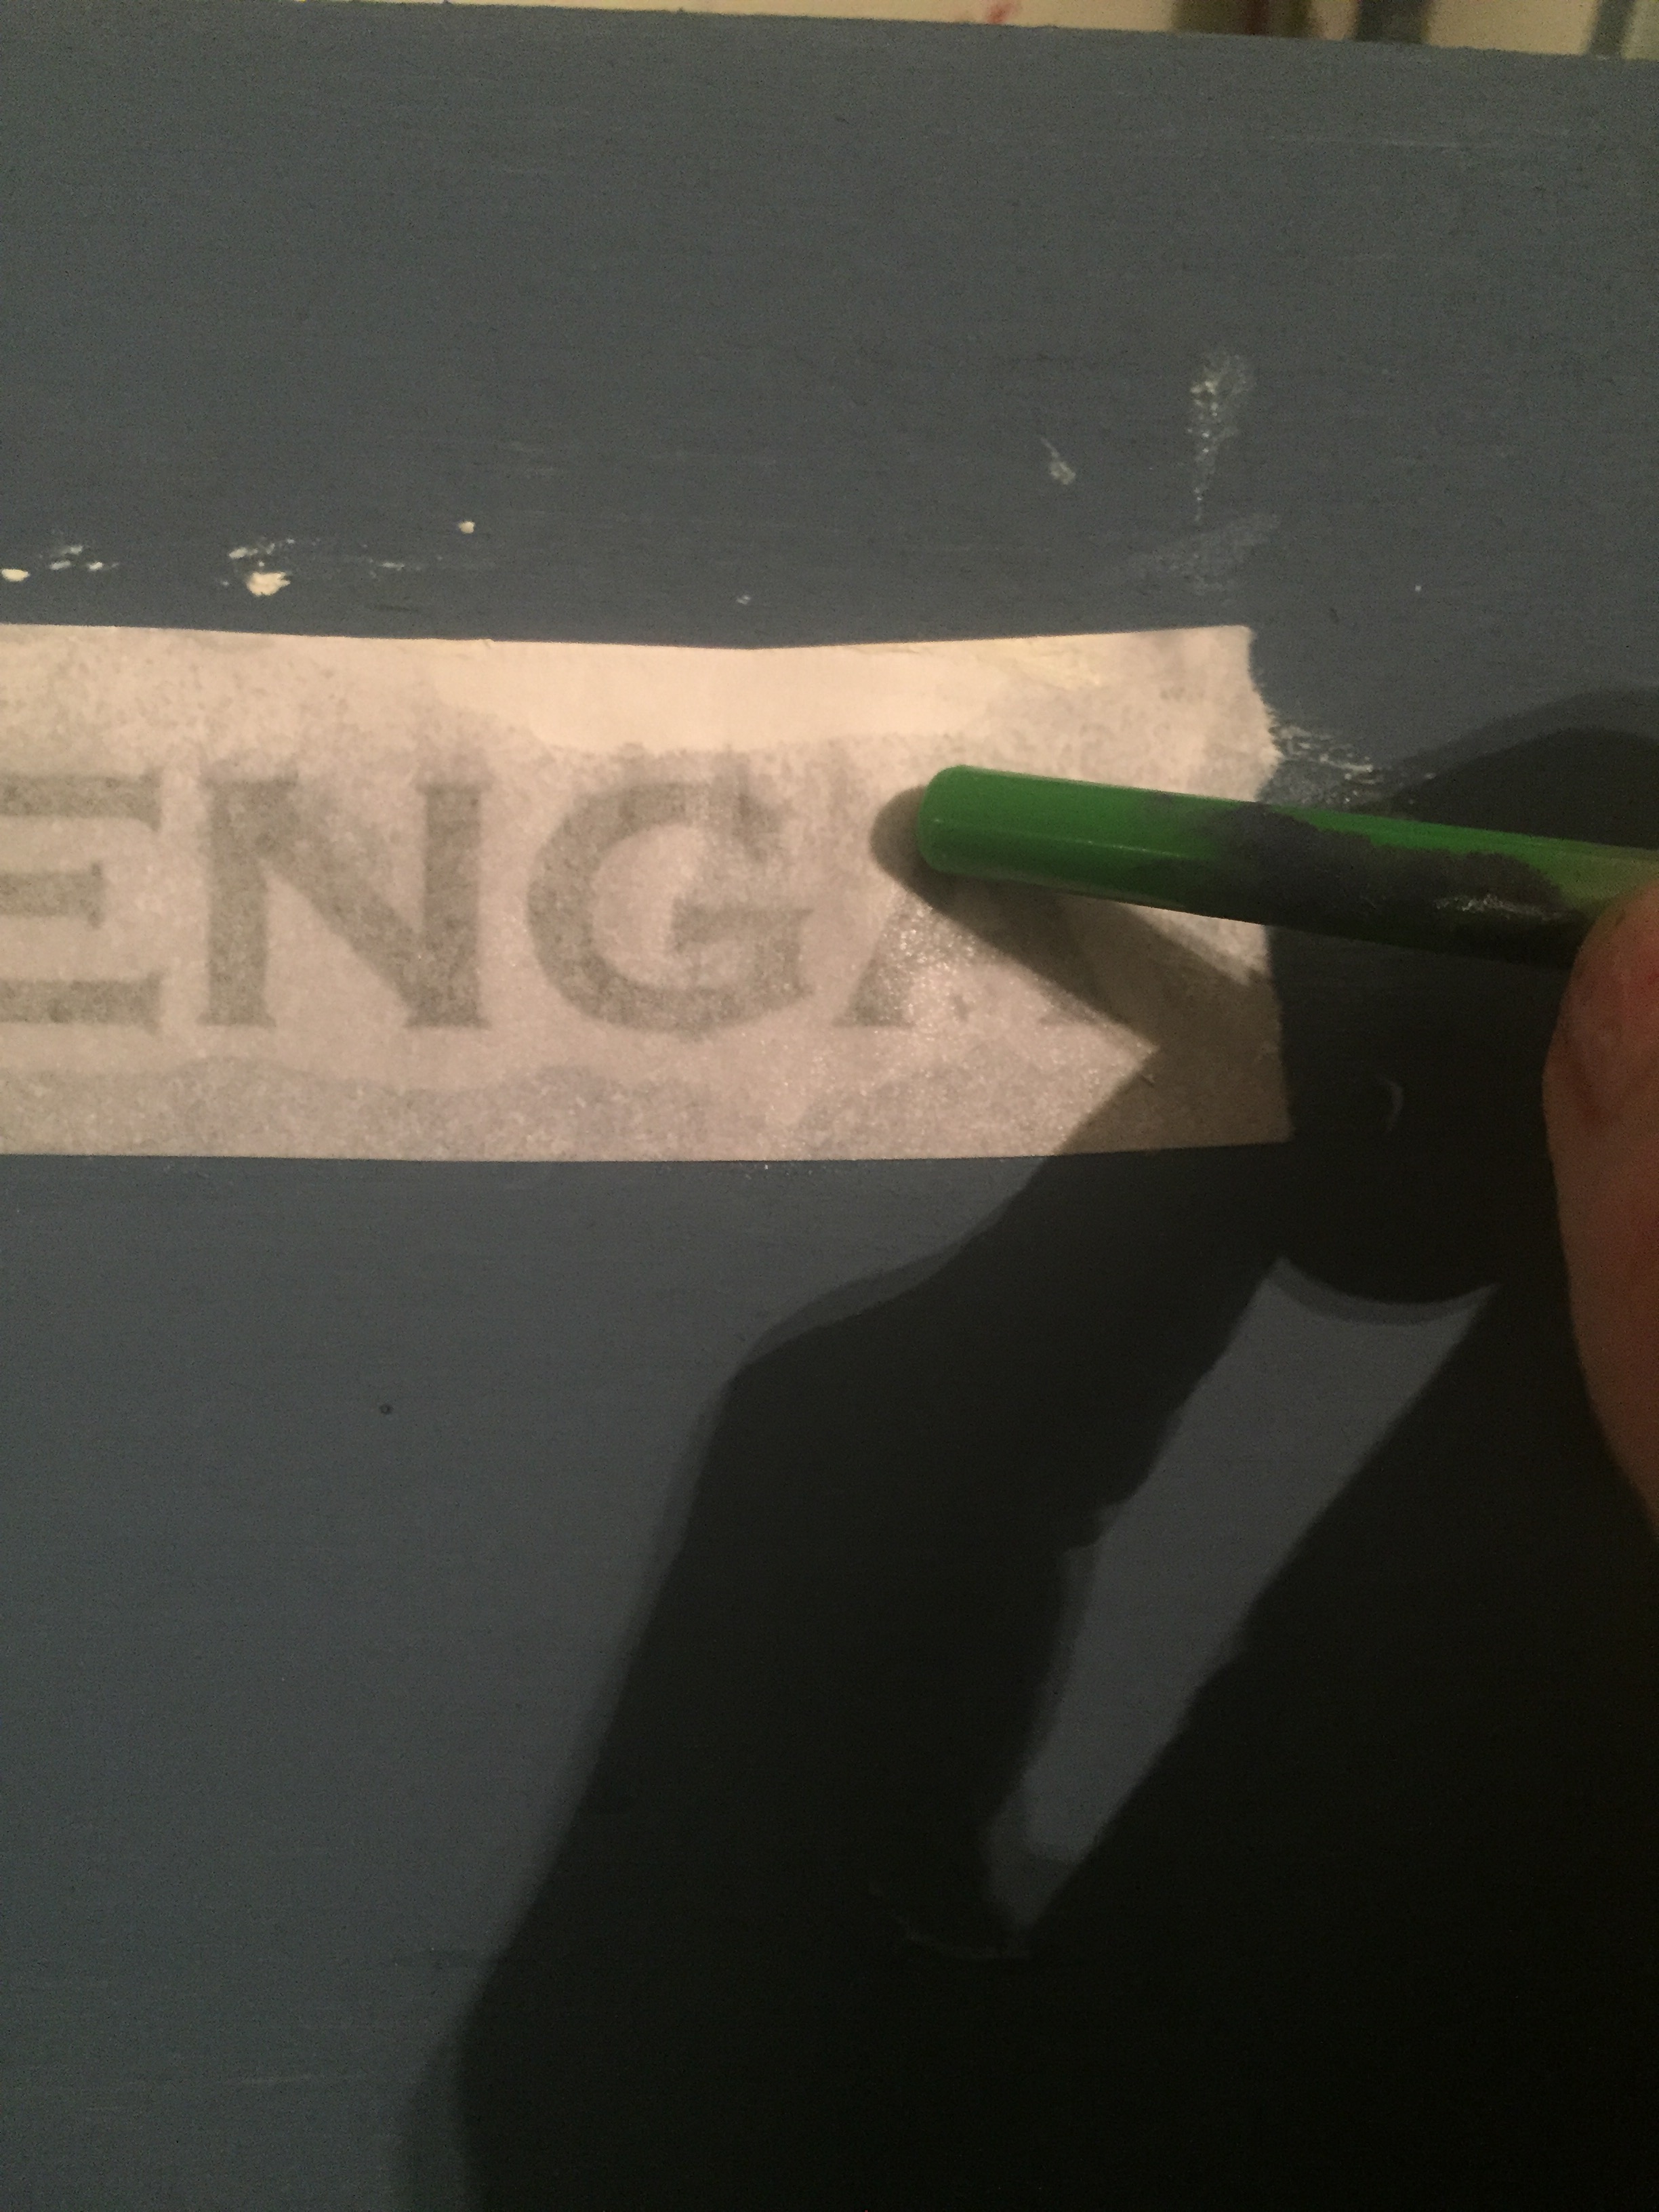
Step 3 - Apply the paper with the font down. Rub a wet paintbrush across the paper. Try to not over wet it. You want it to be wet enough that you see the letters, but not too wet that the paper will rip. Use the back of the paintbrush and trace over each letter. Remove the paper and the font should have transferred onto the wood. If the sign is wet let it dry first. I made the mistake of trying to paint on it and the paint bleeds.
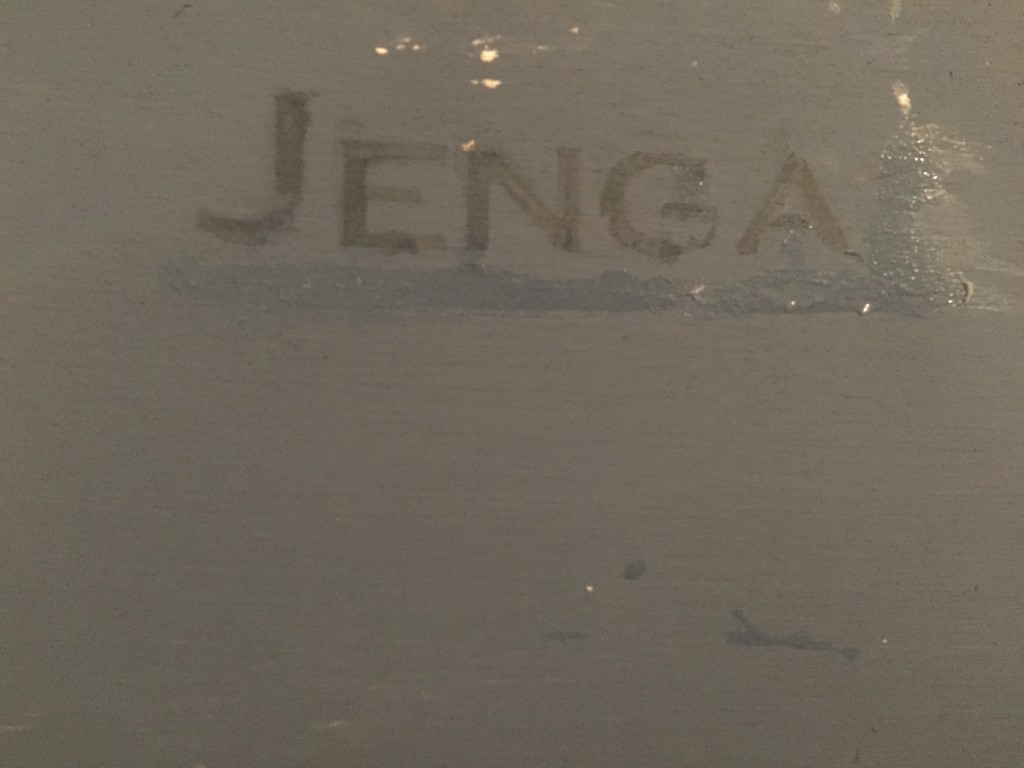
Step 4 – Trace the letter with paint. I personally love white, but black will work as well. Let them dry overnight.
Step 5 – Glue the sign to the stakes with superglue.
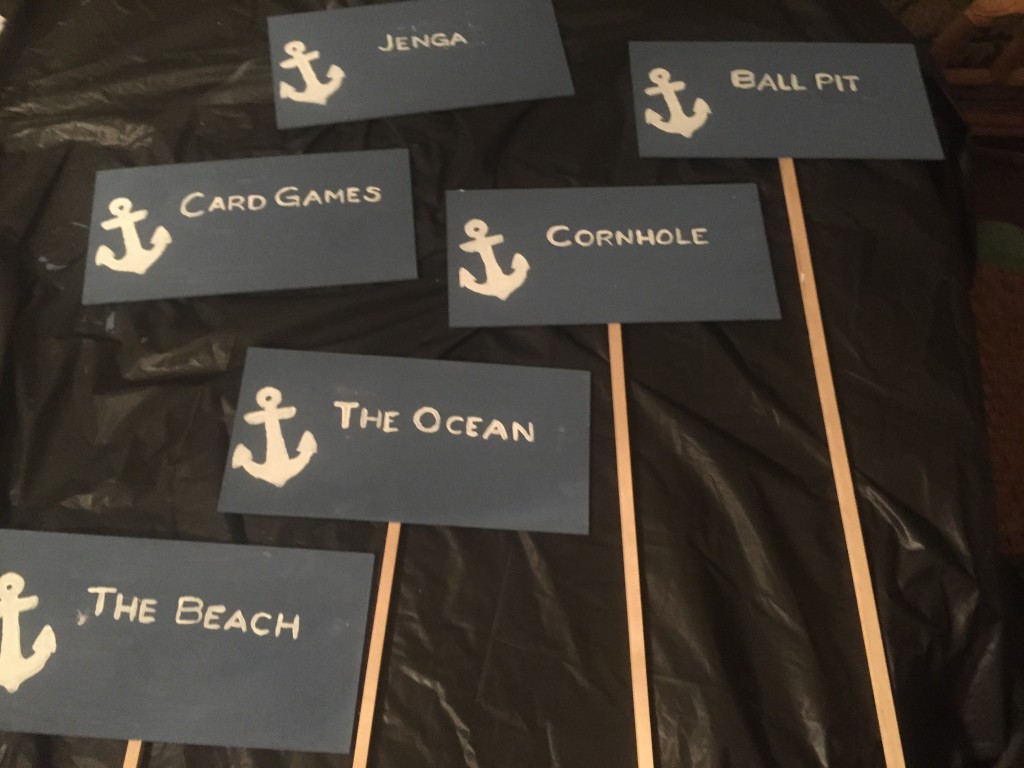

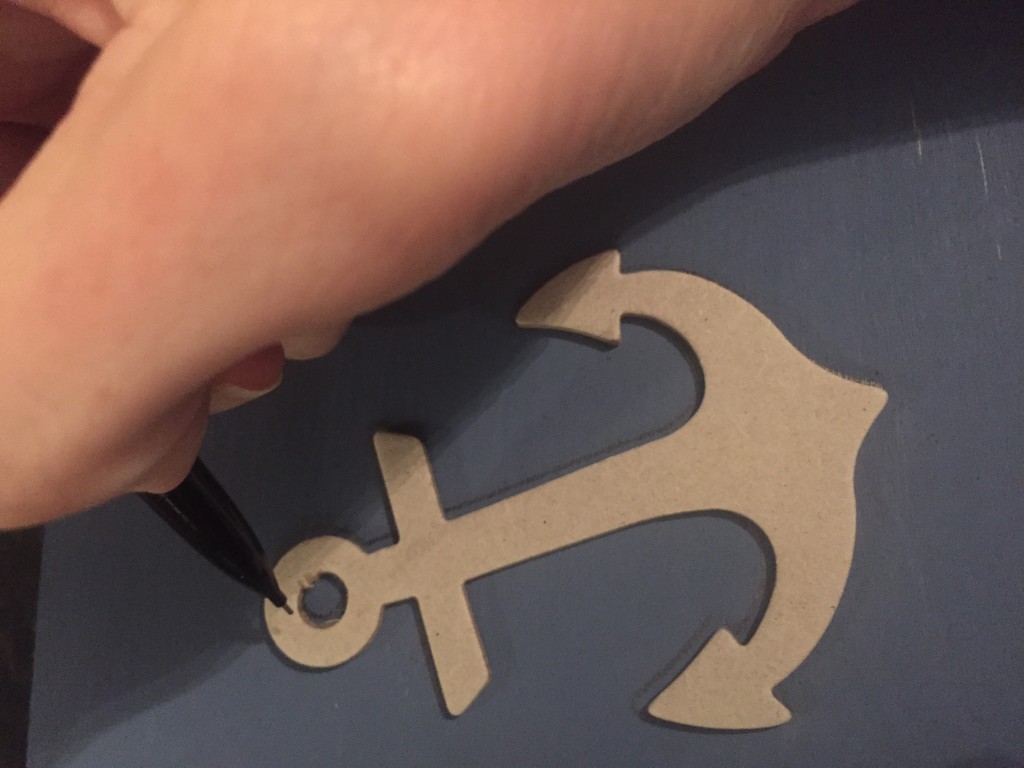
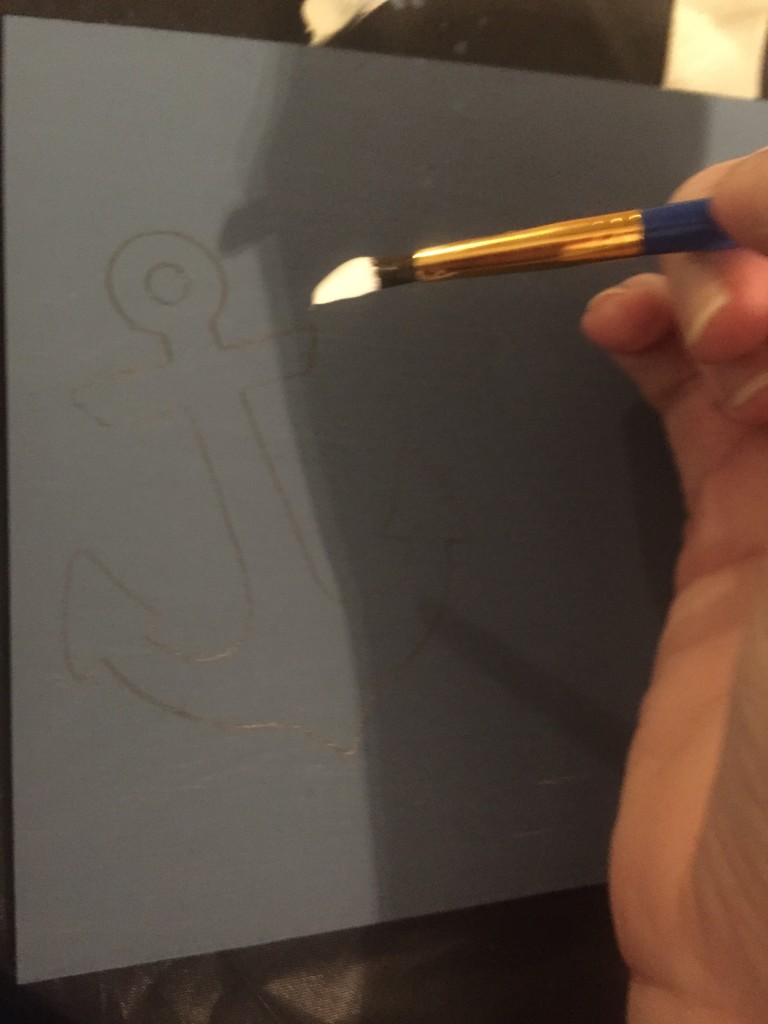
Optional: I added an anchor to each sign to keep with our nautical theme. I bought these cutout anchors and traced them with a pencil and then painted them.
What do you think?
Leave a Reply