
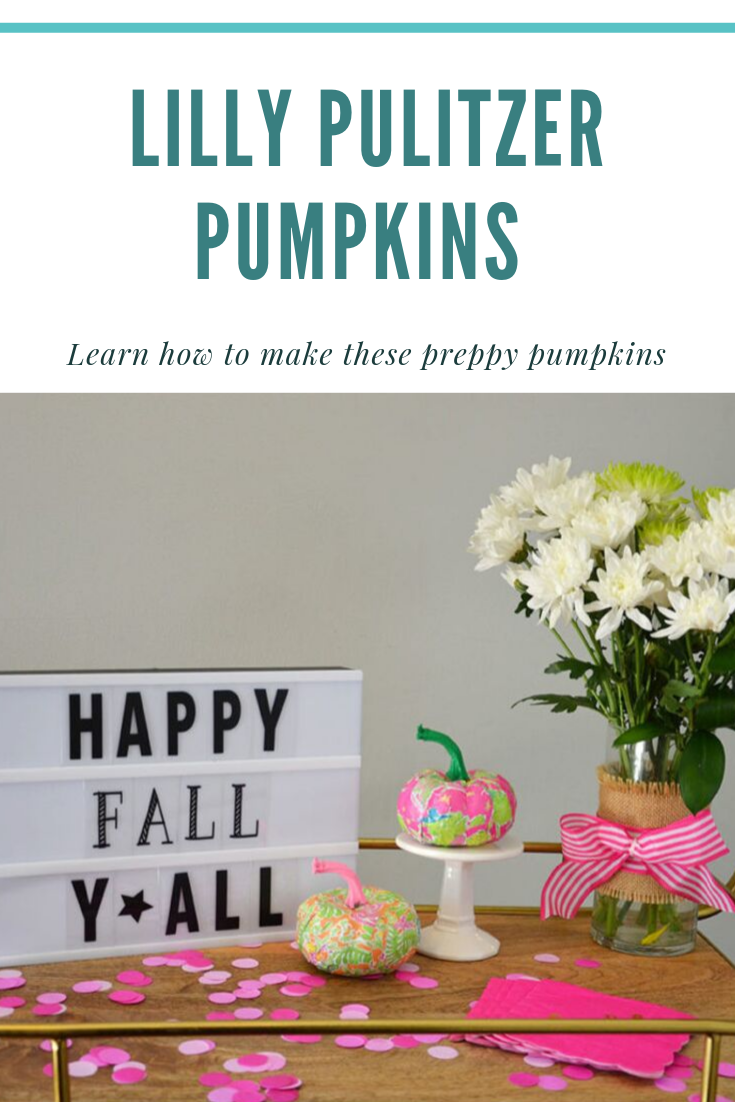
Transform your pumpkin into a DIY Preppy Pumpkin. Fun and easy was to welcome in Fall with this Lilly Pulitzer pumpkin.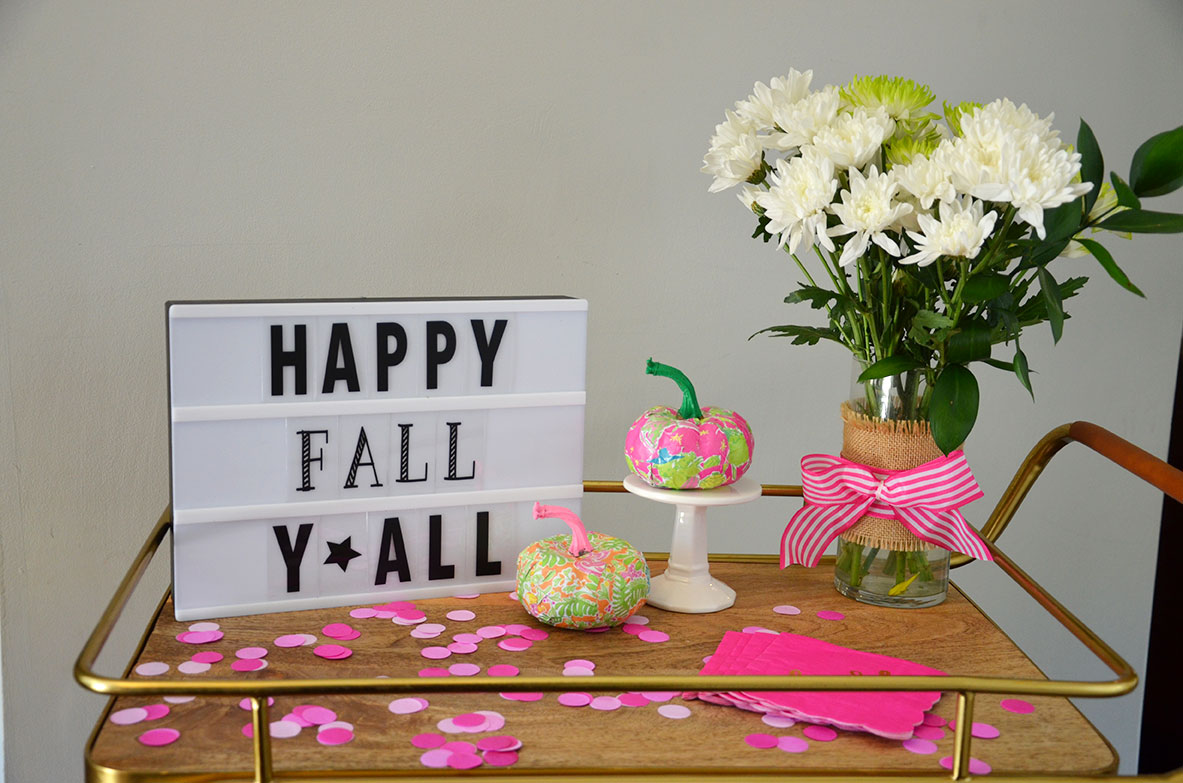
The other day a friend who has not been to our house before said I am sure your house is so clean and organized. The truth is I love to organize, but I feel like I should have a sign "Pardon the mess we are busy making memories". My daughter shares my love of crafting. Which makes me so happy. She loves to search Pinterest for projects for us to do together.
Crafting, especially with a 4 year old assistant (who am I kidding, boss) means that messes happen. Big ones. Small ones. And all the sizes in between. But sooner or later, you have to look at that mess and smile. As she is getting older she has become a better a better helper too. We both love pink and green and everything preppy. So for this fall we created DIY Preppy Pumpkins.
 Supplies Needed to DIY Preppy Pumpkin


- Small Pumpkins - can use real or fake pumpkins, recommend white pumpkins.
- Preppy Paper- This paper is from an old agenda
- Scissors or large hold puncher
- Parchment Paper
- Mod Podge
- Paint Brush
Video: How to Make a DIY Preppy Pumpkin
How to Make a DIY Preppy Pumpkin
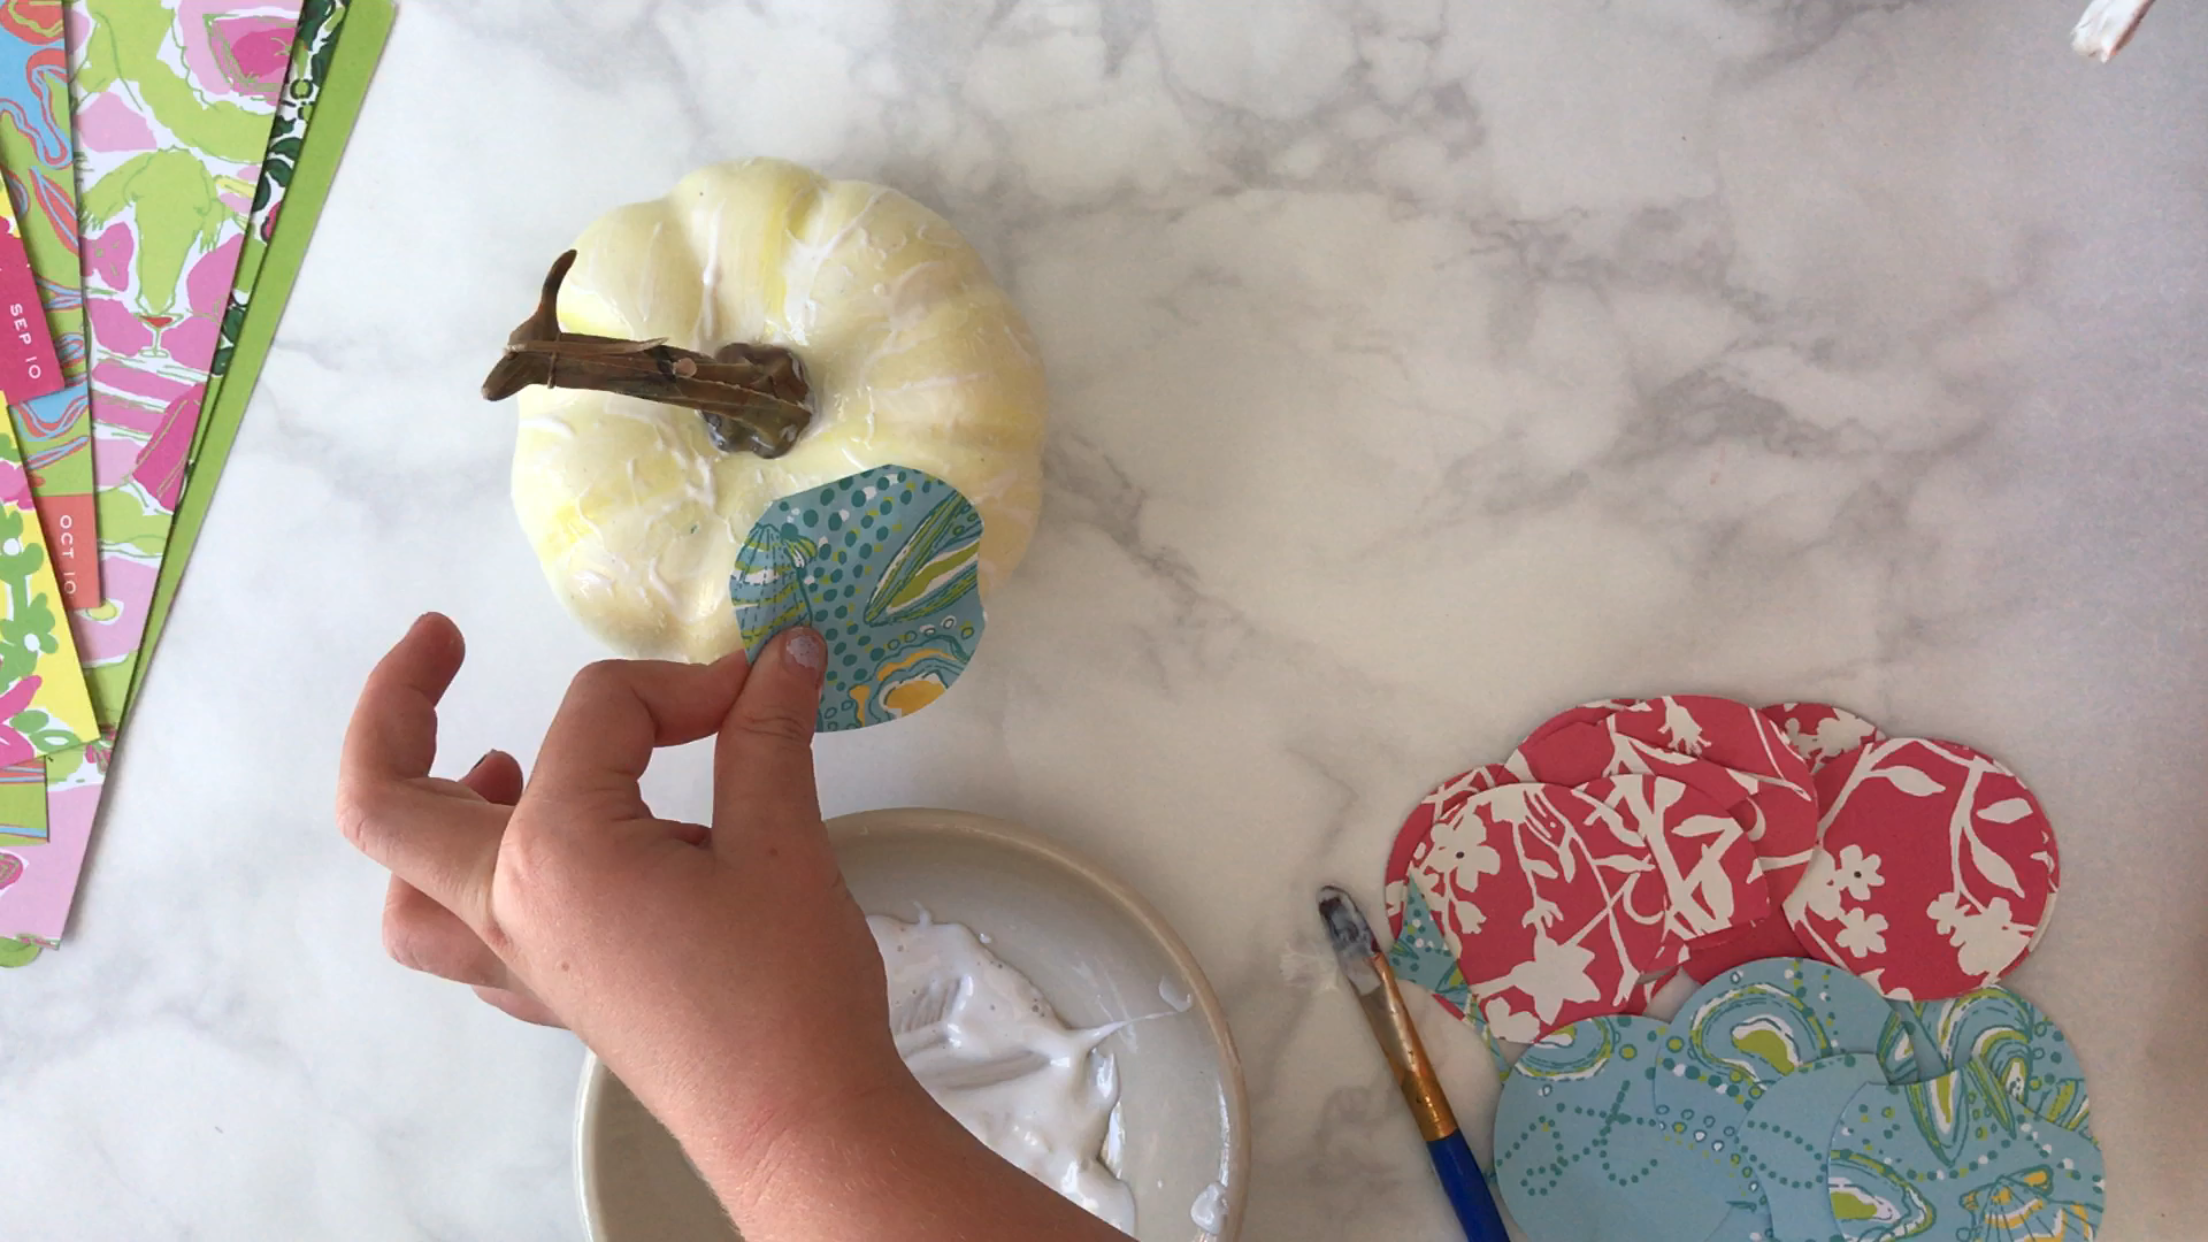
Cut up the paper either in straight lines or extra large circles. 
Lay down parchment paper over your work space
Cover the pumpkin in mod podge 
Cover the backside of the paper with mod podge and a fix all the pieces onto the pumpkin 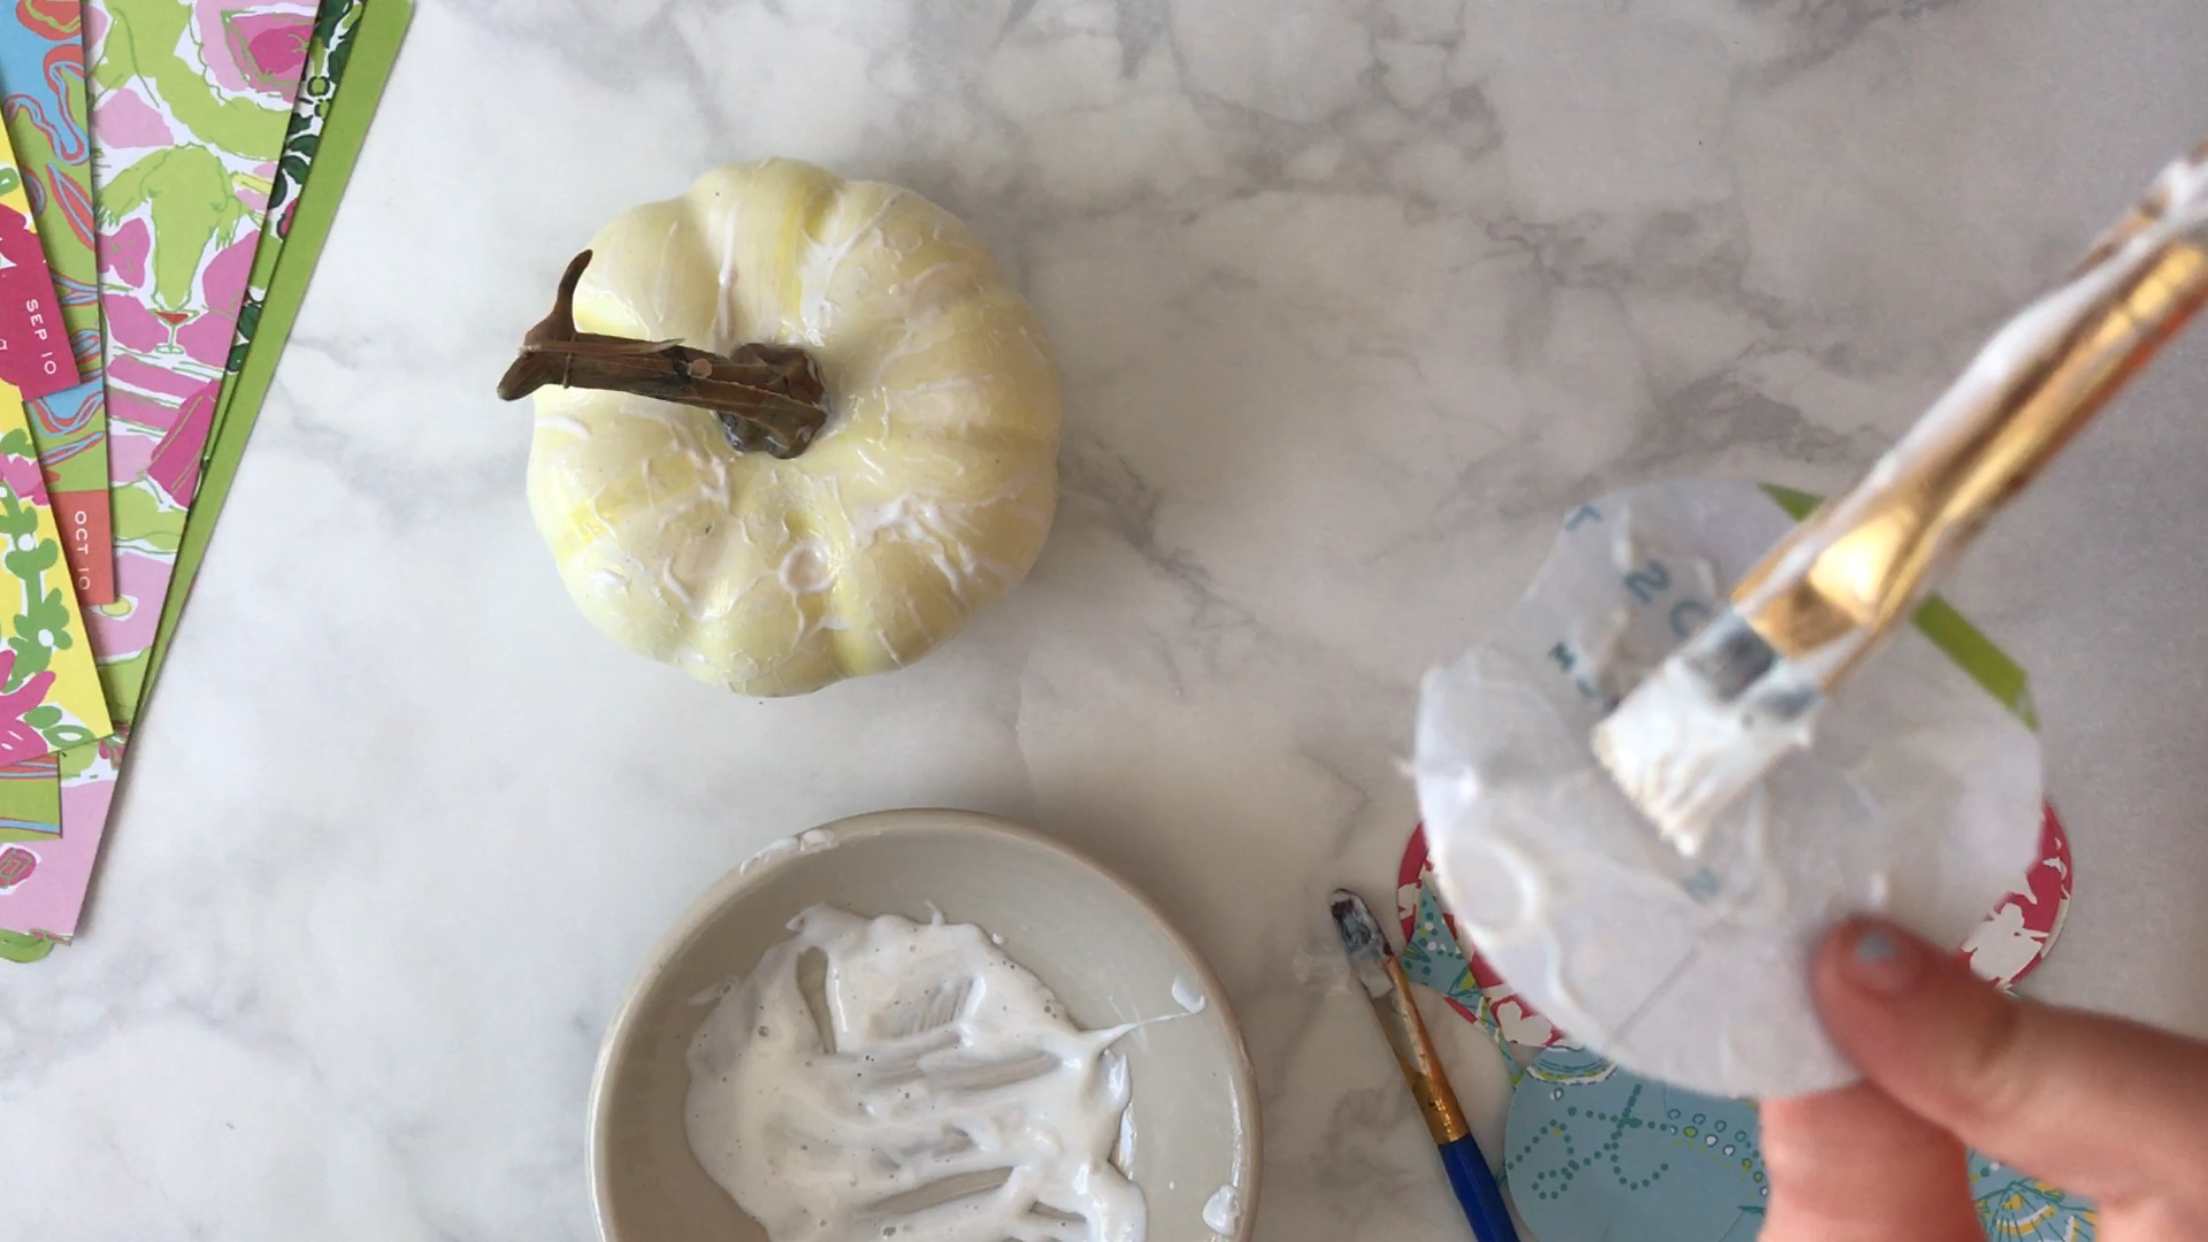
Once the entire pumpkin is covered in paper cover in mod podge. Allow it to dry.
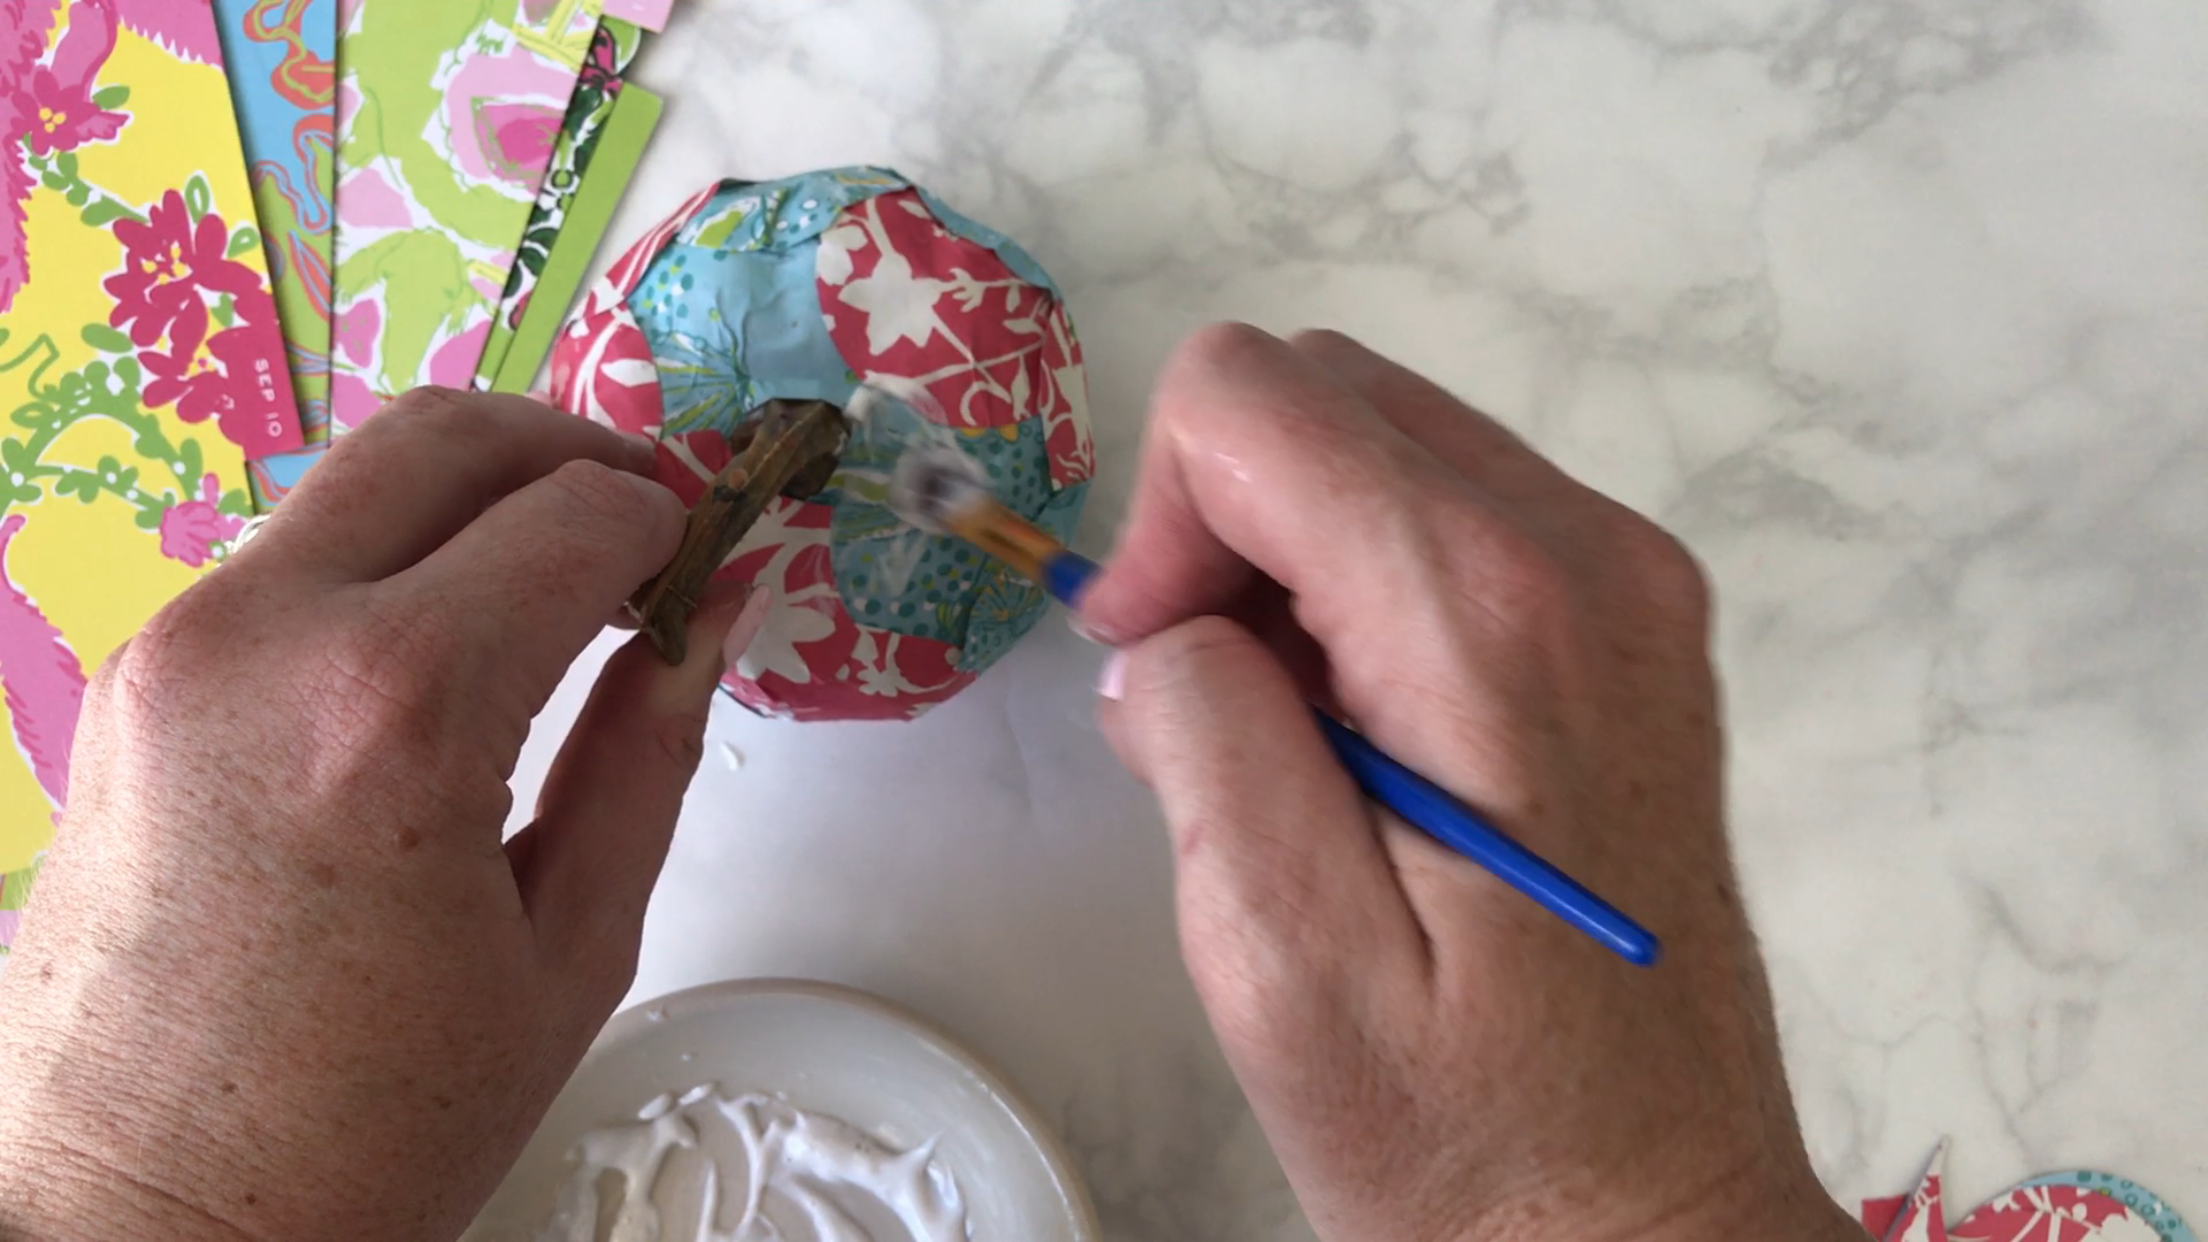
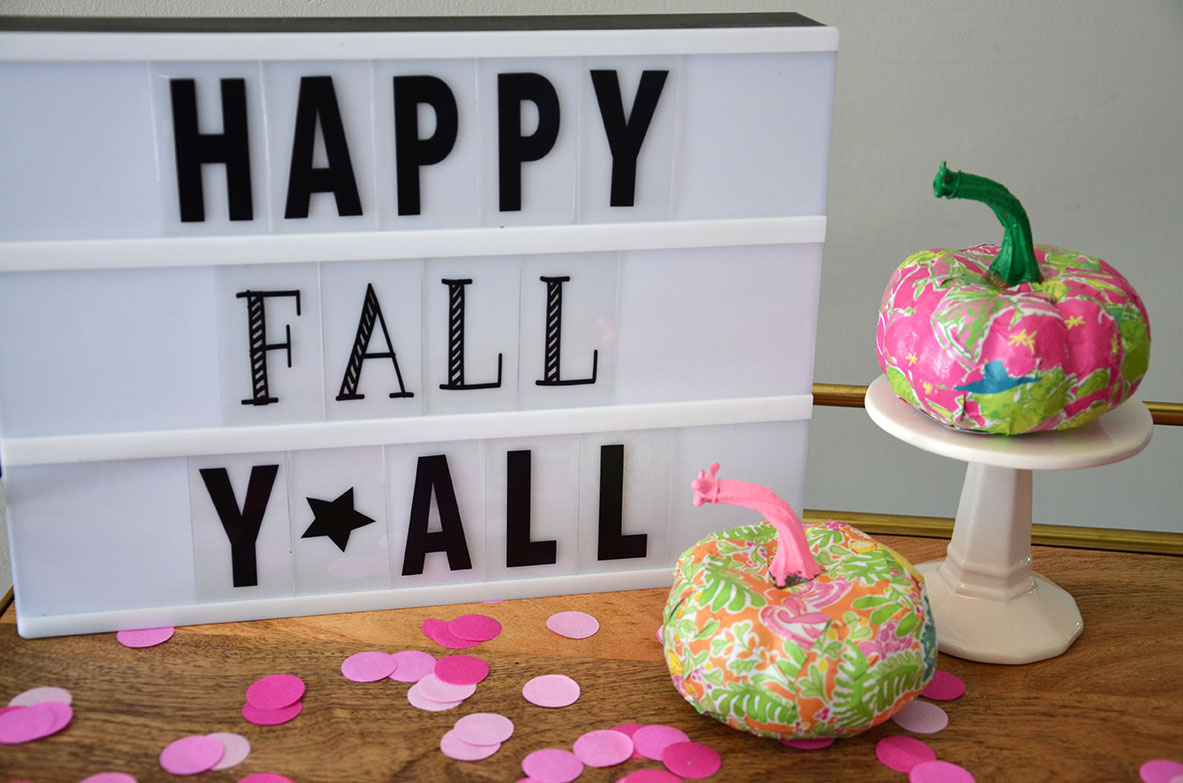
Paint the stem in your favorite color 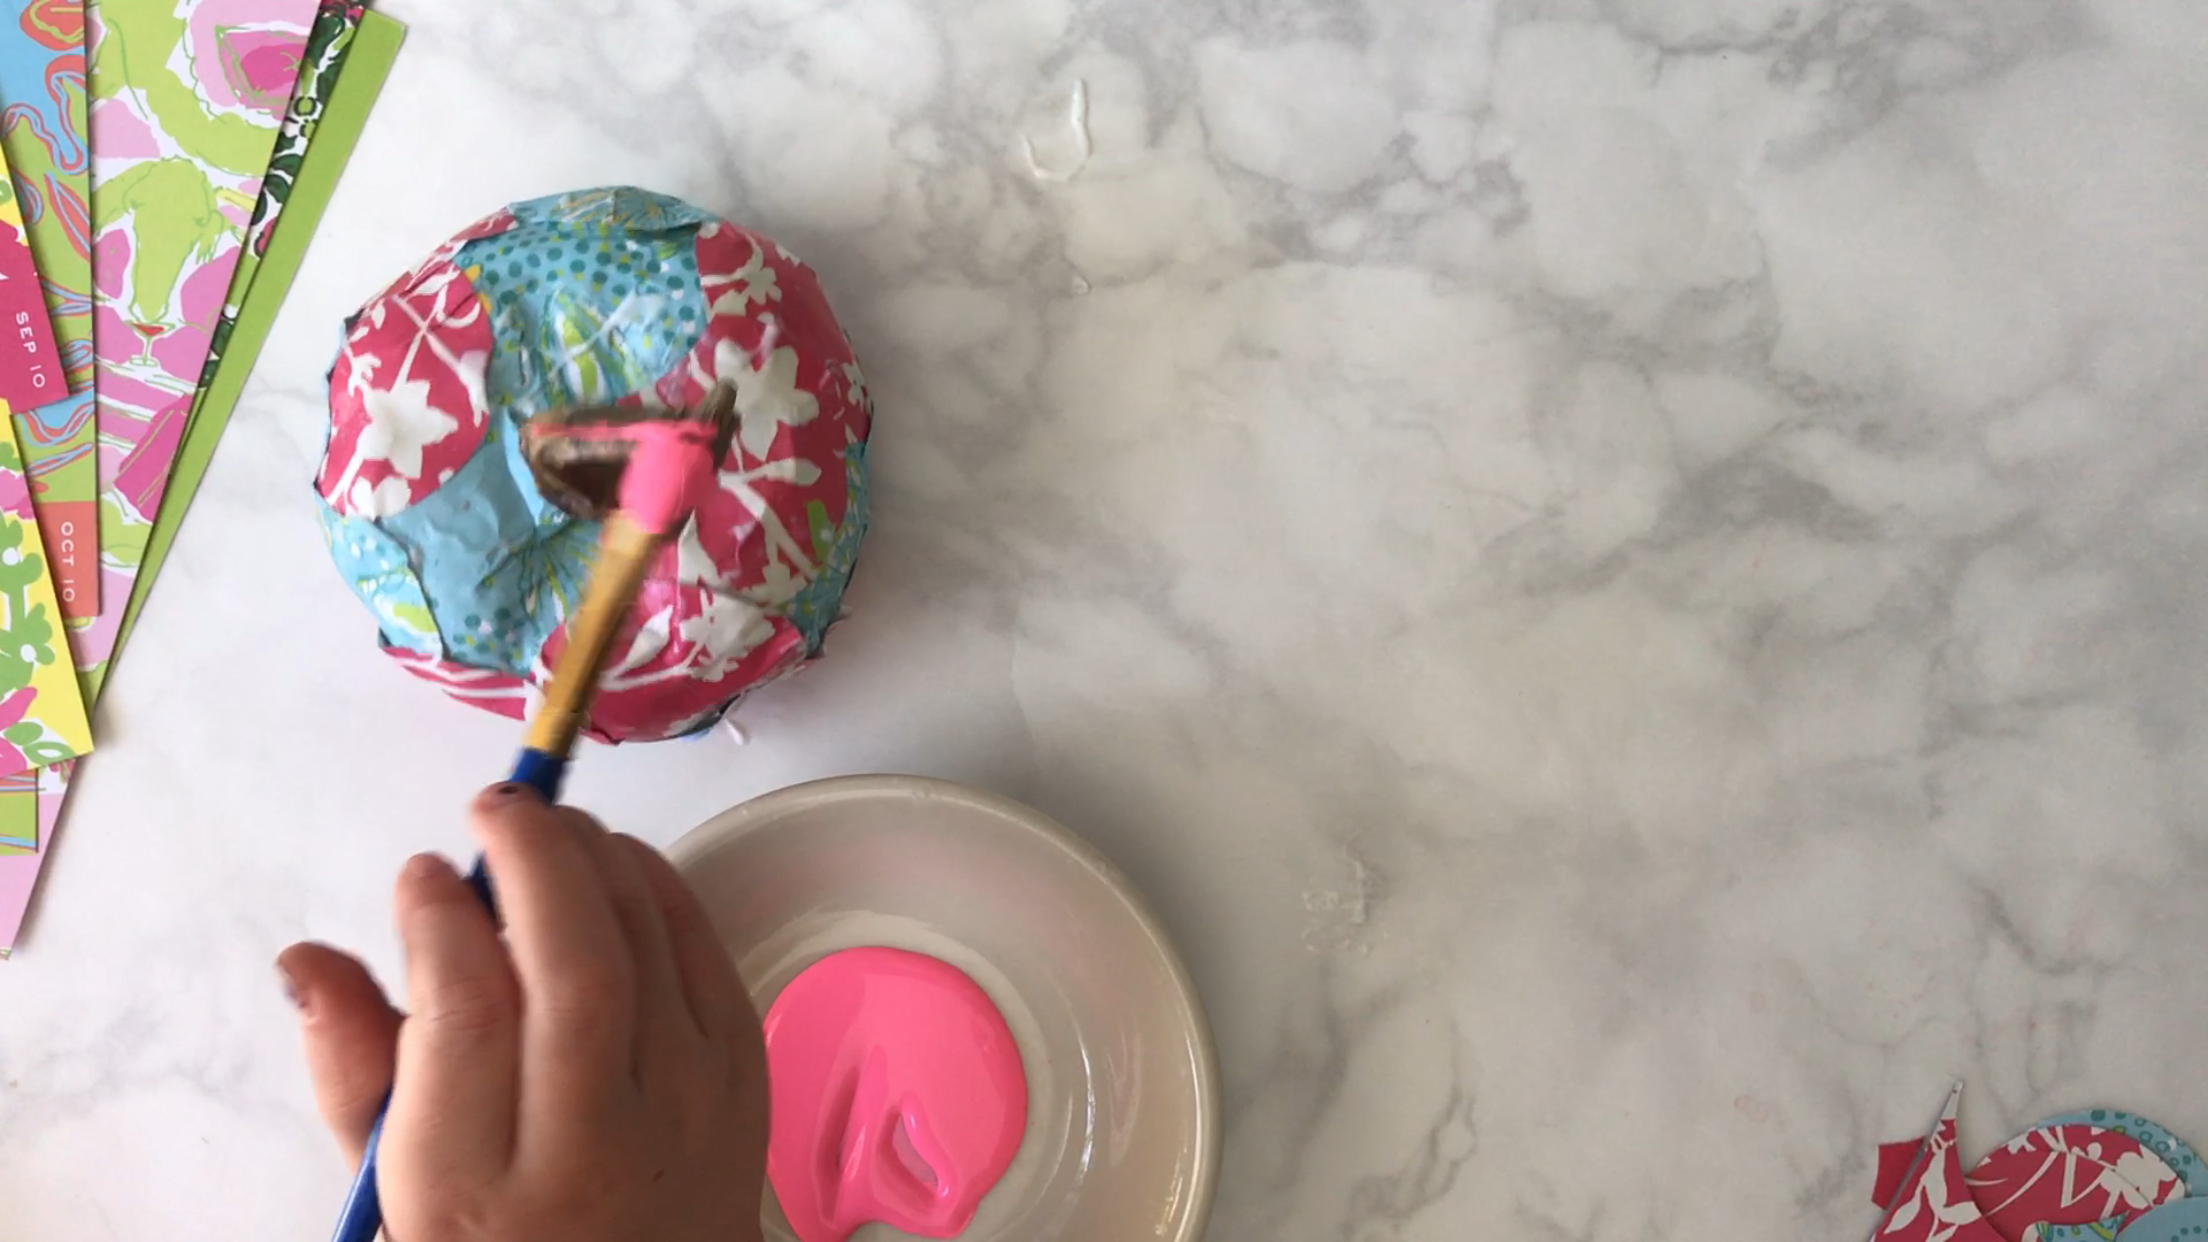 Let it dry and ENJOY
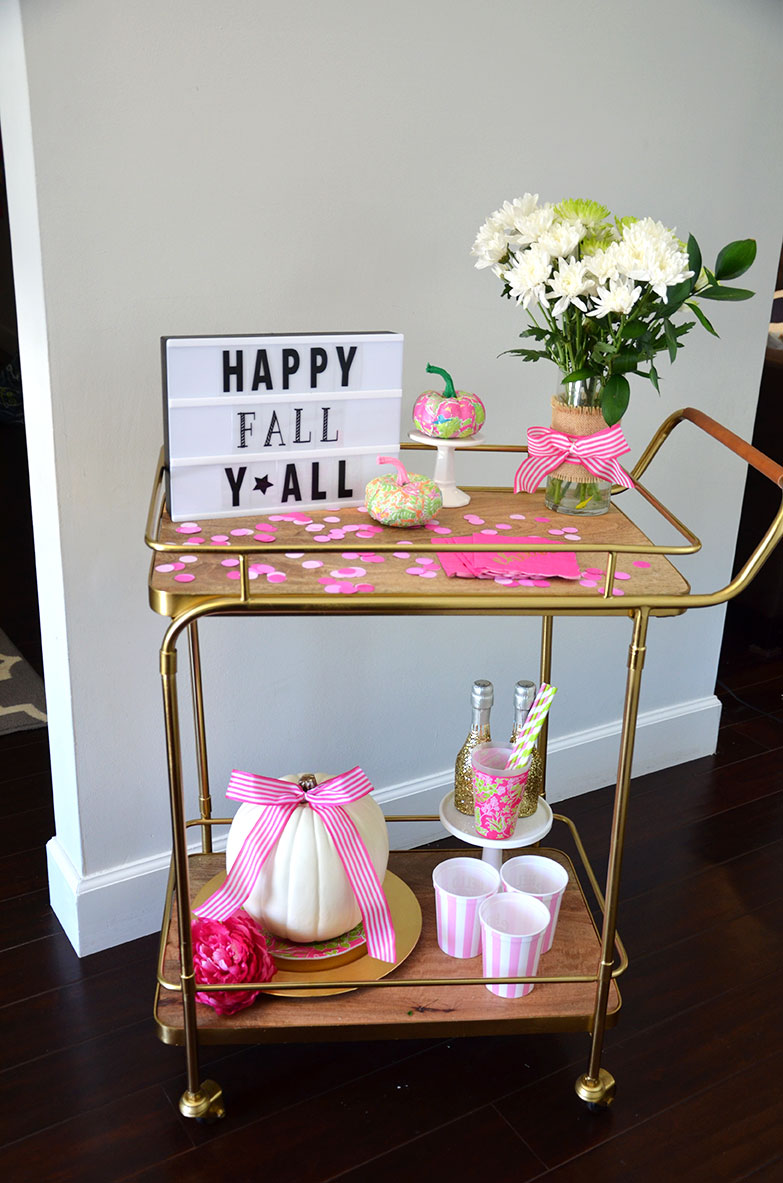
Once the pumpkins were dry we used this to create a Lilly Pulitzer Bar cart.
Pin for Later: DIY Preppy Pumpkin, Lilly Pulitzer pumpkin

Courtney Buteau says
What gorgeous pumpkins! And wipes are seriously the best thing to keep on hand. You should see me at home using them to clean my baseboard radiators! haha Love this whole craft idea, I'm pinning for later. #client
Cristy says
You are too sweet Courntey! I think my favorite part of them is the smell. My daughter has been telling everyone about the new wipes and how they smell amazing! Great idea with the baseboard radiators.
Marianne Lafoon says
I love these pumpkins. Was just wondering, on the small pumpkins, would it work to use petals of silk flowers instead of the paper or in addition to the paper. The flowers are easy to take apart and you can even just snip the petals off of the stems. You can get them at dollar stores. You may have some stashed away in a closet. Just a thought!!!
Cristy says
Love this idea. I do have tons of fake flowers in my craft room. I will have to try. Thank you
Heather says
These are super cute! I love this idea! I have tons of scrapbooking paper so I may have to try this with my little girl.
Cristy says
Let me know how it works. It is a fun project
Joann Clauter says
Could you not use scraps of fabric?
Cristy says
Joann, I was going to do fabric when I first got the idea. I think it should. Let me know how it works.