Welcome to our Holiday Party Hop. I love these party hops because I have been so much to found the most amazing group of bloggers. They are all so talented and share so much inspiration. If you are joining us from Dawn's blog Revel and Glitter welcome. Thank you to Deanna from Mirabelle Creations for organizing. If you have not seen her post with Custom Color Iridescent Ornaments you can start there and hop all the way through with us. See below for a list of all the bloggers.
As a party planner I love adding personal touches to decor. My daughter B is quickly becoming a mini planner, entertainer and DIY craft lover. When planning crafts and parties I always keep my audience in mind to determine the level of difficulty, materials and the goal of the craft or decor. In this case B is only 4 and therefore her attention span is short. I also like to include her favorite supplies from markers to candy. Items that change shape during the process is another favorite element. Finally I share my vision with her to ensure I keep her interest. Generally when crafting I make sure she is in clothes that can get a little dirty. Today I am sharing how to make Peppermint Holiday Decor.
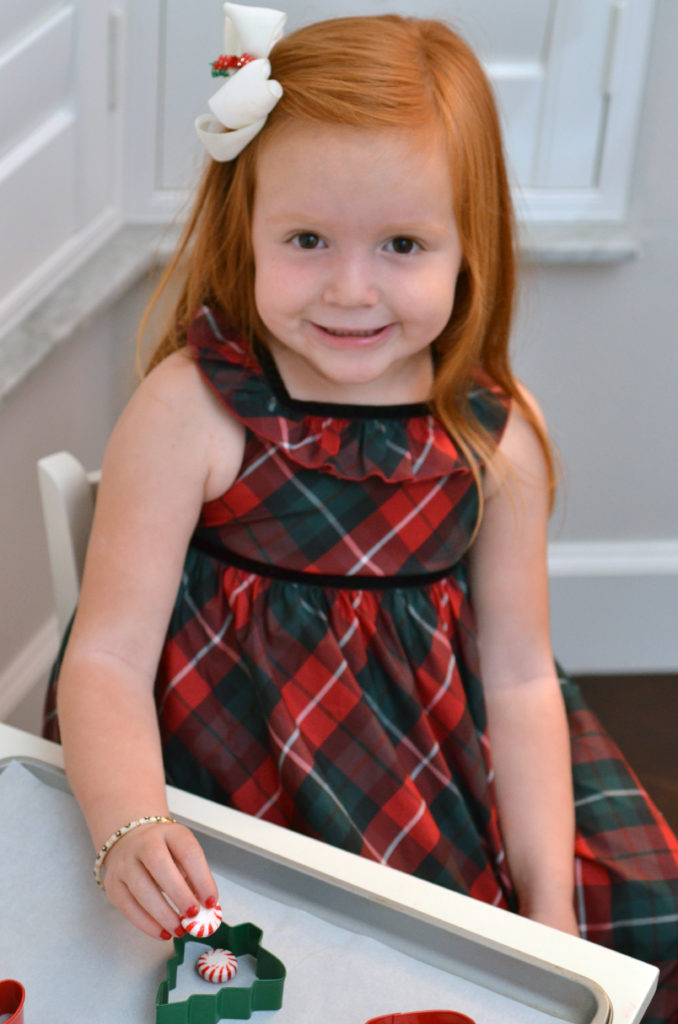
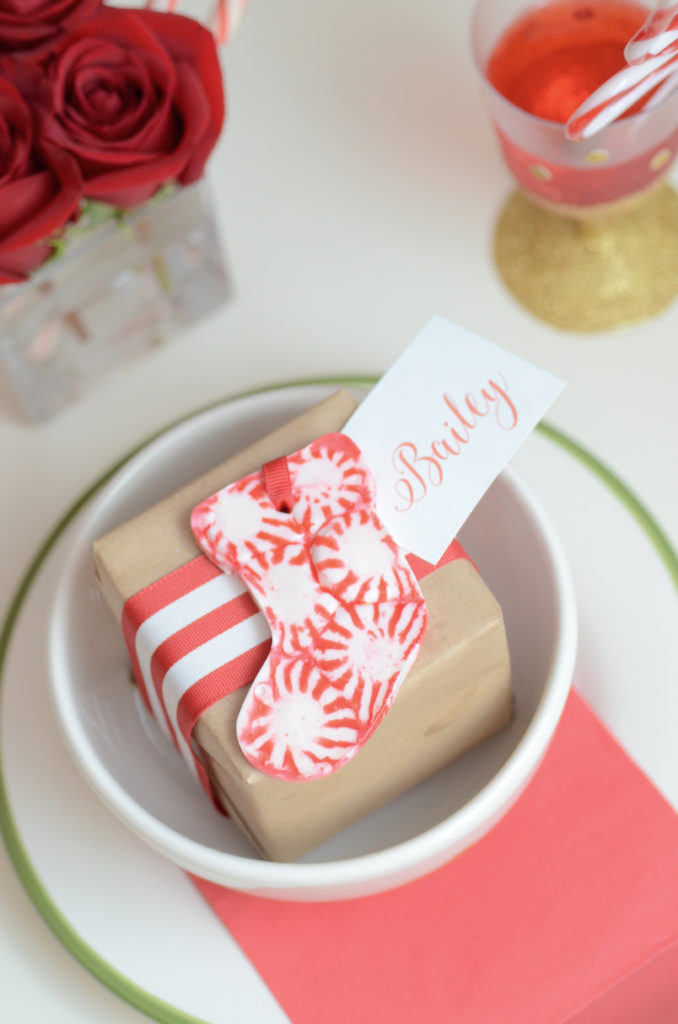
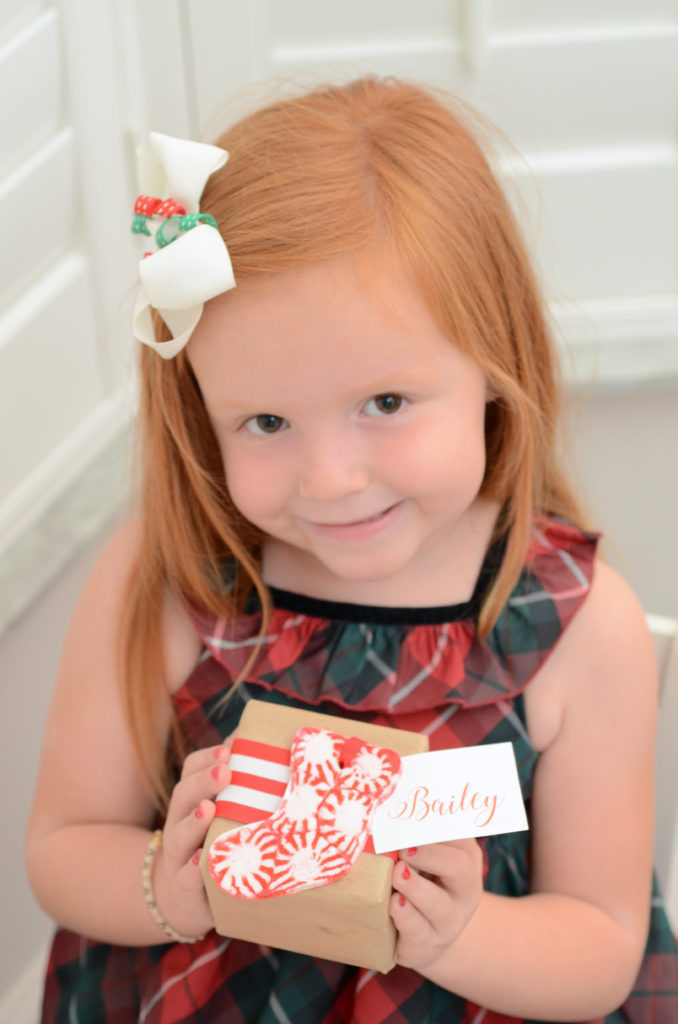
For this project I wanted her to get into the Holiday spirit. My goal was to create the perfect name card for her special Christmas kids table. I had her wear a beautiful plaid dress and her good jewelry to get her into the mood from the start. I also let her sip on sparkling cherry juice out of a gold glitter "wine" glass we previously made with a candy cane straw during the craft and the party after.
We did a similar craft two years ago with life savers and it was a huge hit. Bailey was also on a sugar high since she ate half of the supplies during the process. We are Christmas lovers and love to decorate and celebrate everyday so I knew that I wanted to do it with peppermints one day. There are so many ways to use this craft. It can be an ornament on your Christmas tree, make a gift extra special with this as decoration on top, place card decor or decorations for your next Holiday party. Let the Christmas crafting begin!
DIY Peppermint Holiday Decor
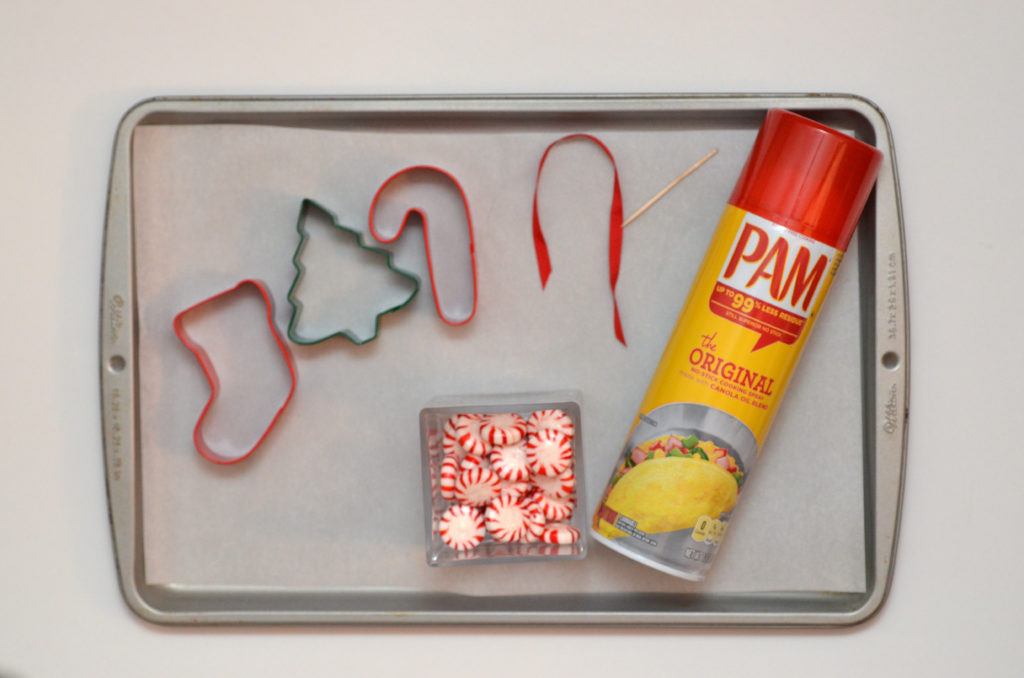
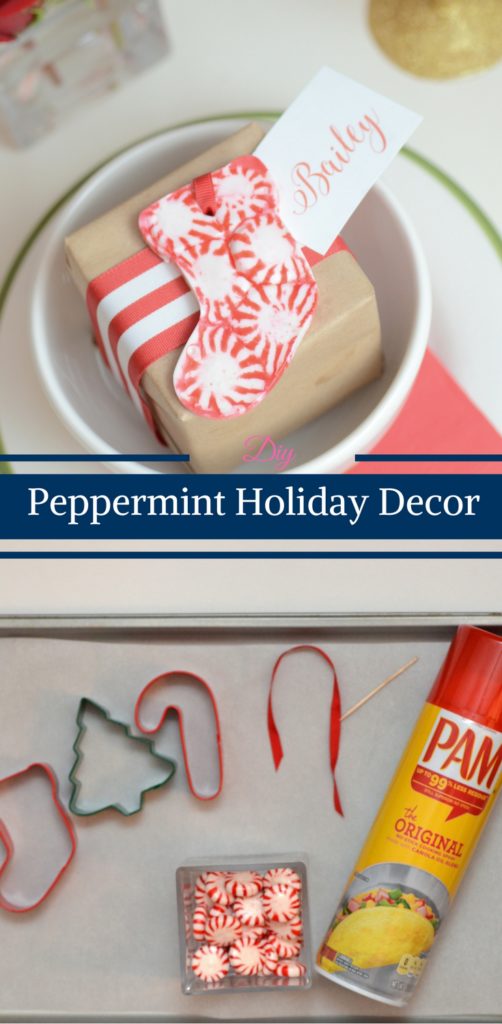
What You Need for the DIY Peppermint Holiday Decor
- Baking Sheet
- Parchment Paper
- Cooking Spray
- Metal Cookie Cutters
- Peppermint Hard Candies
- Toothpick or Skewer
- Ribbon or String
Optional
- Cups or bowls for holding and sorting out the candy
- A pair of kid scissors– this as an opportunity for kids to improve their cutting skills
Pro Tip: You can also use other hard candies. We have done this project with life savers before as an edible stain glass.
How to Make the DIY Peppermint Holiday Decor
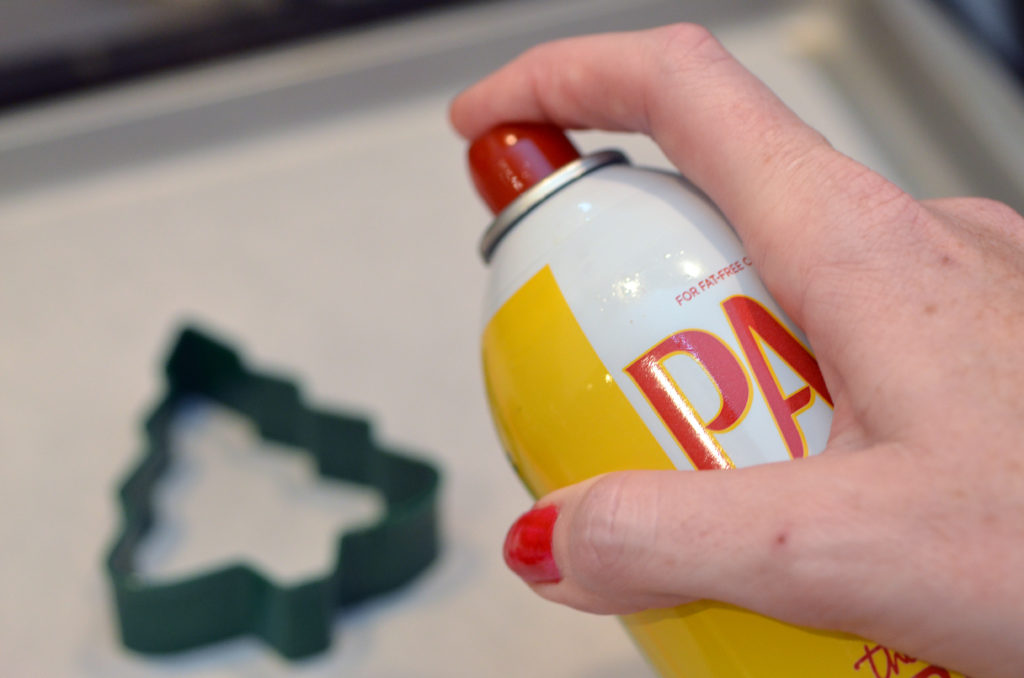
1: After gathering all your supplies, cut a piece of parchment paper the size of your cookie pan and preheat oven to 350°F. Place the cookie cutters onto the parchment and spray the paper and the cookie cutters lightly with a cooking spray.
Pro Tip: Select cookie cutters that are simple designs. Elaborate shapes with skinny areas tend to get too thin and break. We recently did a Flamingo themed party so we experimented with the flamingo cookie cutter, it broke into about 10 pieces. Don't have any cookie cutters? You can create wreath shapes by placing 6 candies in a circle touching each other. Do not spray too much cooking spray it will burn in the oven, turn brown and change the flavor of the candy.
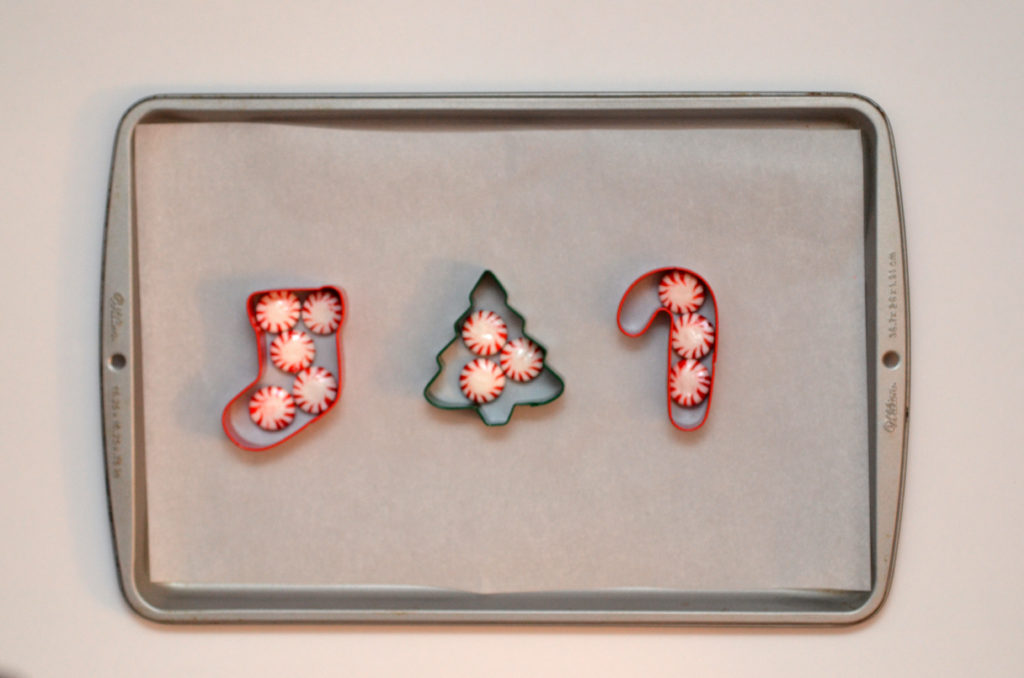
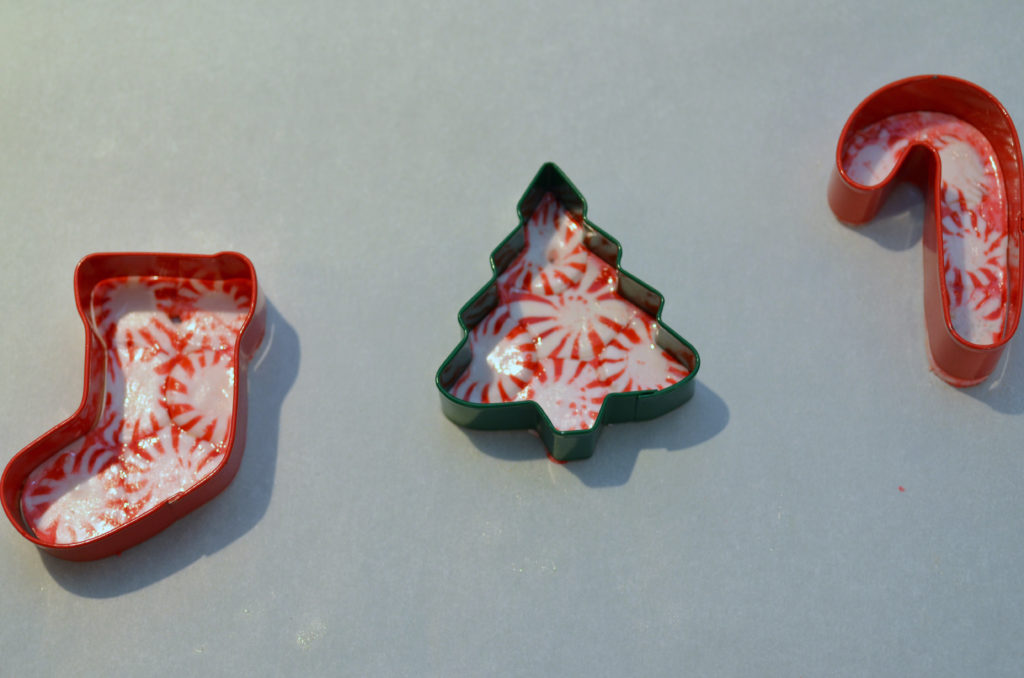
2: Start your designs by placing as many candies side by side in the cookie cutter. This is Bailey's favorite part. Who does not love a craft where you can eat the supplies?
Pro Tip: You don't need to fill in all the spaces, the candies will melt and fill them in. You can overlap or even do a double layer of candies if you want a thicker ornament or if you get really into the project and don't want it to be over so quickly.
3: Cook them for 3-6 minutes. I turned the oven light on. Bailey loved watching them melt. You want to remove them from the oven when the candy has melted together.
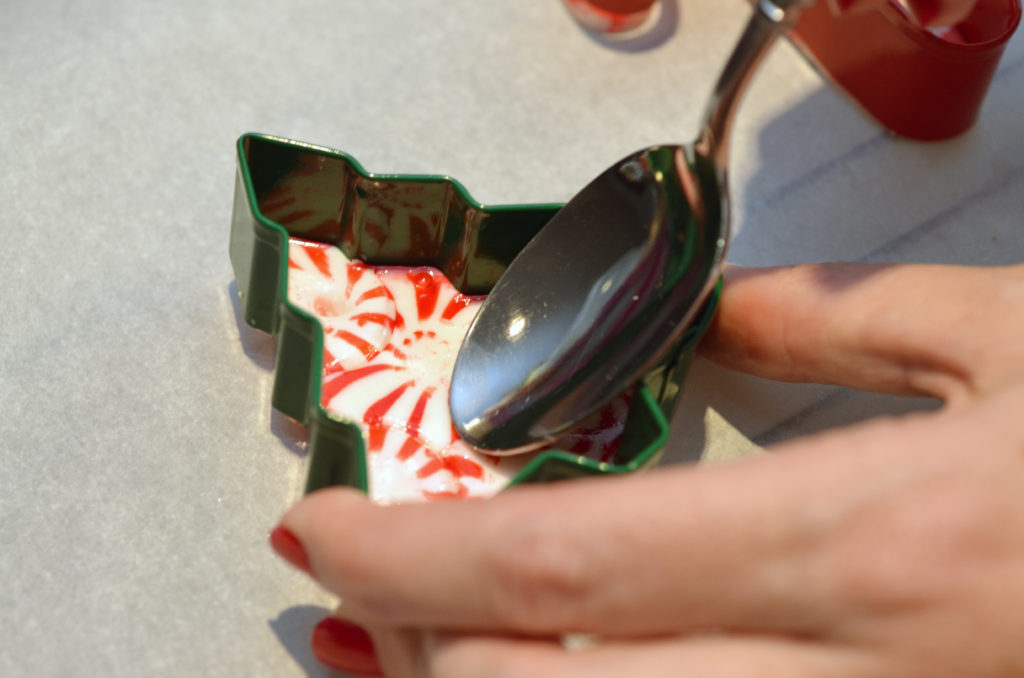
Pro Tip: Every oven is different so I recommend watching them closely and to start with a small batch. Cook similar sized shapes together. I found the smaller cookie cutters take 4 minutes and larger 6 minutes in our oven. If there is still a small space between the candy you push them together with a spoon when you first take them out of the oven.
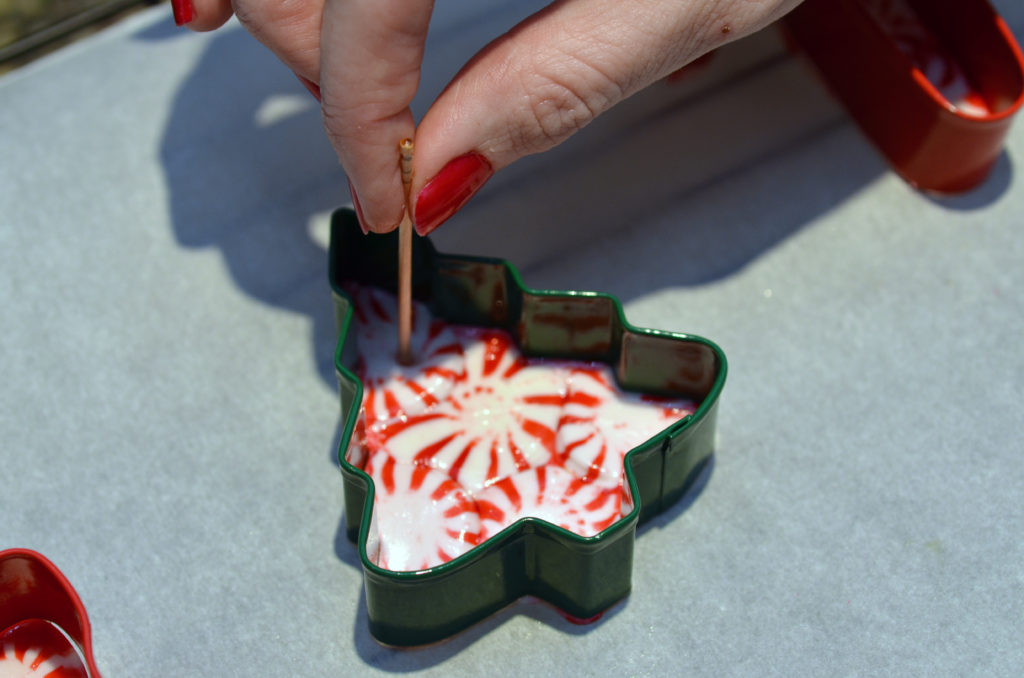
4: Let them cool for about a minute and use a toothpick or skewer to create a hole in them to add ribbon later
Pro Tip: You can also make additional designs using a tooth pick. This step is best done by an adult. Remember the cookie cutter will be very hot so use caution. You can skip this step if you want to create a lollipop by adding a stick instead.
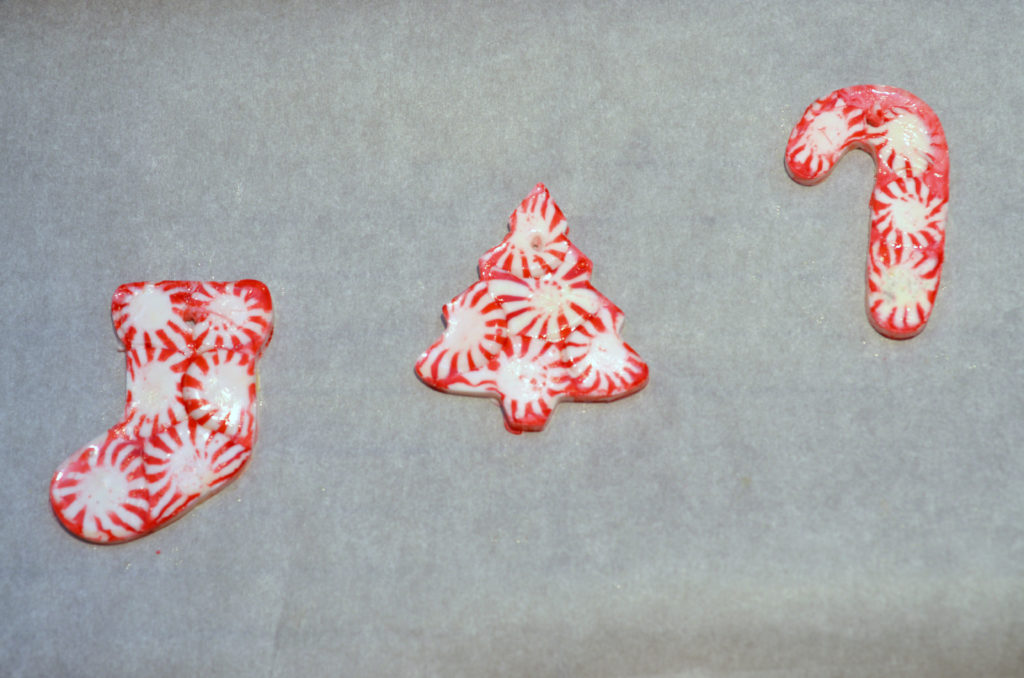
5: Let them cool for another couple of minutes and then remove them from the cookie cutters. You can use a spoon to help push them out of the cookie cutter.
Pro Tip: They cook and cool quickly, don't wait too long to remove them from the cookie cutters. If any candy melts under the cookie cutter you can easily break it off before removing them from the cookie cutter. If you need to get something off of them do not put water on them, it will make they very sticky.
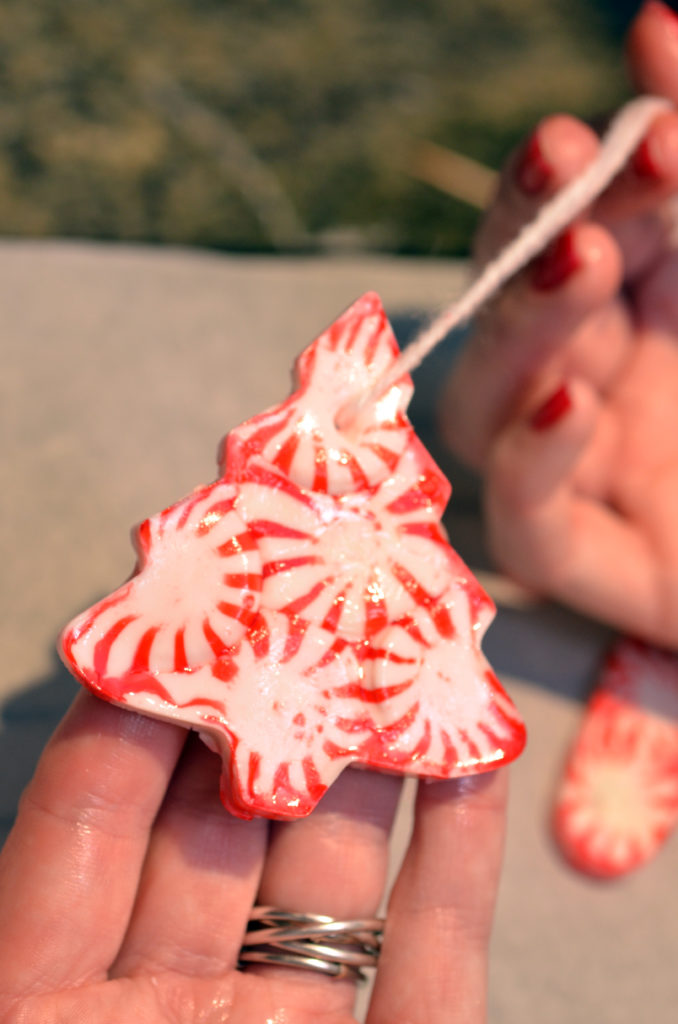
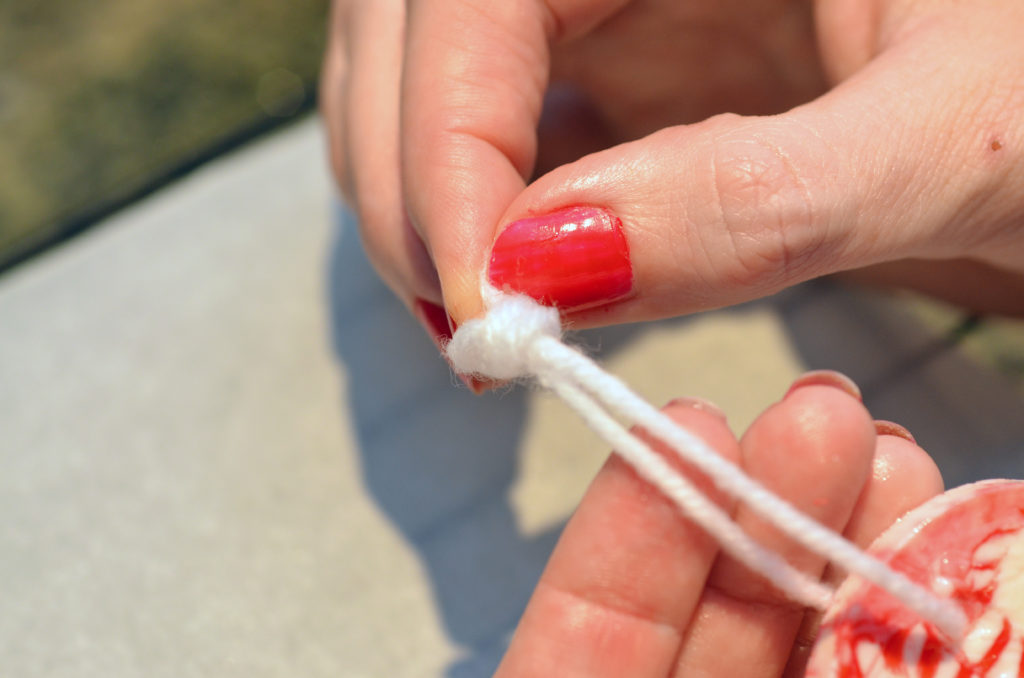
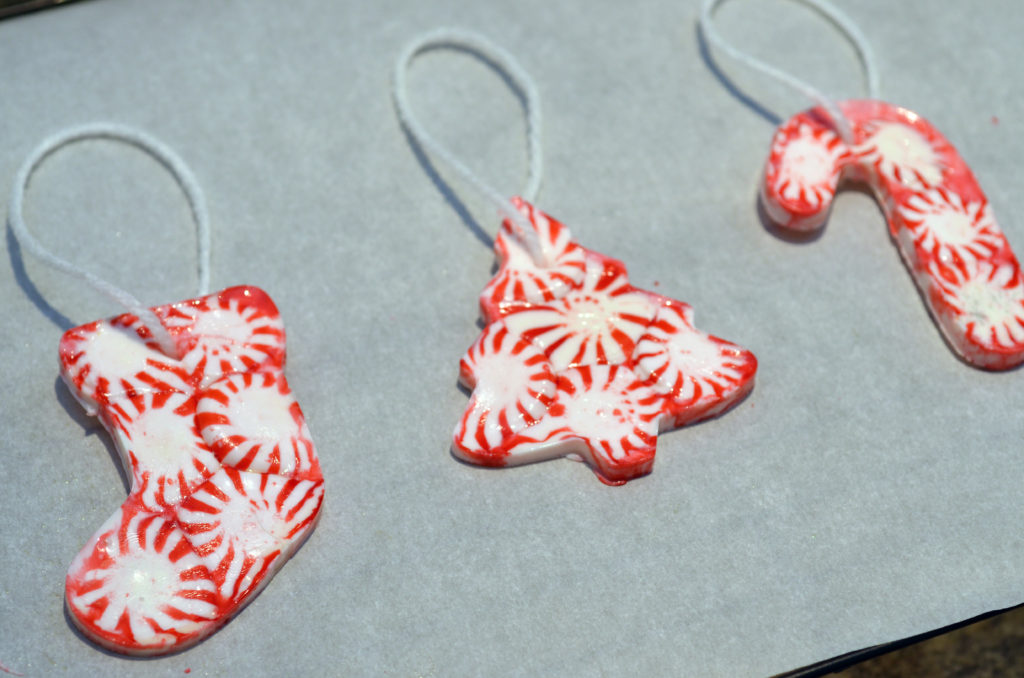
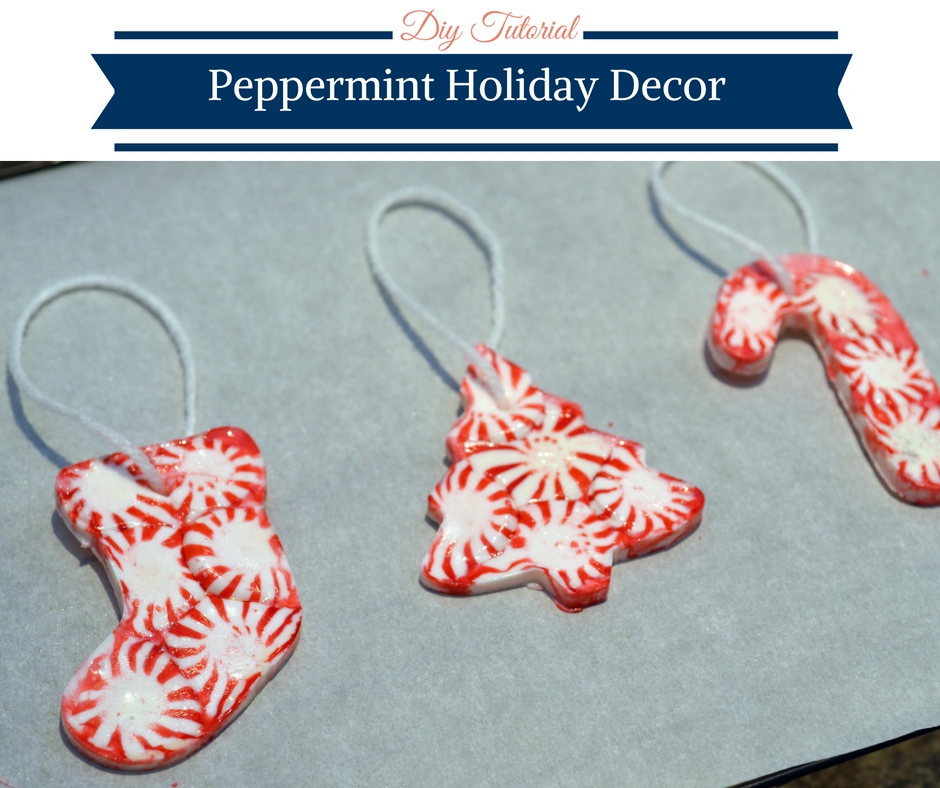
6: Add ribbon or string and tie in a knot. Bailey's first reaction was I love them and can I eat one!
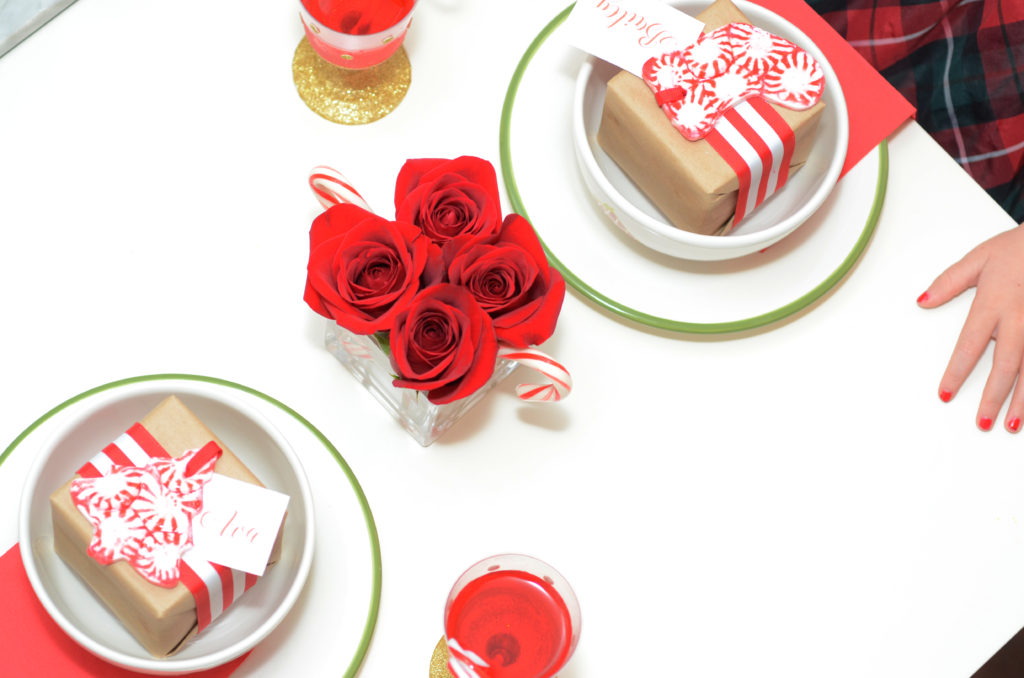
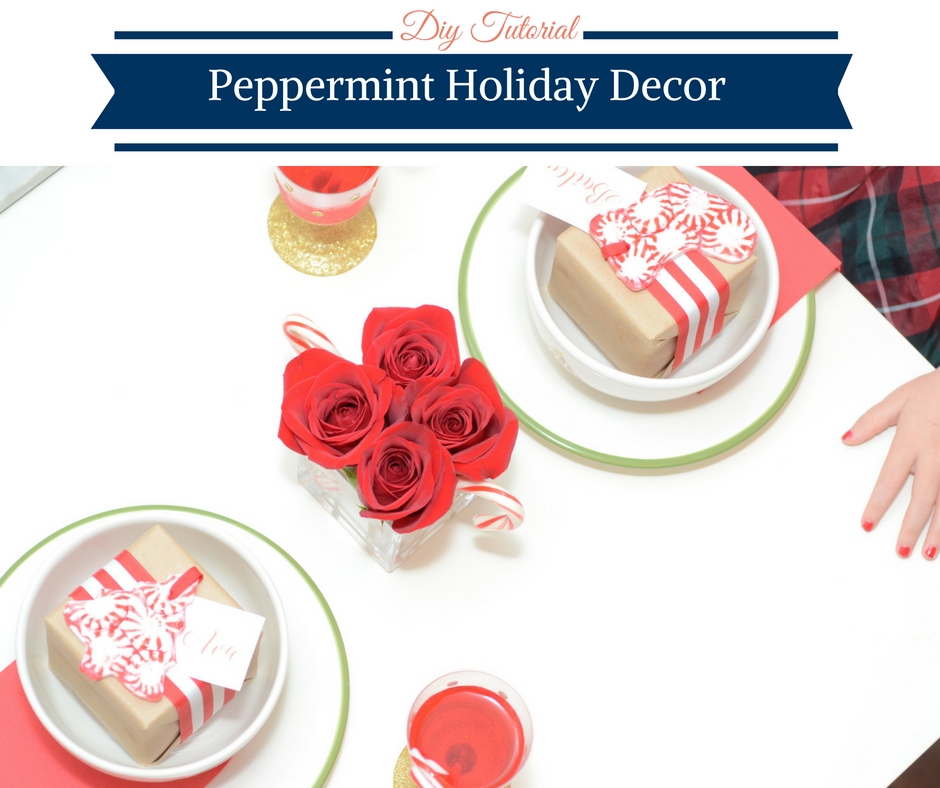
You can add them to your Christmas tree or use them to decorate. We setup a beautiful Holiday table with red roses, candy canes, gold sparkling glasses, candy cane straws, and Santa dishes. We wrapped a special gift for each person with red and white ribbon and our peppermint craft with their names that doubled as a gift and a name card.
Add the ornament to your tree or on top of a gift.
Cheers to a job well done and beautiful Peppermint Holiday Decor!
Now it is time to hop over to Lori from Giggle Home Furnishings to learn how to make yummy snow globe treats.
Do you have a favorite Holiday craft? I would love to hear about it, comment below.




JD - altamontefamily.com says
What. A. Cute. And. Awesome. Idea! LOVE! Cutest peppermint decor ever. Thanks so much for sharing this brilliant idea. And, your daughter is adorable! Merry Christmas to you and your gorgeous family!
Cristy says
Your comment made my day! Thank you. Merry Christmas to you and your family as well!
Jeanne says
What a cute idea...your helper/chef is even cuter! Merry Christmas.
Cristy says
Thank you. She had a blast!
Kendra G. says
Super cute!! I am definitely trying this! Merry Christmas!
Cristy says
Merry Christmas. Let me know if you try them. Love to see your creations.
Lisa says
Such a fun idea! Bailey is adorable as always. Loving the matching mom and daughter manicures. ?
Cristy says
Thank you. It is all about the details!!!
Lori says
These are so cute!! I love crafting in the kitchen! I love how you used them as place cards!!
Cristy says
Thank you Lori! They were so much fun to make.
Pretty Twinkle Party says
I love the peppermint ornaments! Looks like fun to make and perfect for the holiday!
Cristy says
Me too. They were a blast to make
Sarah Sofia Knepp says
Cristy, I absolutely love how B is enjoying following her mama in party planning! She is cute and festive in her plaid dress! This is such a festive and creative craft idea and can't wait to try it with my girls! XOXO, Sarah
Nathalie - Press Print Party! says
I've always wanted to make those. Seeing how great yours turned out, now I really have to try!
Cristy says
You are too sweet. We had a blast
Carolina says
Awww!! Looks so easy!! Need to try this next year for sure!!
Cristy says
They are so easy and so much fun
Bri Adams says
Oh my goodness she is the cutest! I have a little red head myself. This is such a great kid activity. Love it.
Cristy says
Red heads are the best!!! We had so much fun with these
Bird says
This is a sweet idea! perfect to make with the kids! And you little helper is adorable! 🙂
Cristy says
Thank you. We loved making them. Best assistant ever!
Deanna @ Mirabelle Creations says
These little ornaments are such a sweet idea! And, you definitely have the cutest little assistant, ever!
Cristy says
Thank you! I agree she is the best assistant!
Jennifer ~ BellaGrey Designs says
What a fun way to use these candies and make ornaments!! Love it Cristy!!
Cristy says
Thank you! It is a fun project.
Lisa Kettell says
This is such a great idea. Thanks so much for sharing it!
Cristy says
Thank you. We had a blast