• Skip to primary navigation
  • Skip to main content
  • Skip to primary sidebar
Happy Family Blog logo
  • About
    • Newsletter
    • Contact Me
    • Collaborate
    • Resource Page
    • Press
  • Recipes
  • LIfestyle
  • Travel
  • Shop
    • My Favorite Products
    • Make Money Working with Brands
  • Nav Social Menu

    • Facebook
    • Instagram
    • Pinterest
    • Twitter
menu icon
go to homepage
subscribe
search icon
Homepage link
  • About
    • Newsletter
    • Contact Me
    • Collaborate
    • Resource Page
    • Press
  • Recipes
  • LIfestyle
  • Travel
  • Shop
    • My Favorite Products
    • Make Money Working with Brands
    • Facebook
    • Instagram
    • Pinterest
    • Twitter
  • ×

    Home » Parties » Holidays » Easter

    DIY Easy Floral Easter Eggs

    Apr 8, 2017 · Leave a Comment

    46 shares
    • Share
    • Tweet

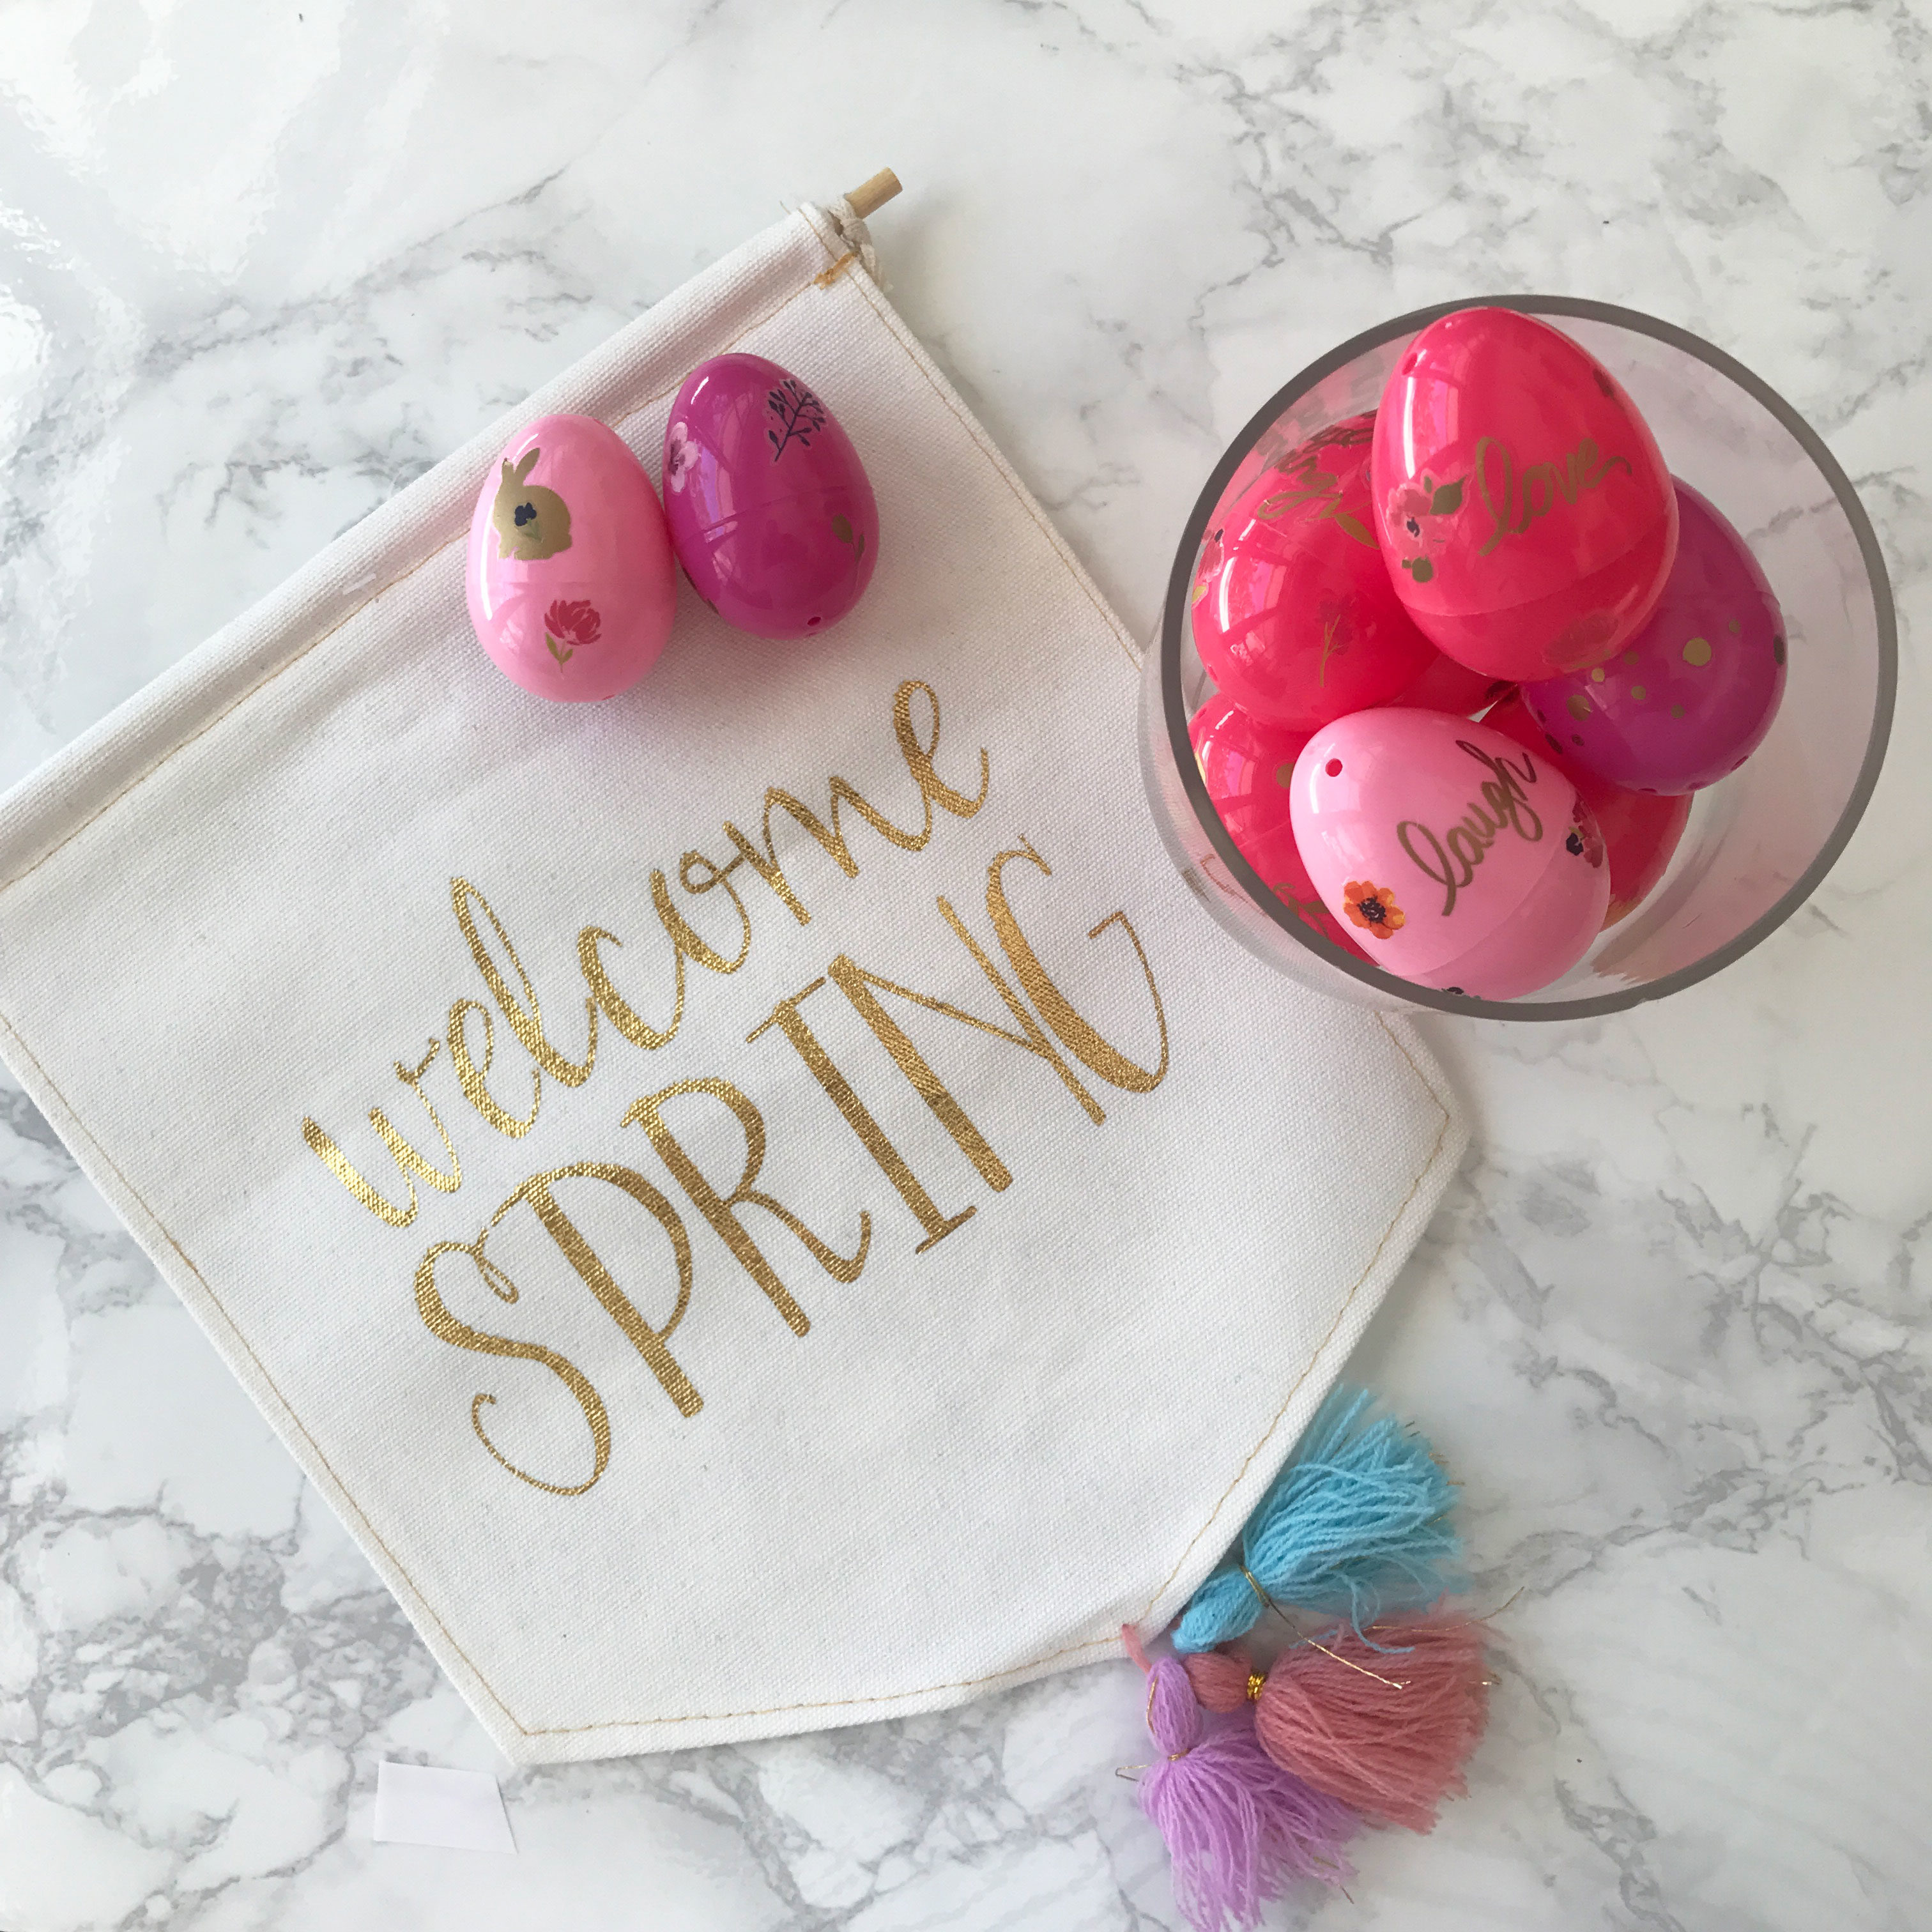
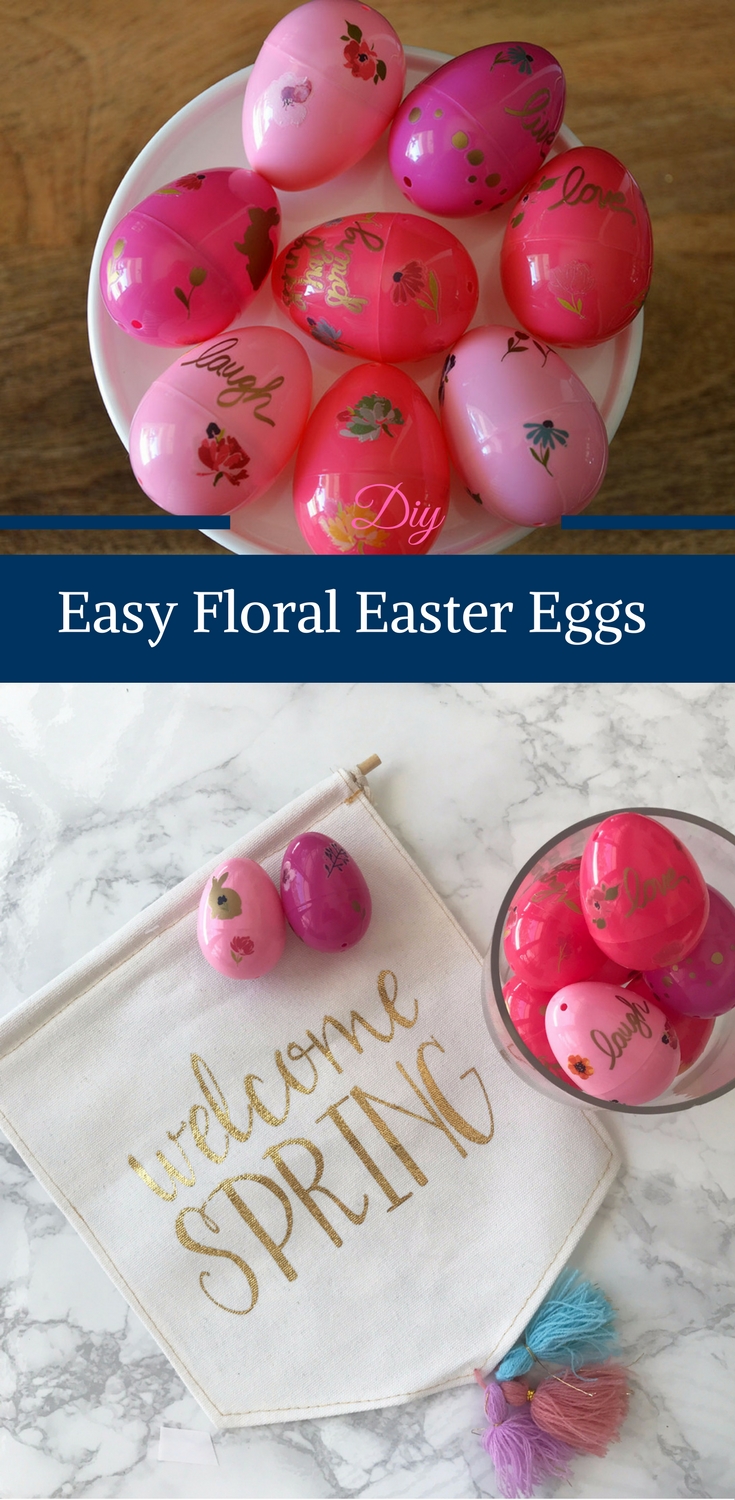
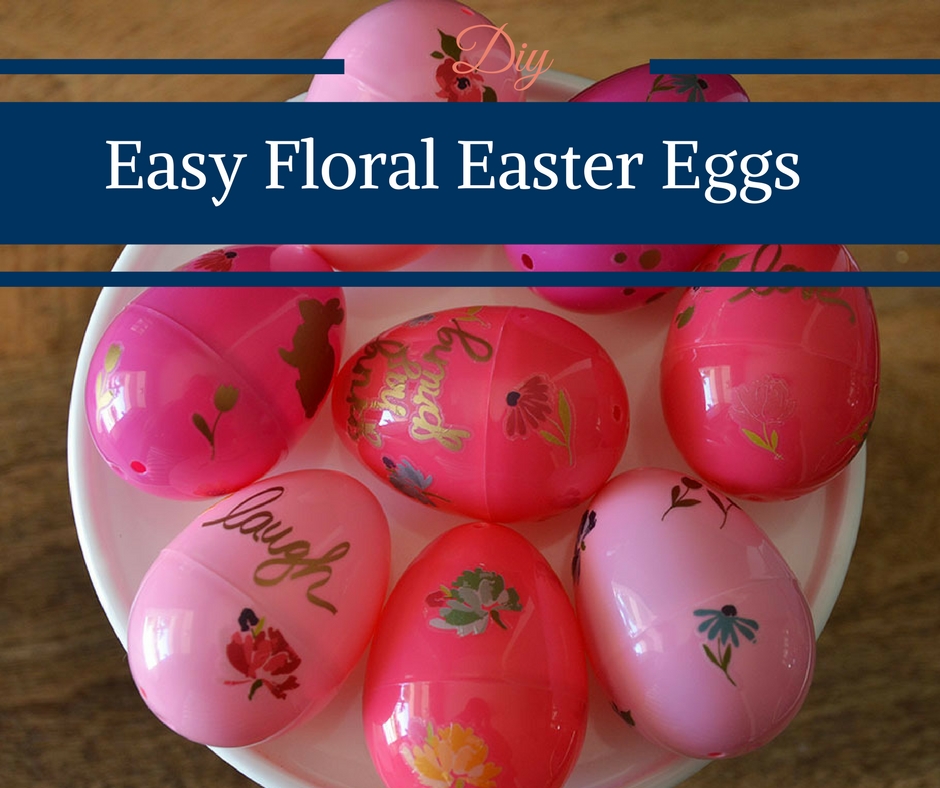
    Before our daughter was old enough to help I used to enjoy dying Easter eggs.  Now that she wants to not only help. but also do it all by herself I knew it was time to find a new way to decorate Easter eggs.  I no longer need to boil eggs and worry about wasting the eggs.  I love that you can buy just pink plastic Easter eggs.  This is my favorite way to decorate eggs now.  I was easy Bailey could do all the steps herself which made everyone happy.  I am excited to share gow to make easy floral Easter eggs.
    Easy Floral Easter Eggs by Happy Family Blog

    Easy Floral Easter Eggs by Happy Family Blog

    Easy Floral Easter Eggs by Happy Family Blog

    Easy Floral Easter Eggs by Happy Family Blog

    Supplies for Easy Floral Easter Eggs

    Easy Floral Easter Eggs by Happy Family Blog

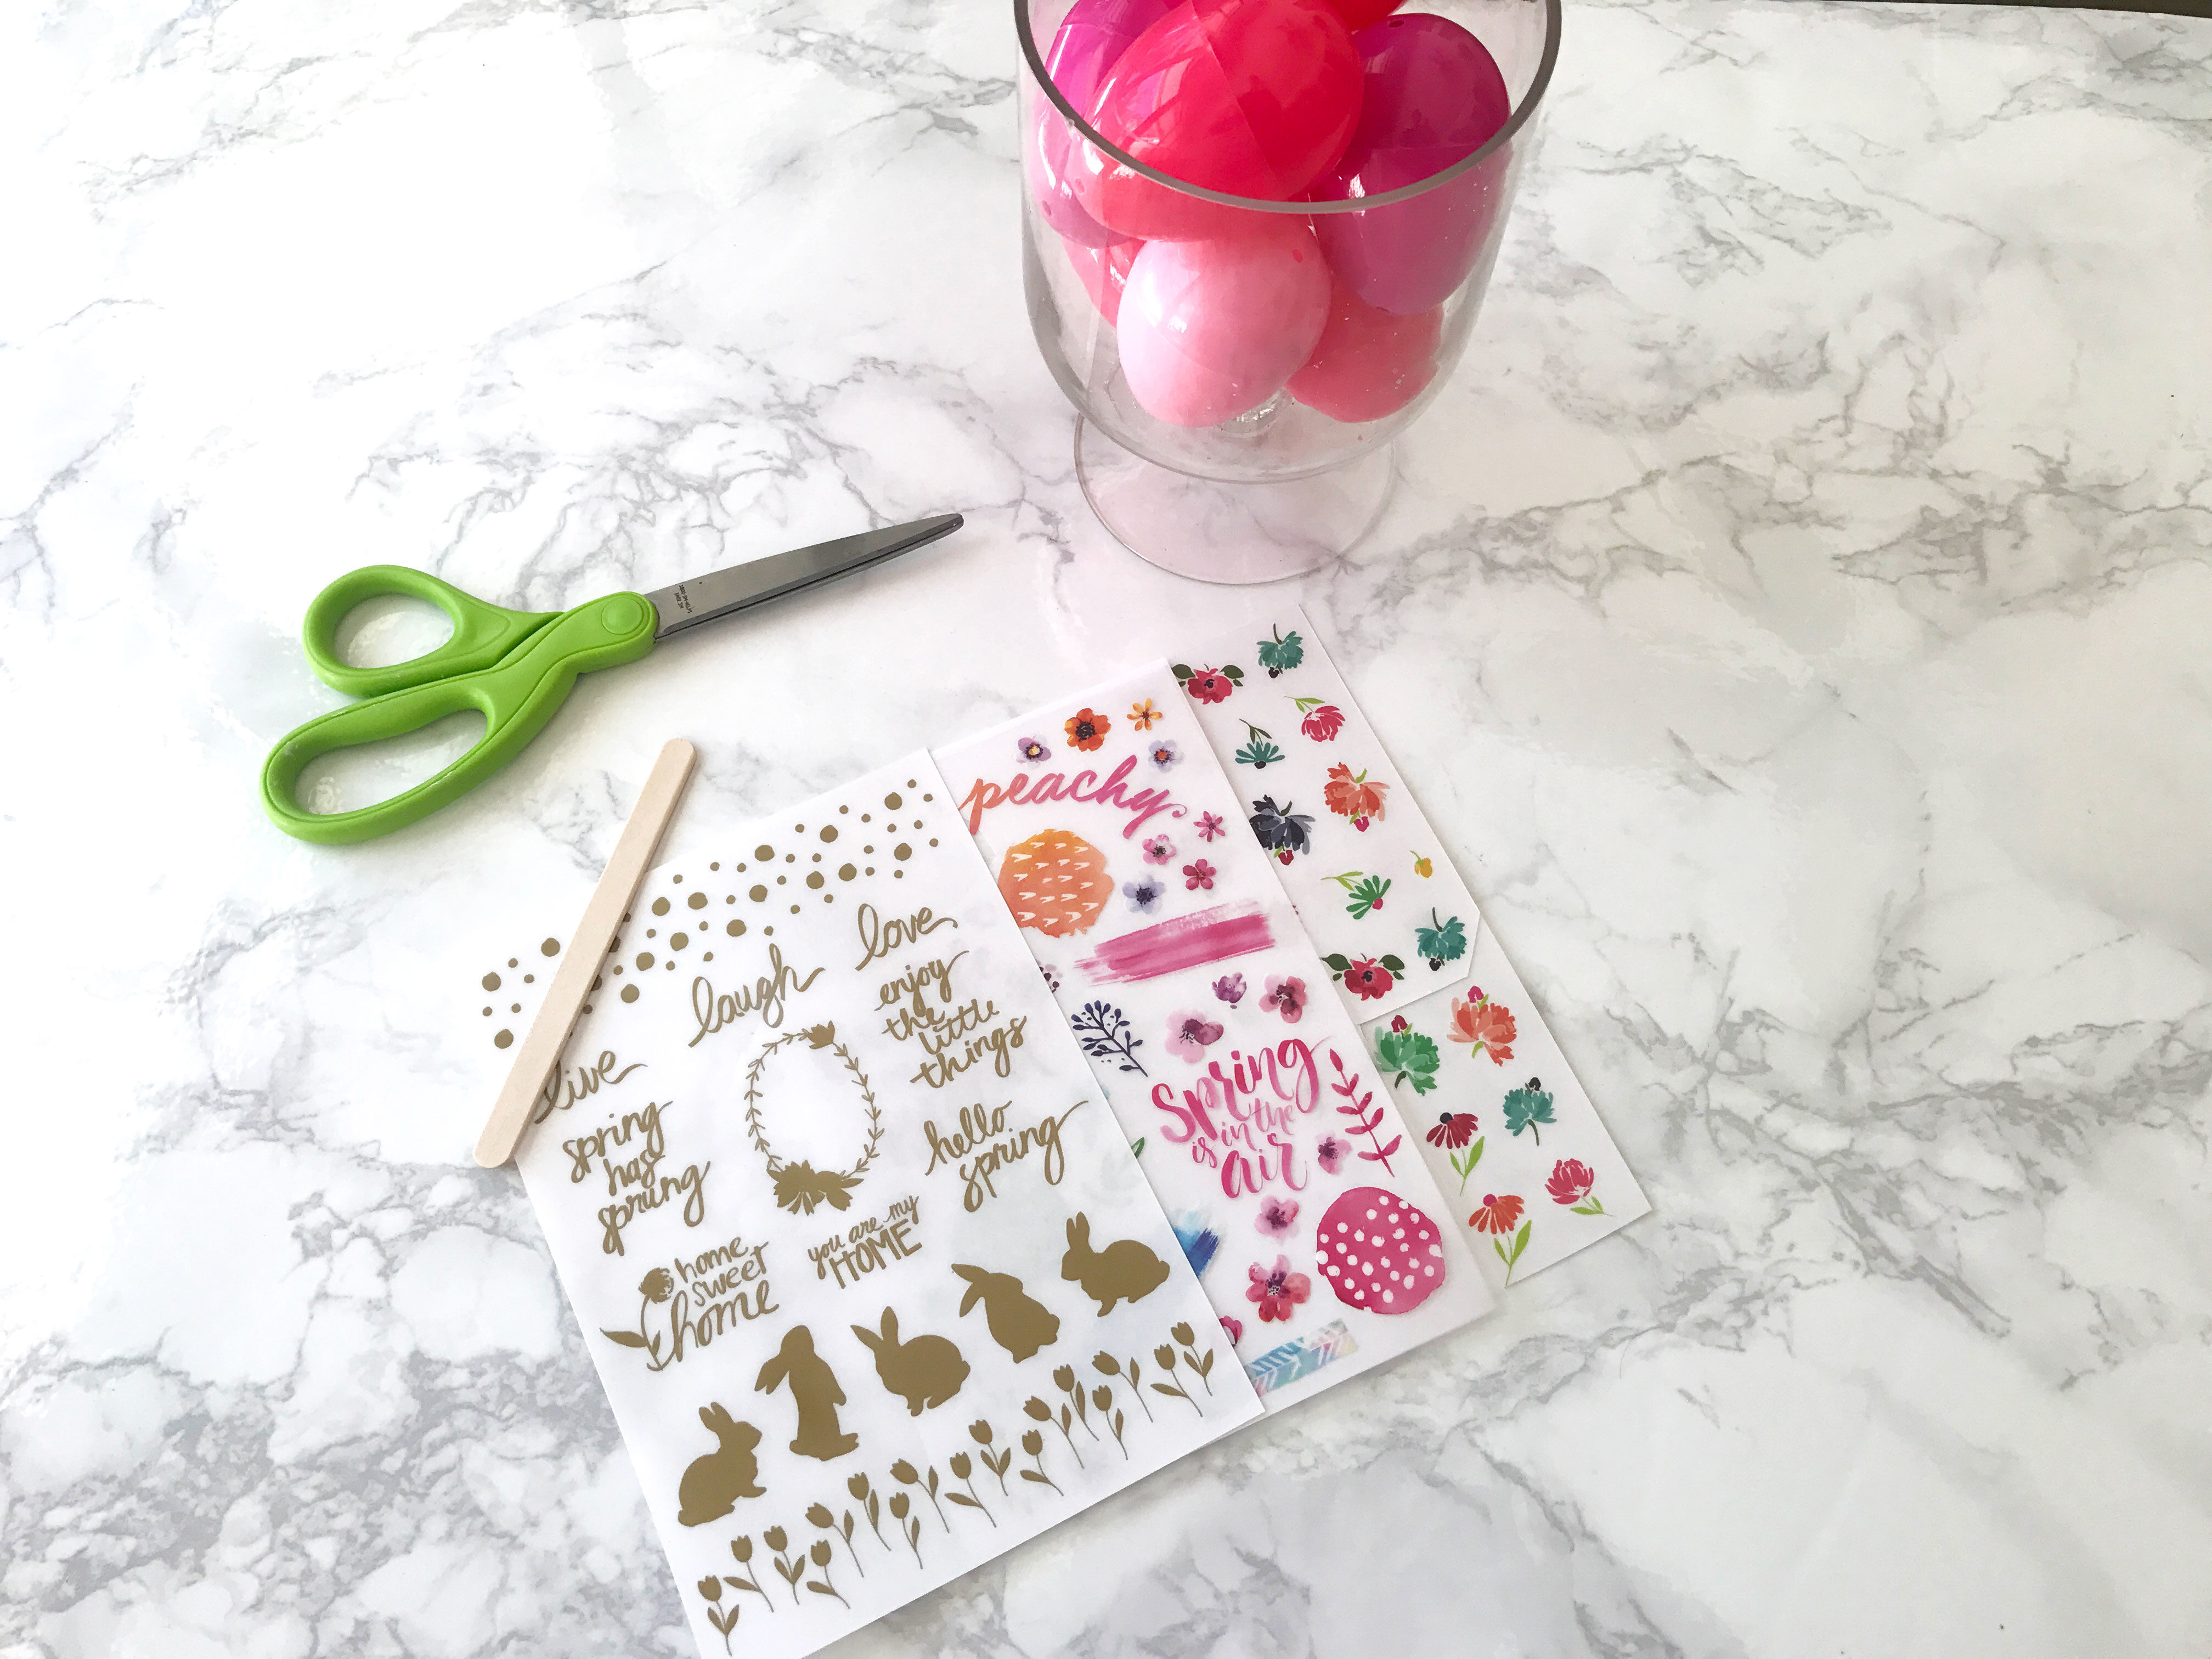
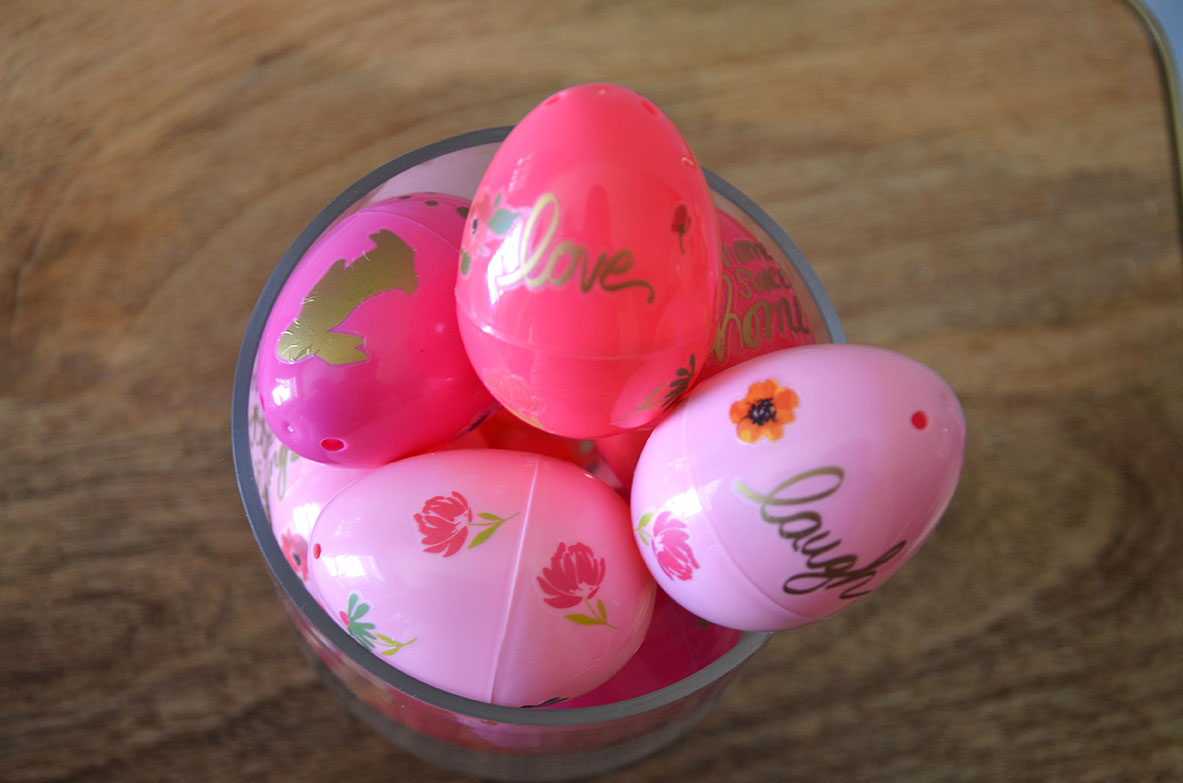
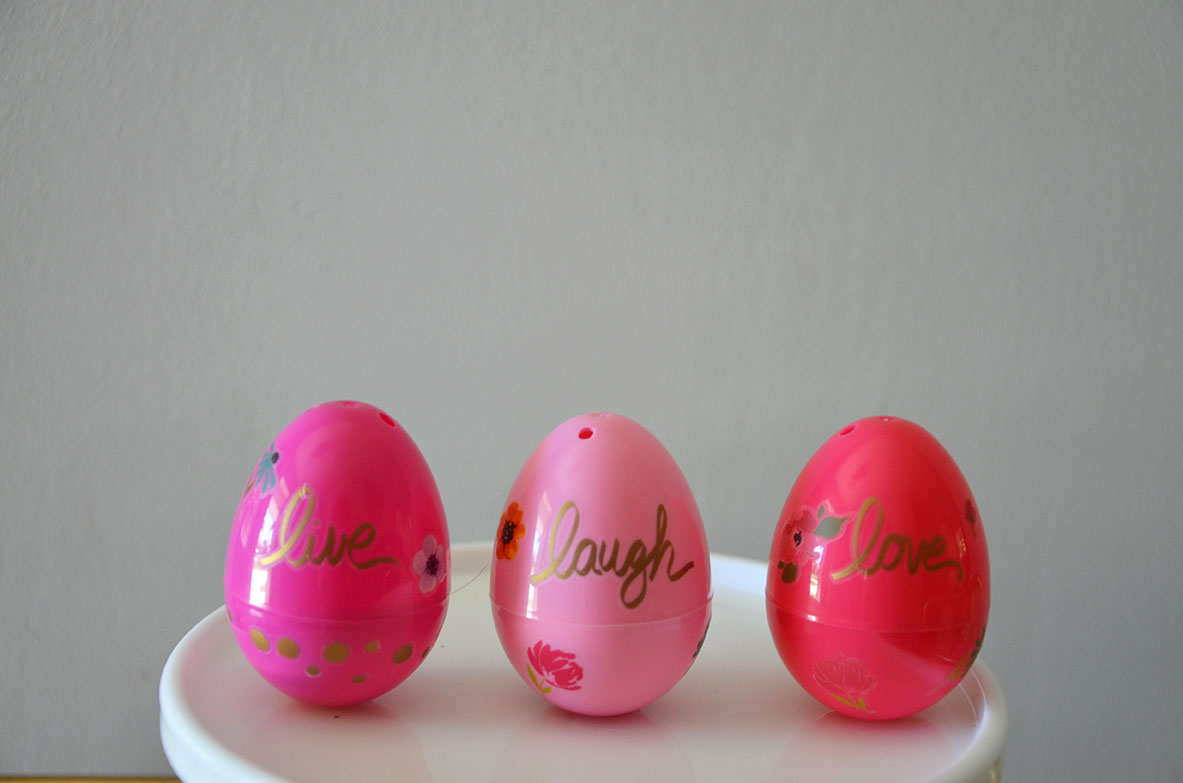
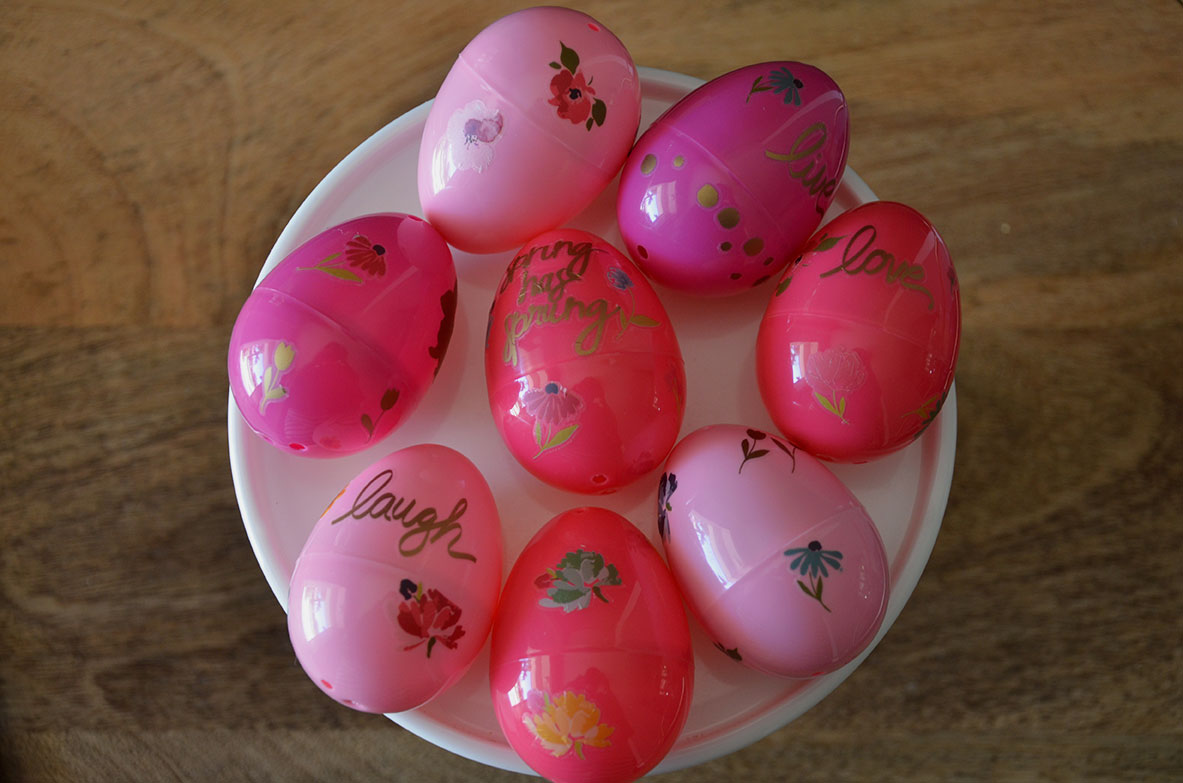
    • Rub on transfers - I bought mine at Target, but these are similar
    • Plastic Easter Eggs 
    • Scissors

    How to Make Easy Floral Easter Eggs

    1. Cut out the flowers and details you want to use.

    Easy Floral Easter Eggs by Happy Family Blog

    2. Remove the clear paper

    Easy Floral Easter Eggs by Happy Family Blog

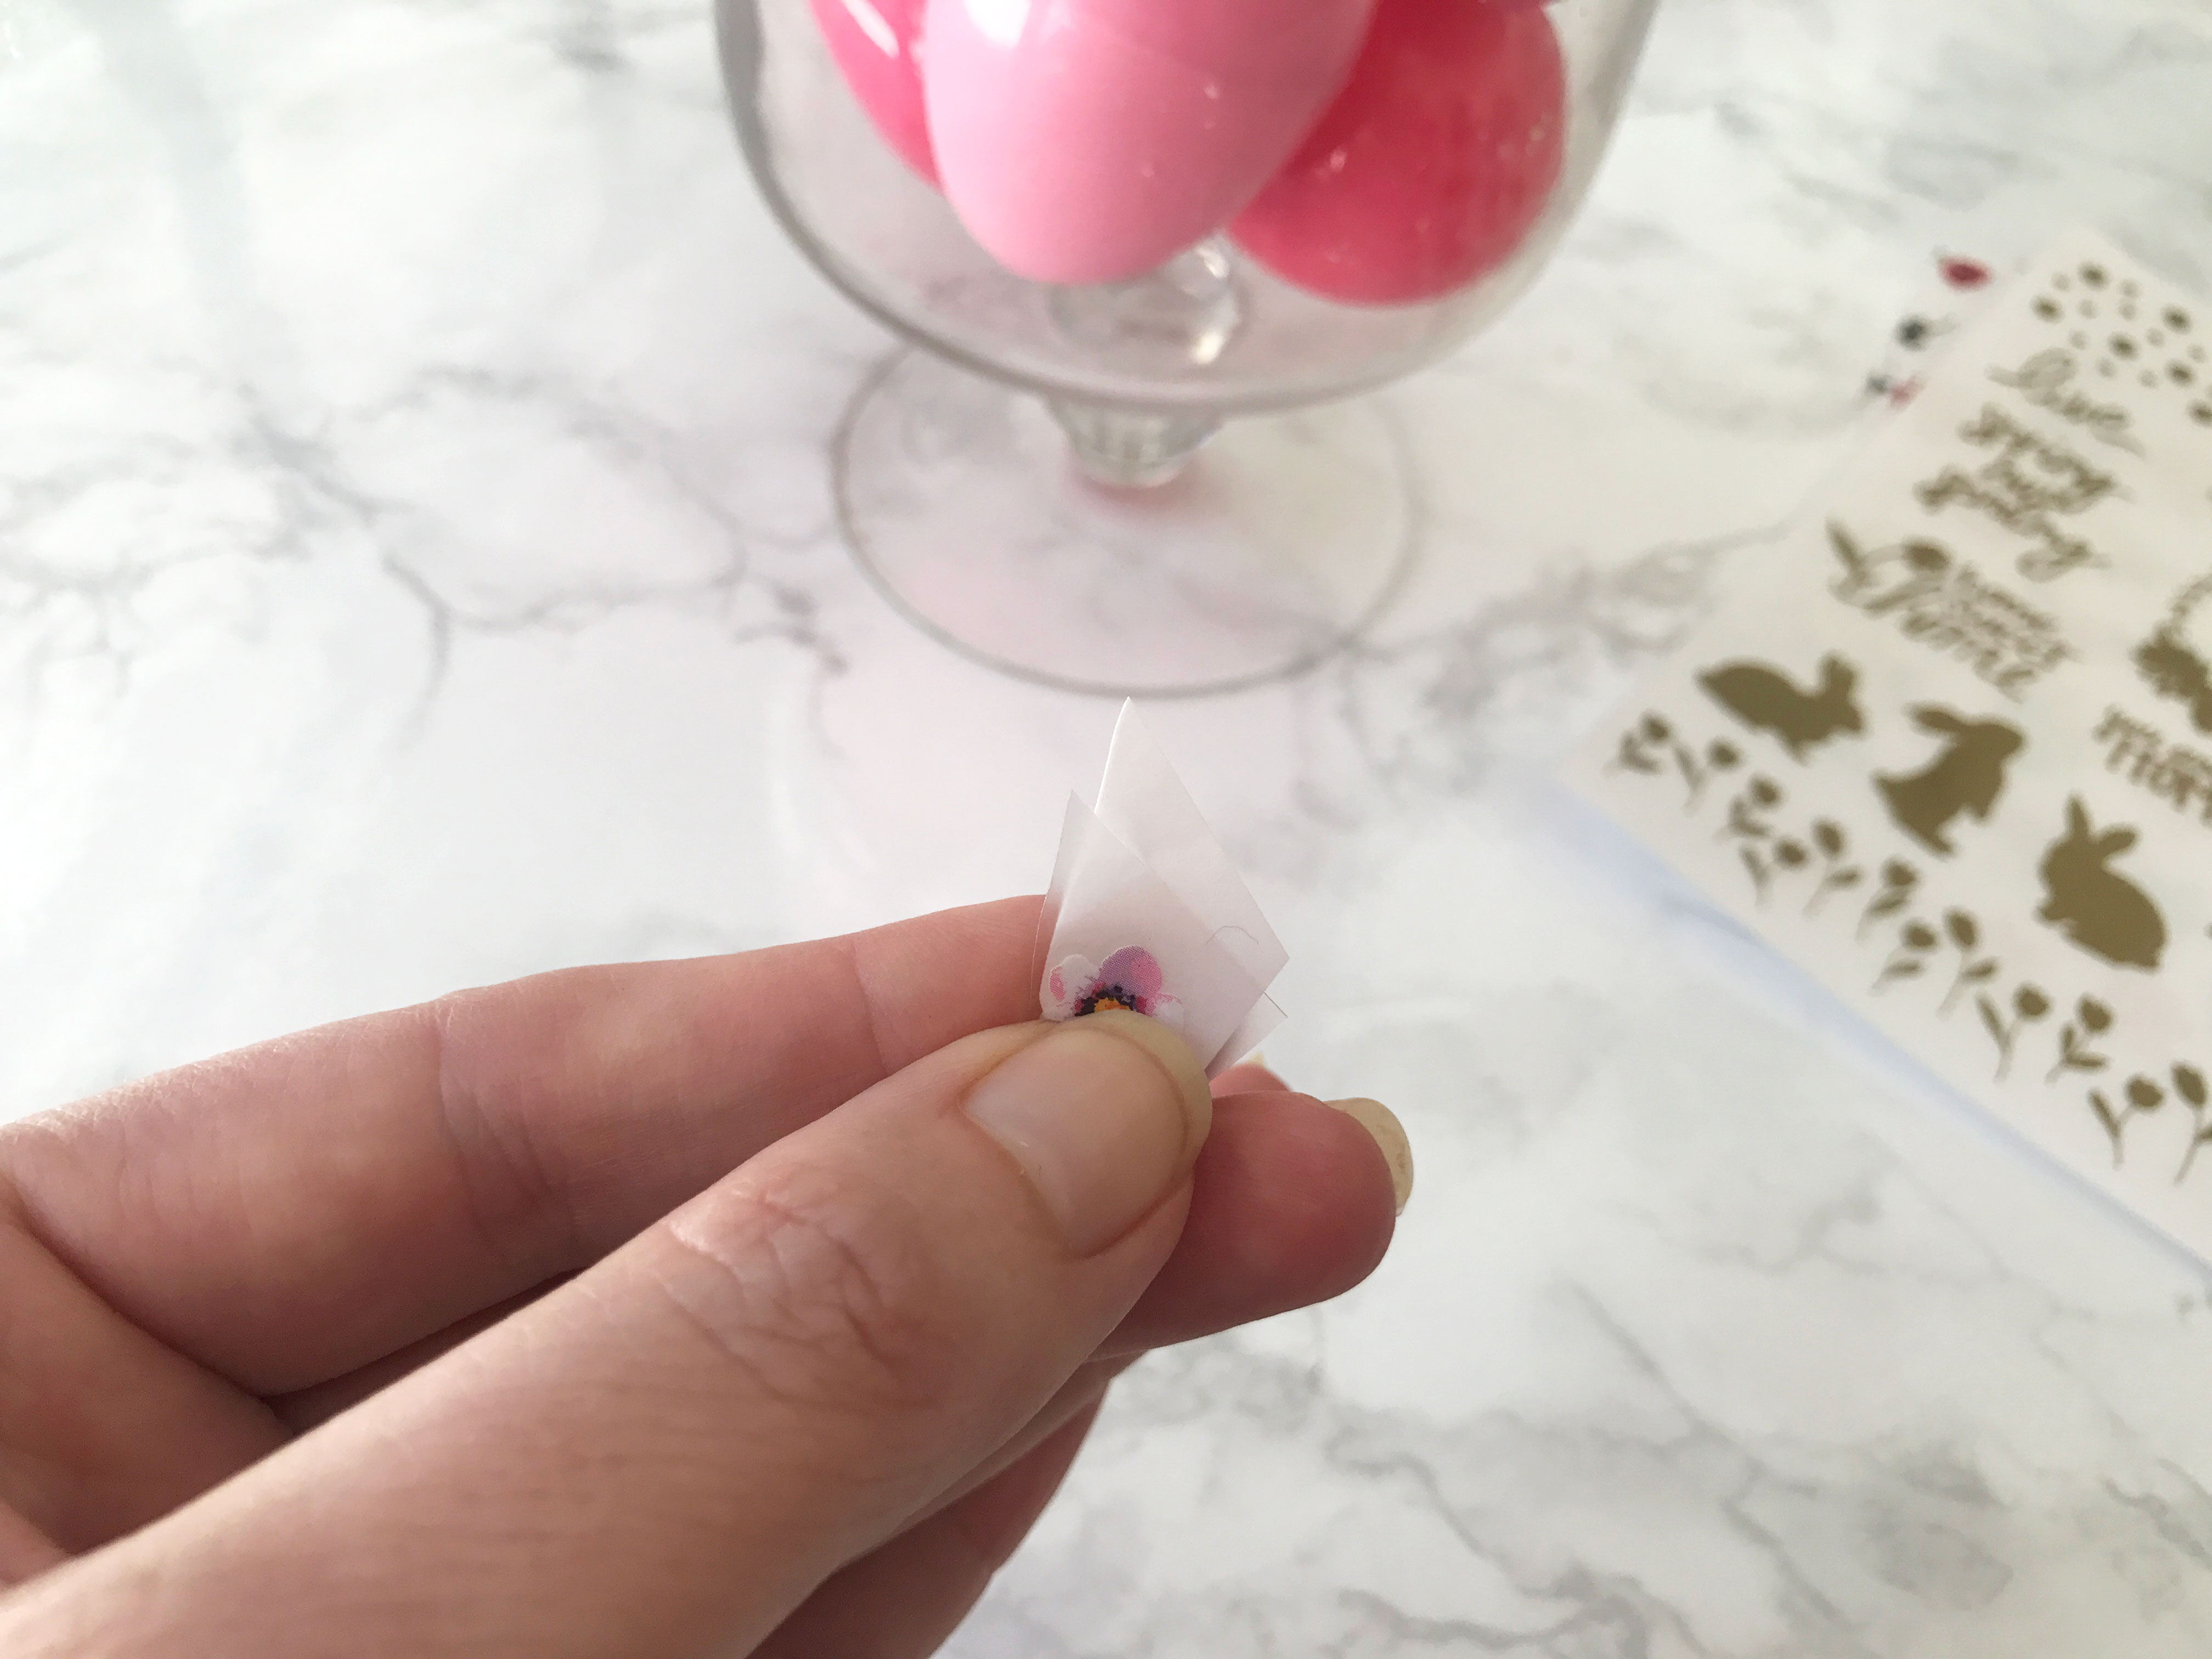
    3. Place the design where you want it on the egg.

     Pro tip: Once you place it on the egg do not move it again.  Part of the design may stick to the egg.  Separate the egg into two pieces.  It is easier to apply the pressure needed.  Easy Floral Easter Eggs by Happy Family Blog

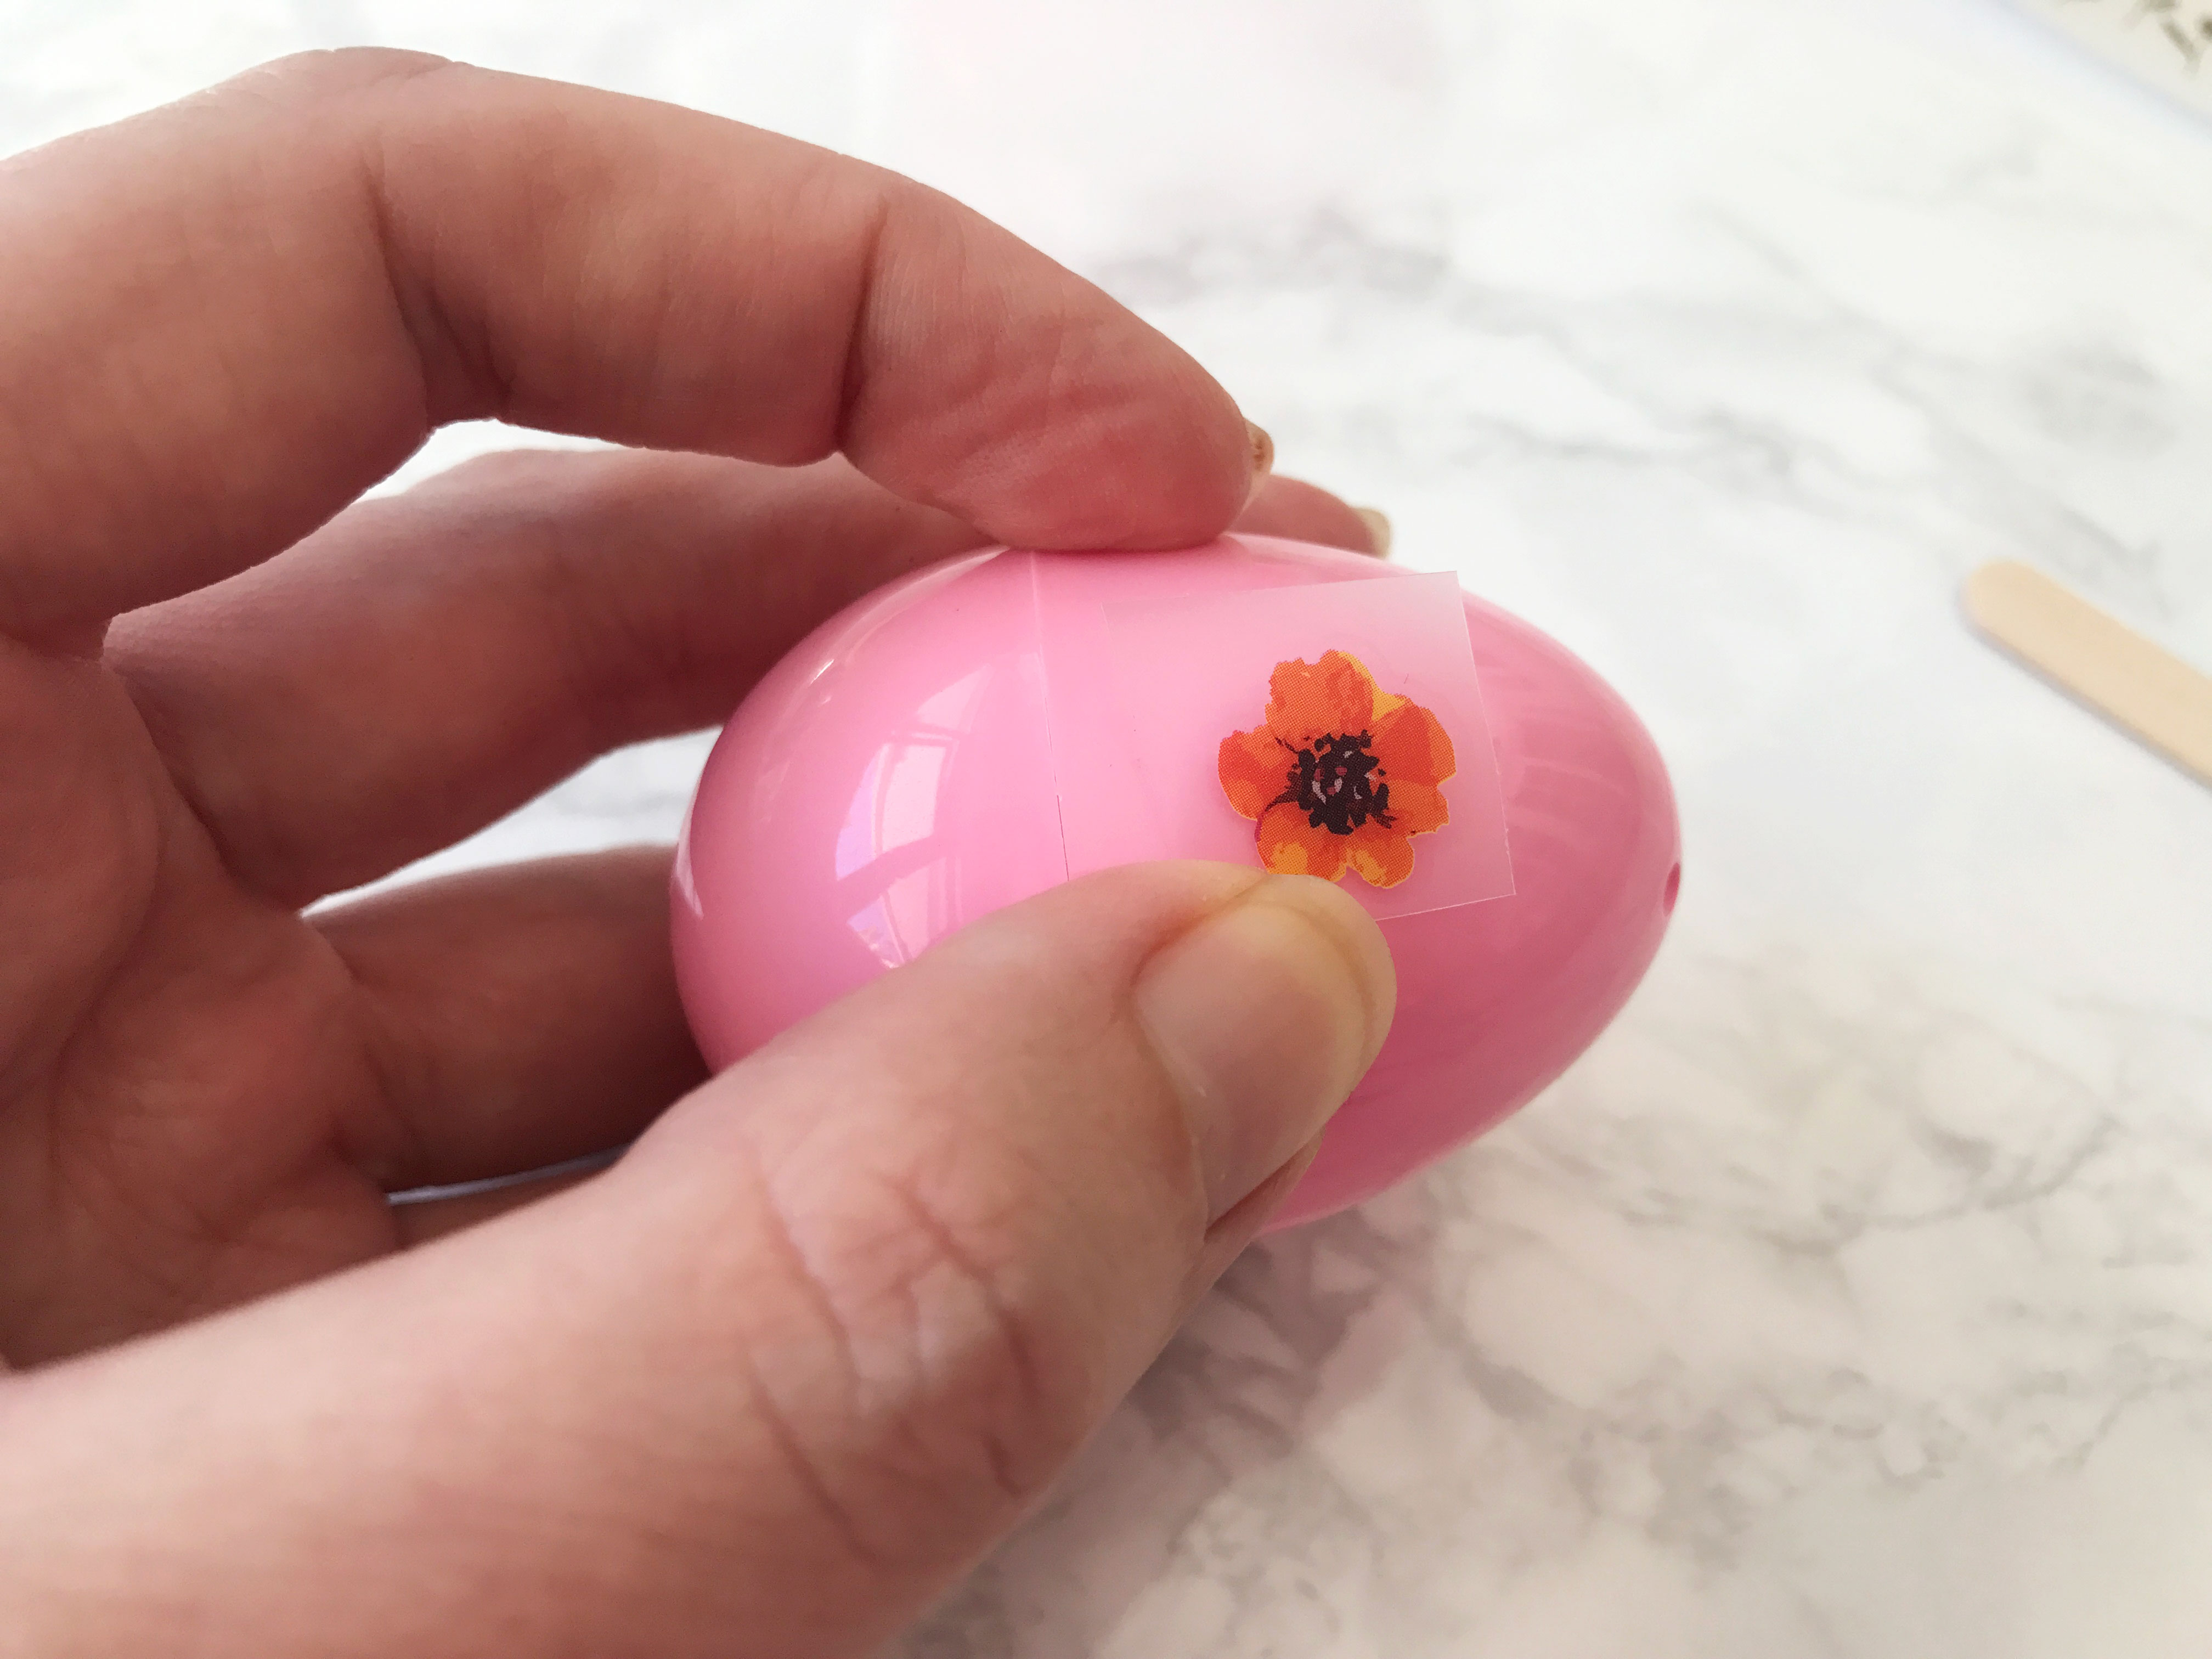
    4. Using the wood stick int he package rub the design onto the eggs. Easy Floral Easter Eggs by Happy Family Blog

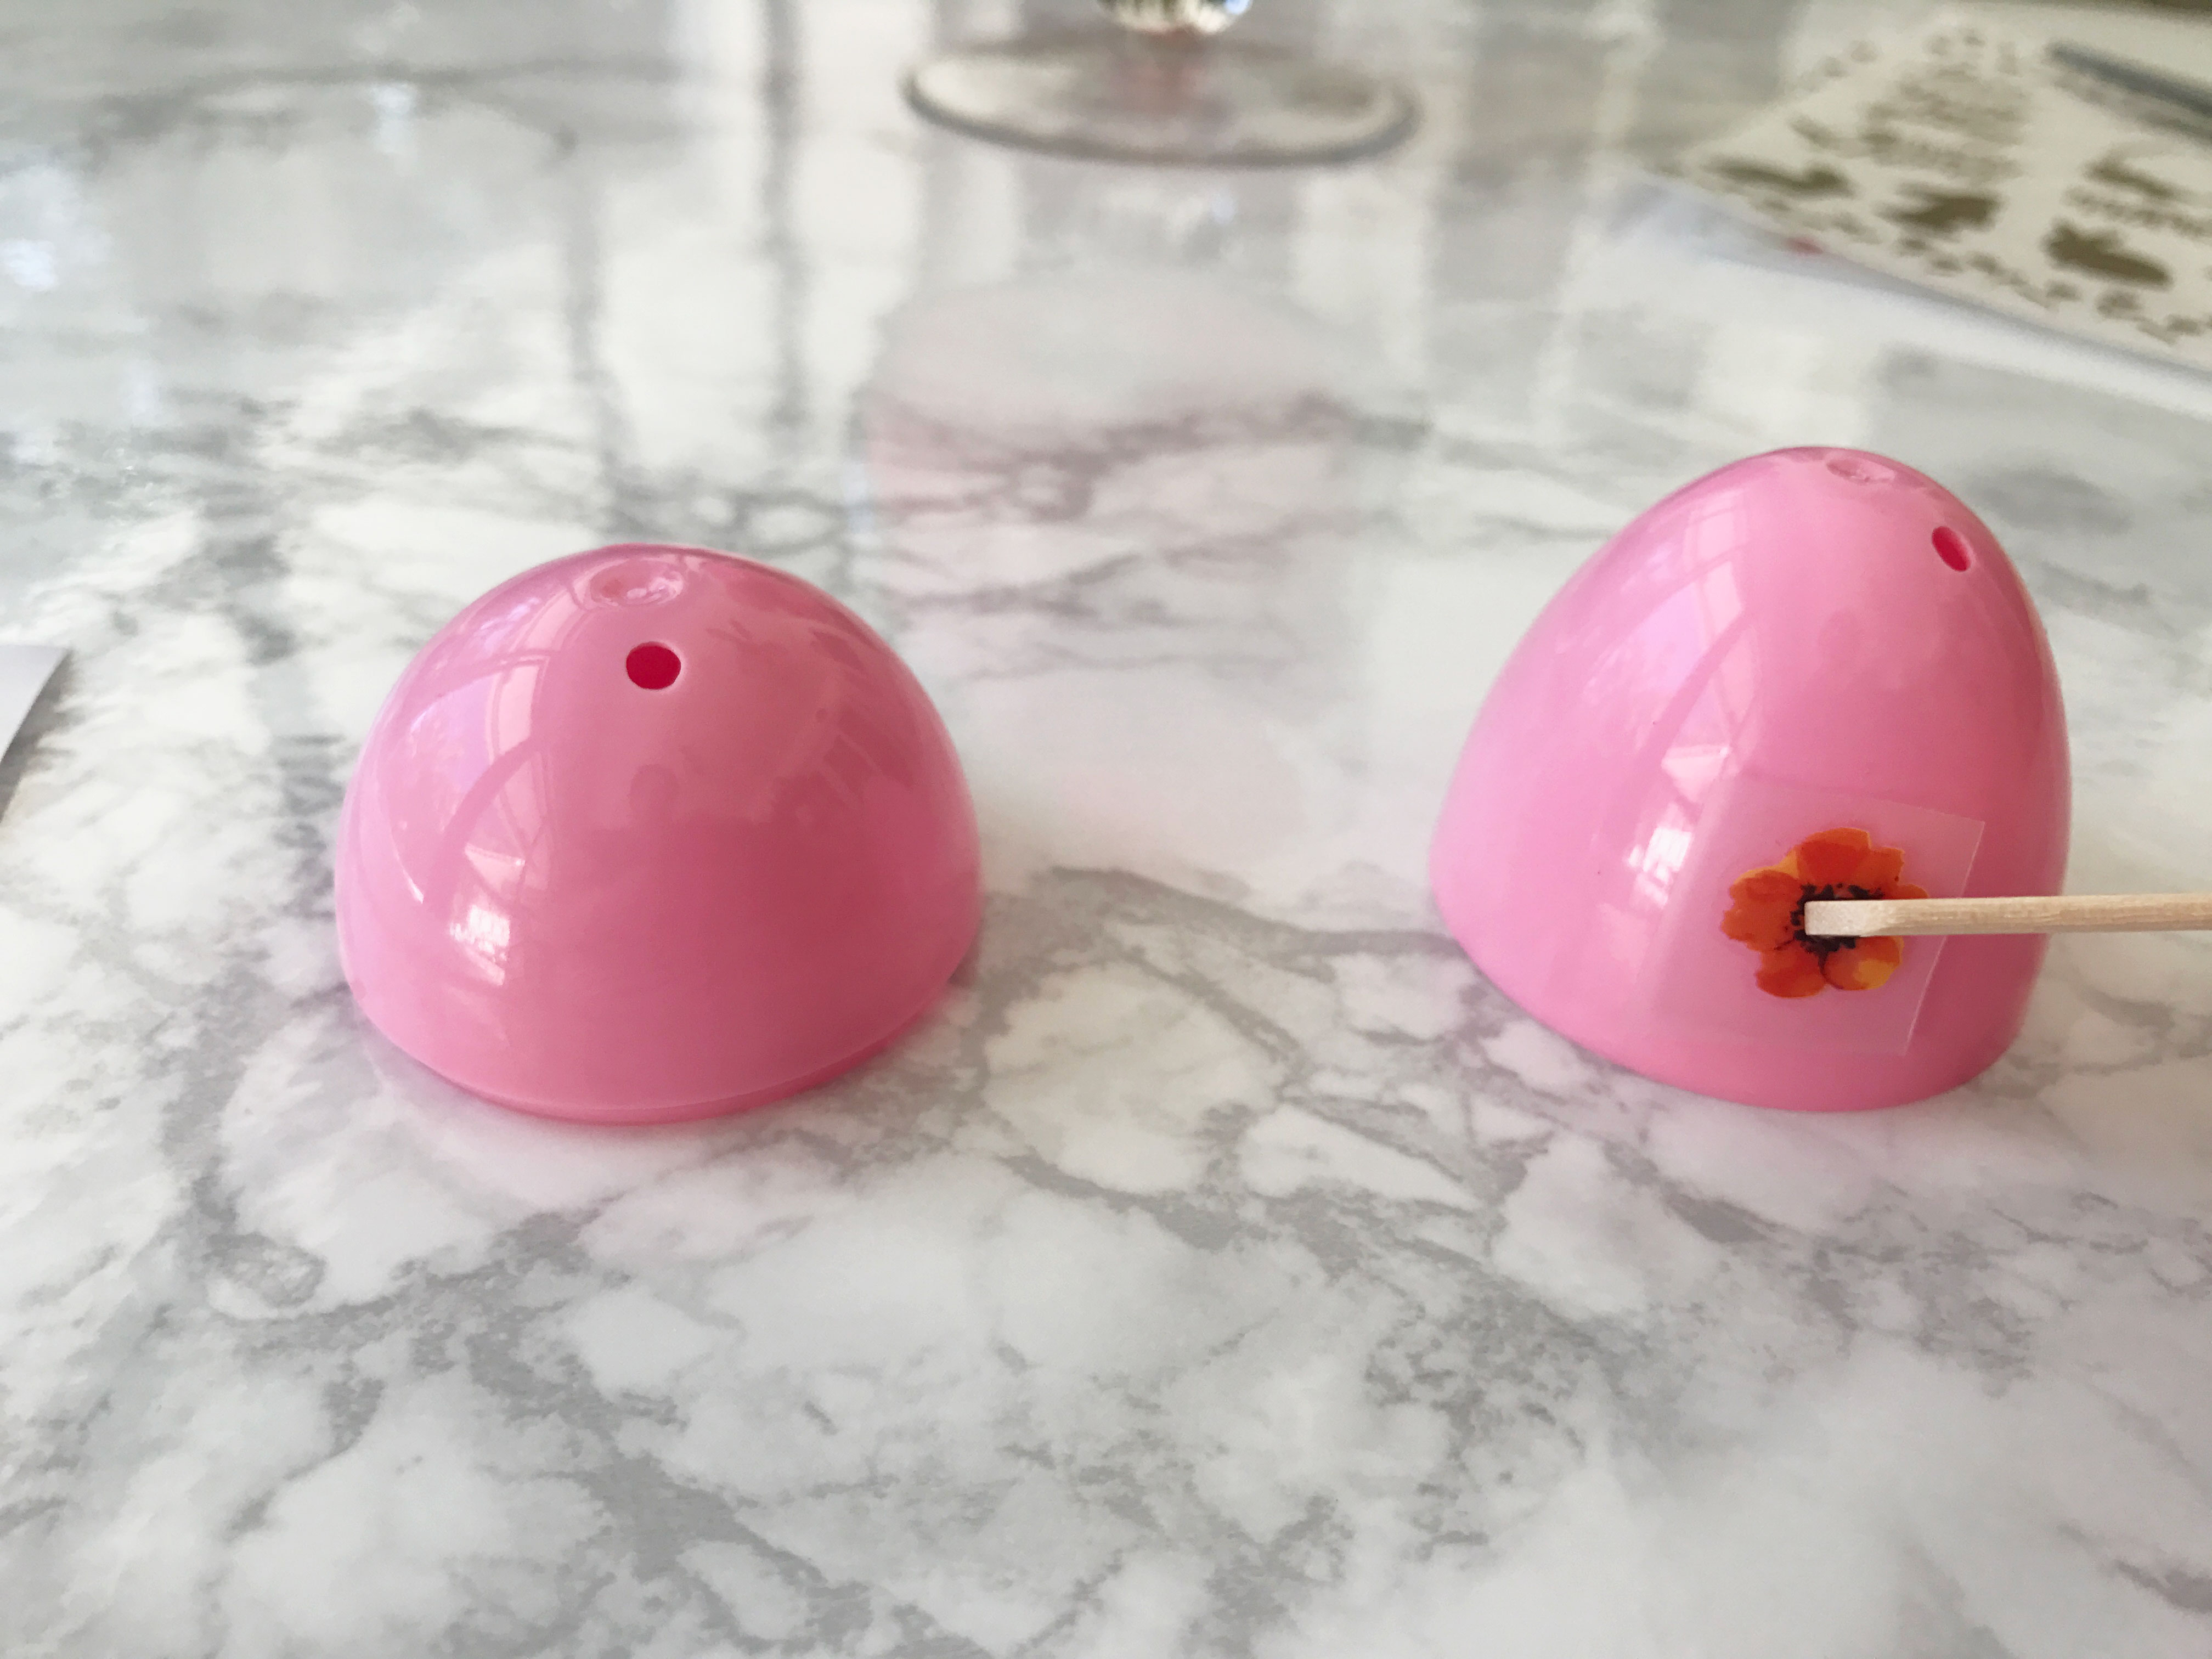
    5. Remove the clear pieces.  Repeat steps
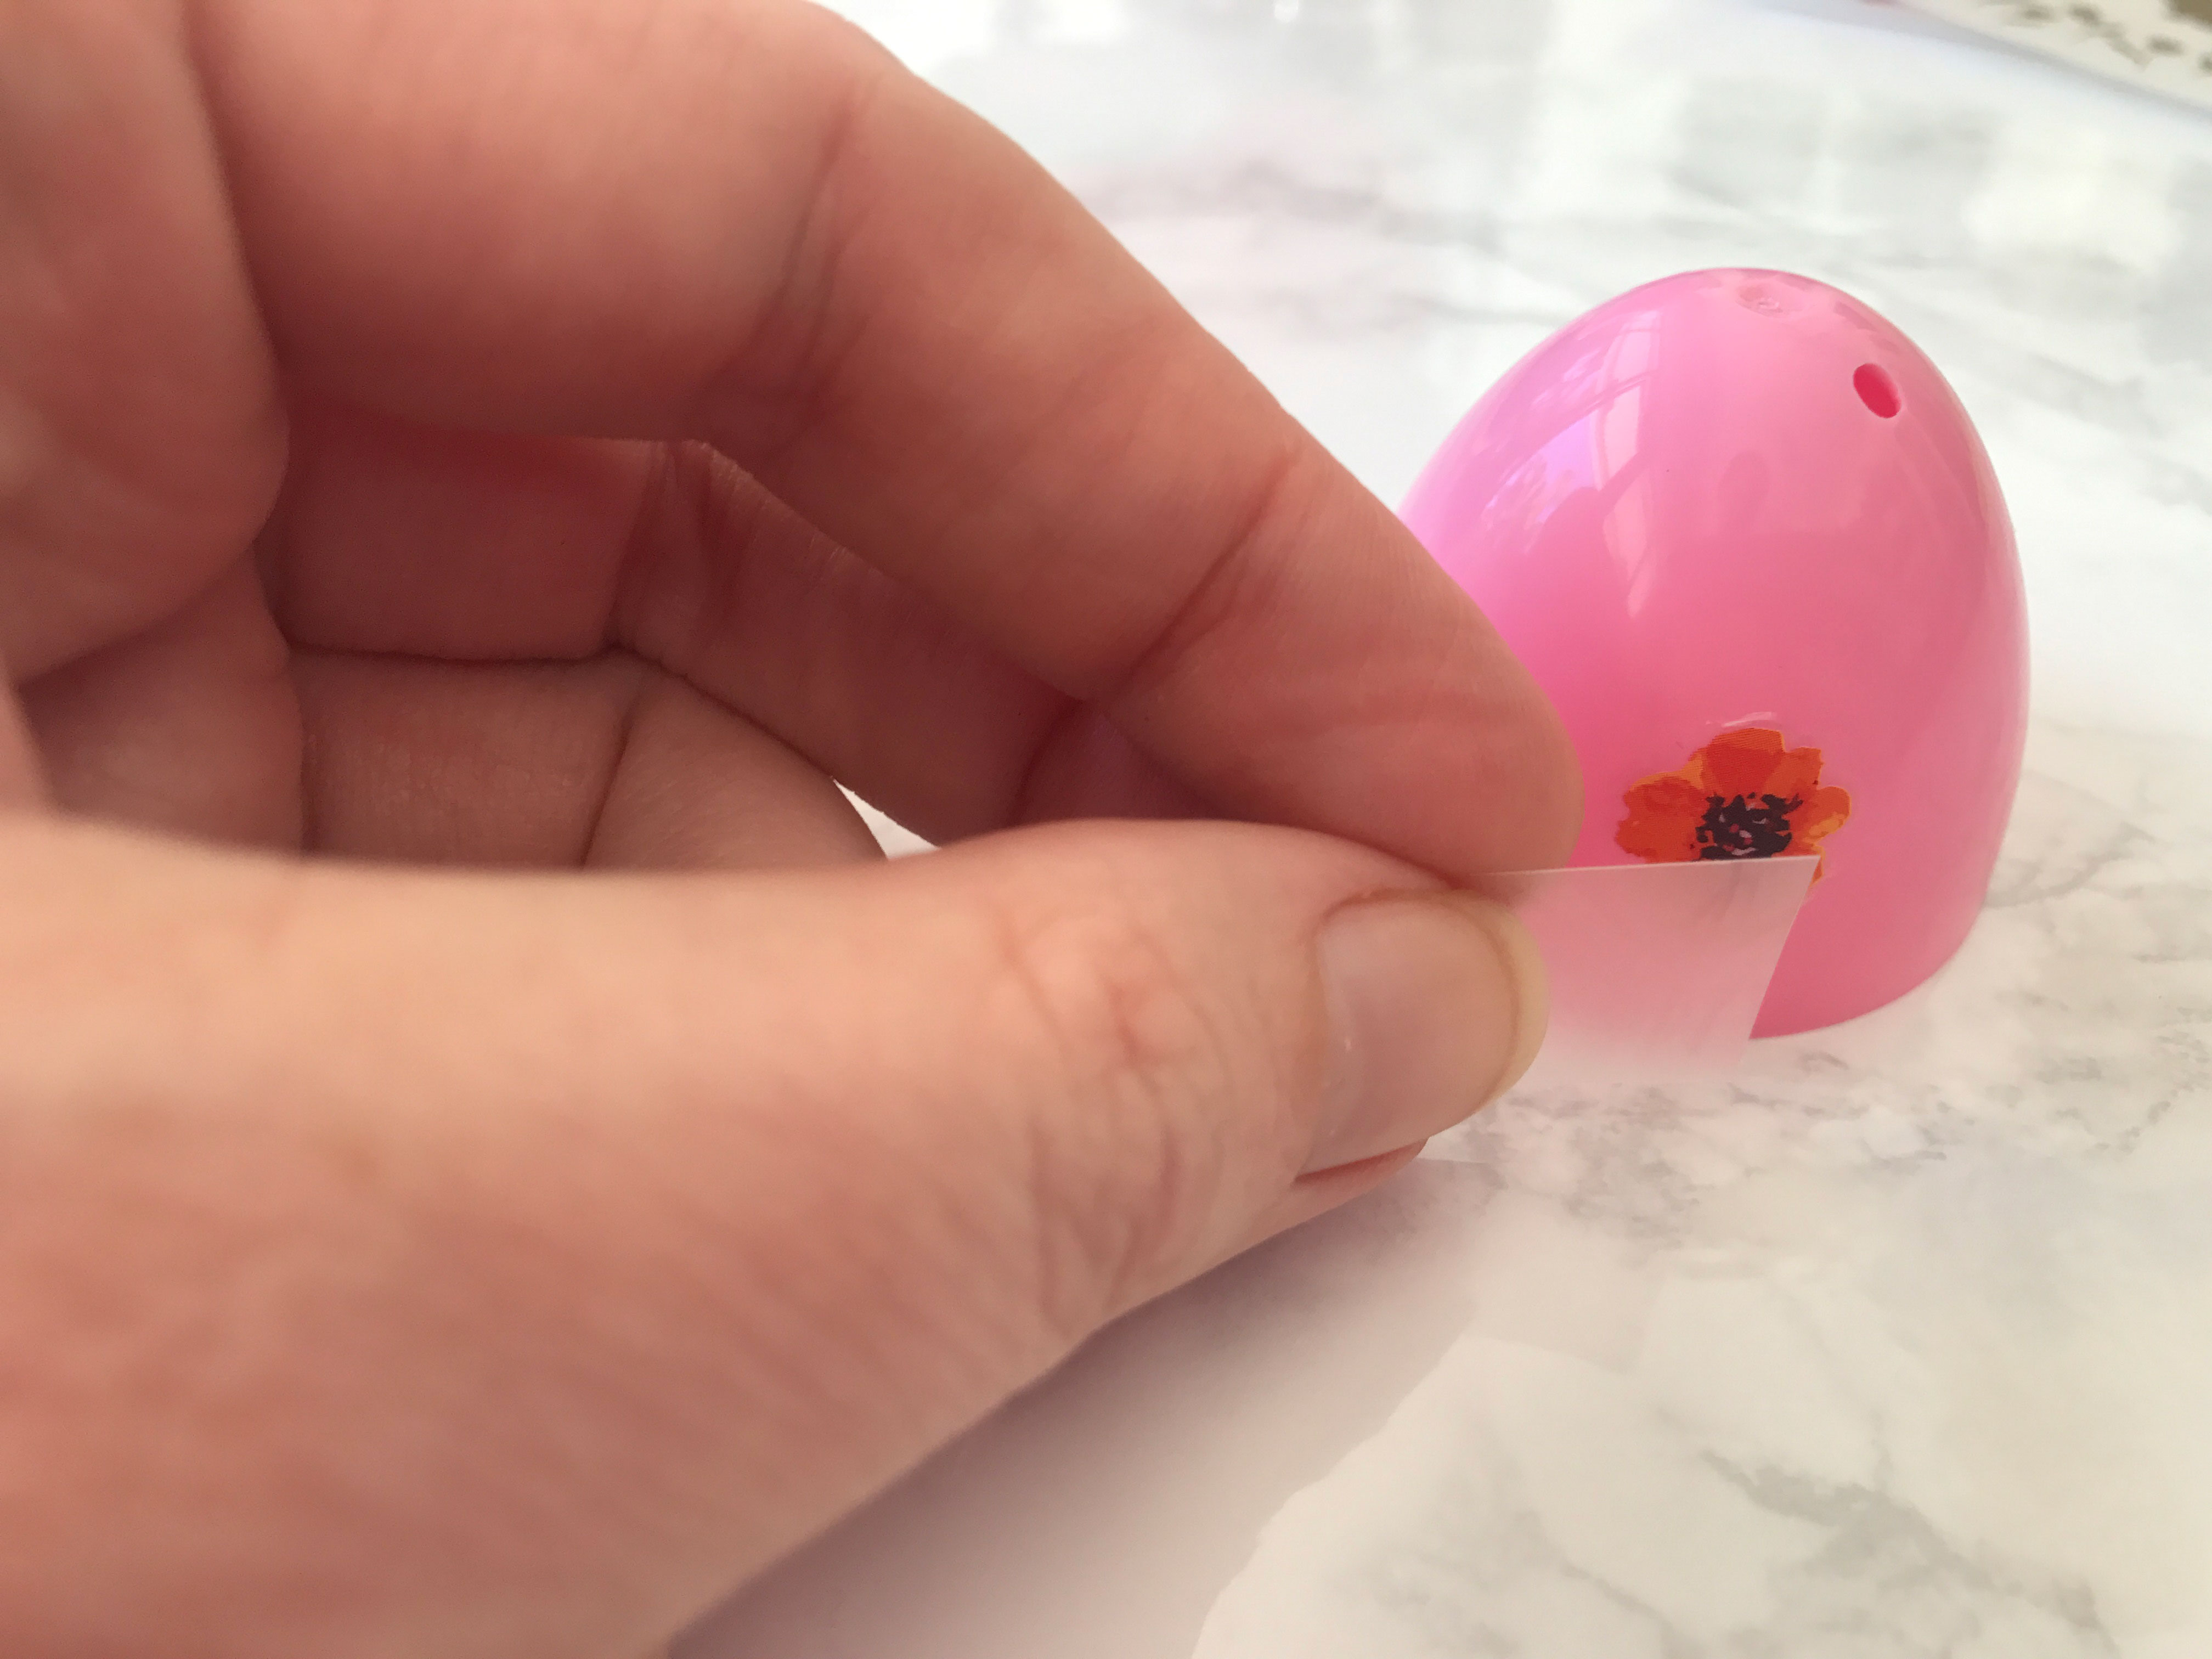
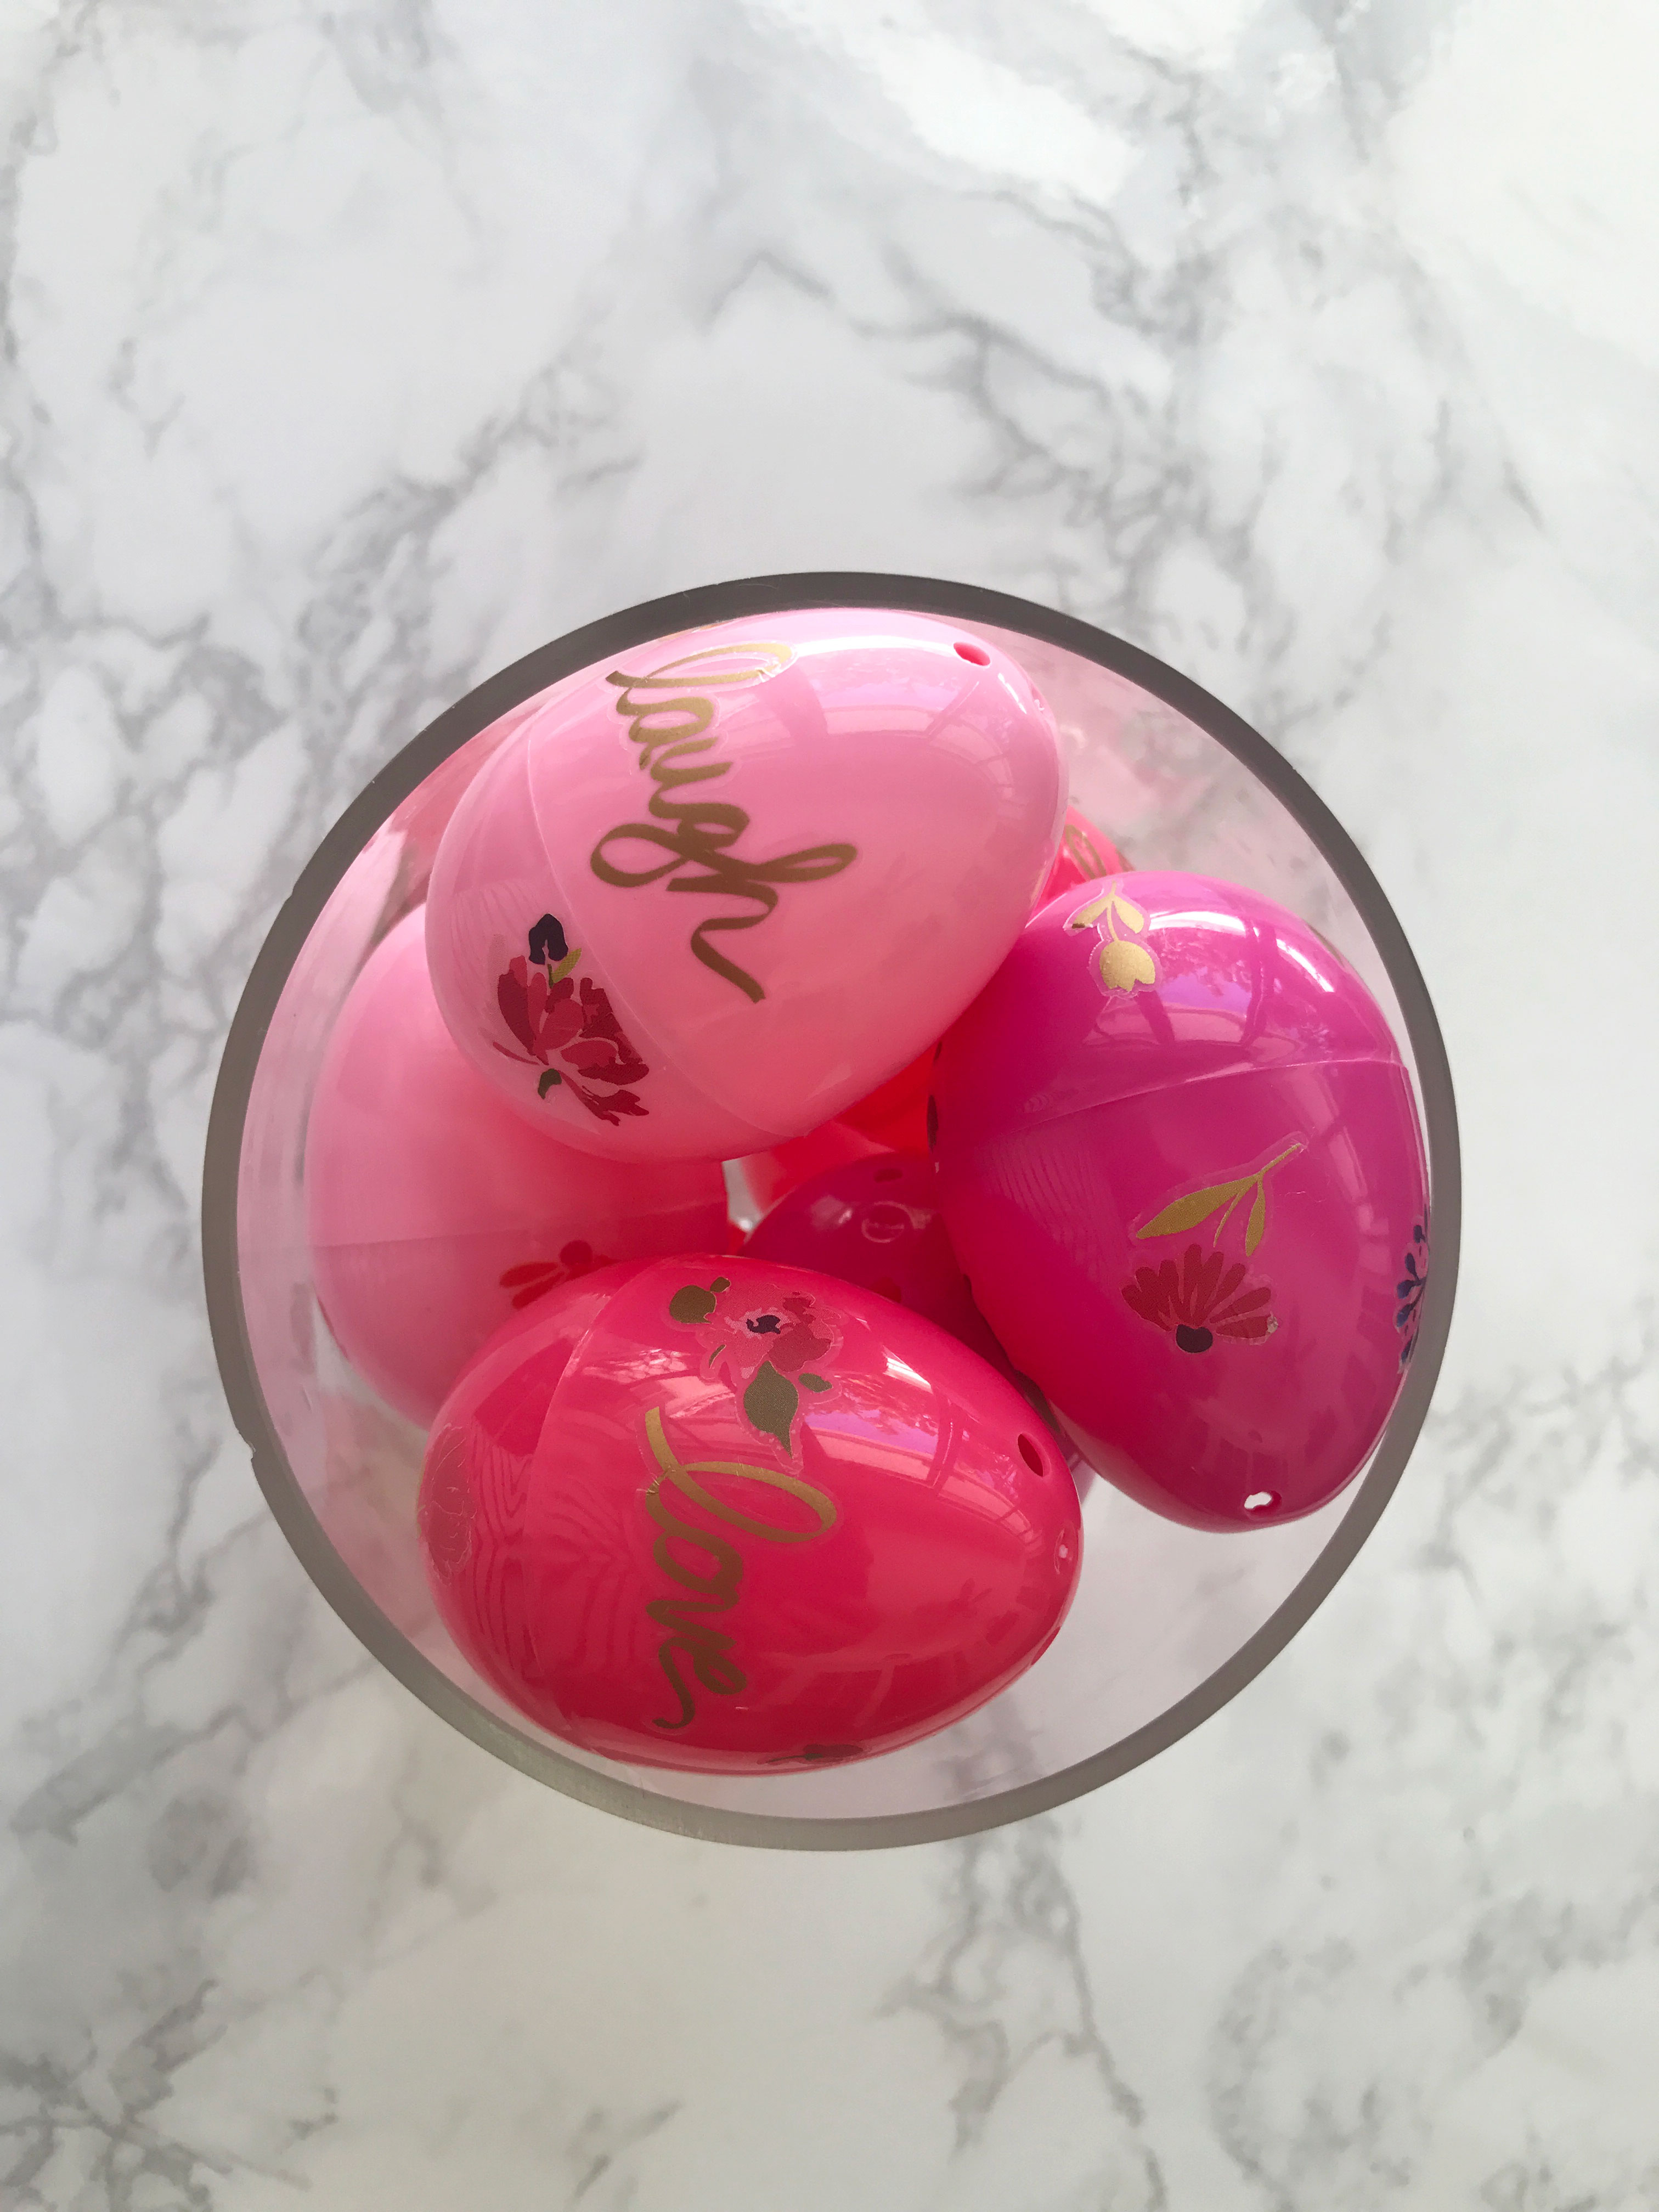
 Easy Floral Easter Eggs by Happy Family Blog

    Enjoy!

    Easy Floral Easter Eggs by Happy Family Blog

    Easy Floral Easter Eggs by Happy Family Blog

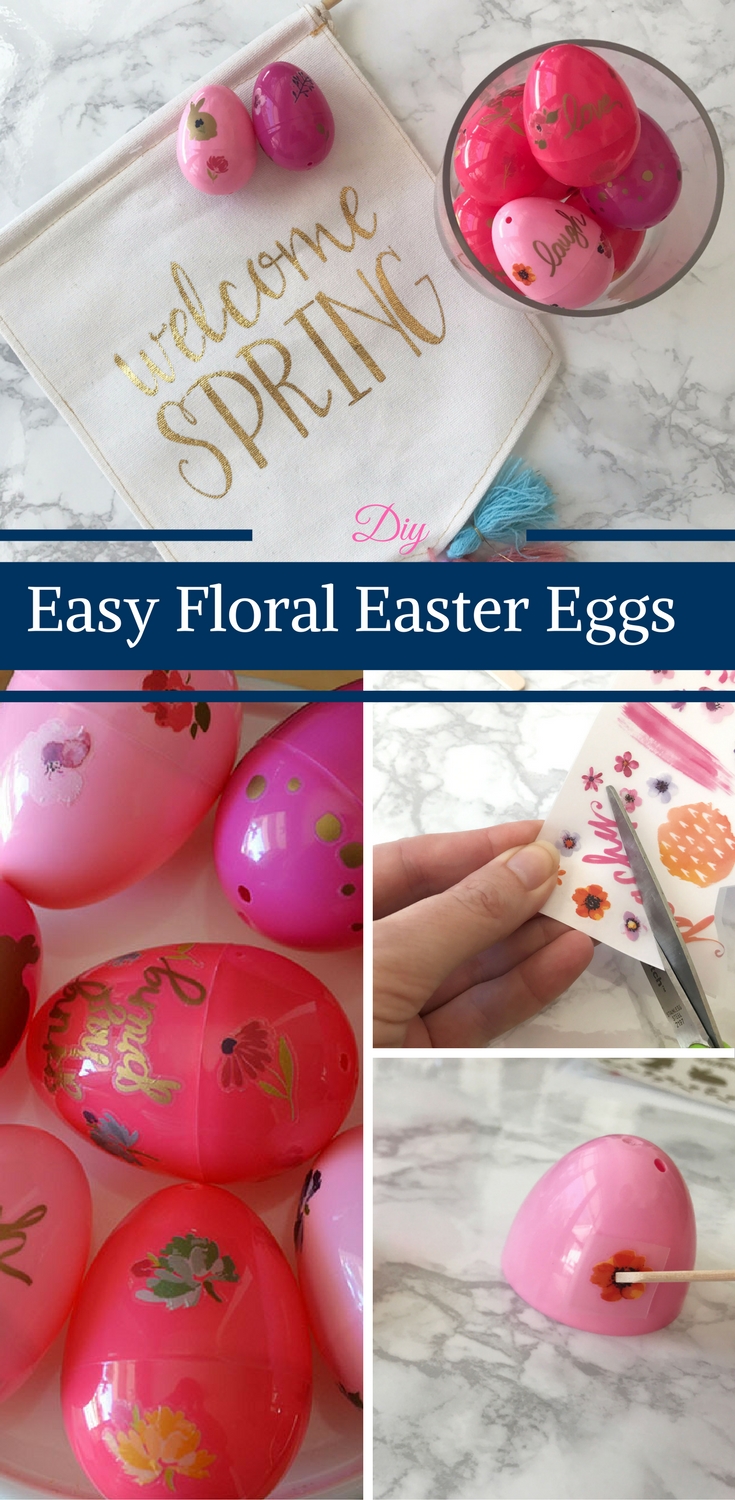
    Pin for Later: Easy Floral Easter Eggs

    Easy Floral Easter Eggs by Happy Family Blog

    Easy Floral Easter Eggs by Happy Family Blog

    Easy Floral Easter Eggs by Happy Family Blog

    Reader Interactions

    Leave a Reply Cancel reply

    Your email address will not be published. Required fields are marked *

    Recipe Rating


    Primary Sidebar

    Join the Party!

    Subscribe for exclusive party inspiration, hosting tips, recipes and family fun ideas.

    • Facebook
    • Instagram
    • Pinterest
    • Twitter

    Amazon Disclosure

    We are a participant in the Amazon Services LLC Associates Program, an affiliate advertising program designed to provide a means for us to earn fees by linking to Amazon.com and affiliated sites.

    Footer

    ↑ back to top

    About

    • Privacy Policy

    Newsletter

    • Sign Up! for emails and updates

    Contact

    • Press
    • Partner

    As an Amazon Associate I earn from qualifying purchases.

    Copyright © 2023 Happy Family Blog