• Skip to primary navigation
  • Skip to main content
  • Skip to primary sidebar
Happy Family Blog logo
  • About
    • Newsletter
    • Contact Me
    • Collaborate
    • Resource Page
    • Press
  • Recipes
  • LIfestyle
  • Travel
  • Shop
    • My Favorite Products
    • Make Money Working with Brands
  • Nav Social Menu

    • Facebook
    • Instagram
    • Pinterest
    • Twitter
menu icon
go to homepage
subscribe
search icon
Homepage link
  • About
    • Newsletter
    • Contact Me
    • Collaborate
    • Resource Page
    • Press
  • Recipes
  • LIfestyle
  • Travel
  • Shop
    • My Favorite Products
    • Make Money Working with Brands
    • Facebook
    • Instagram
    • Pinterest
    • Twitter
  • ×

    Home » DIY Projects

    Marbleized Floral Pumpkins Colorful Fall Decor

    Oct 24, 2016 · Leave a Comment

    140 shares
    • Share
    • Tweet

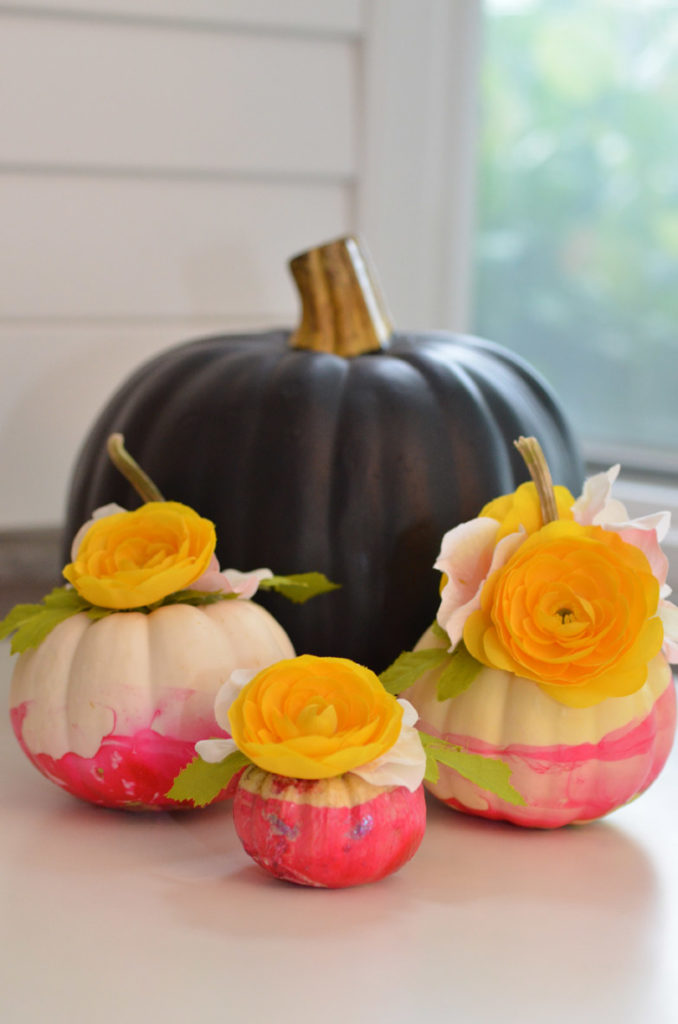
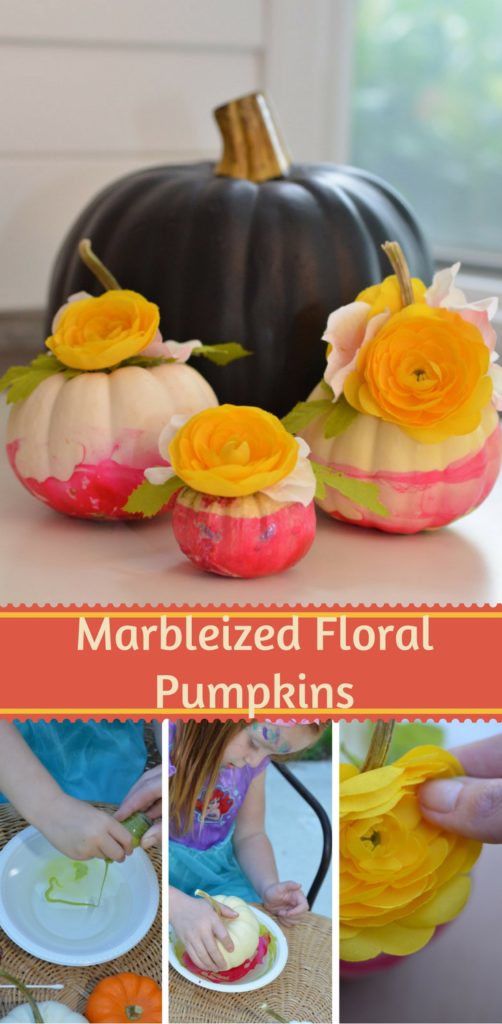
    I love pumpkins!!! I have been inspired by the amazing use of color by Kara at Kailo Chic Life and the floral pumpkin magic of Nikki at Boho Garden Crowns  who created the most beautiful gifts for Swoozies 10th Anniversary party. Bailey has been wanting to decorating more pumpkins so I decided to combine some of her favorite things: nail polish, water, pumpkins and flowers.  As a mom and a creative I often struggle between wanting the project to meet my vision and allowing Bailey to do it herself.  This project was perfect because Bailey was able to do most of the steps herself.  Our marbleized floral pumpkins make me so happy.  Hope they make you happy too!

    Items you need for Marbleized Floral Pumpkins:
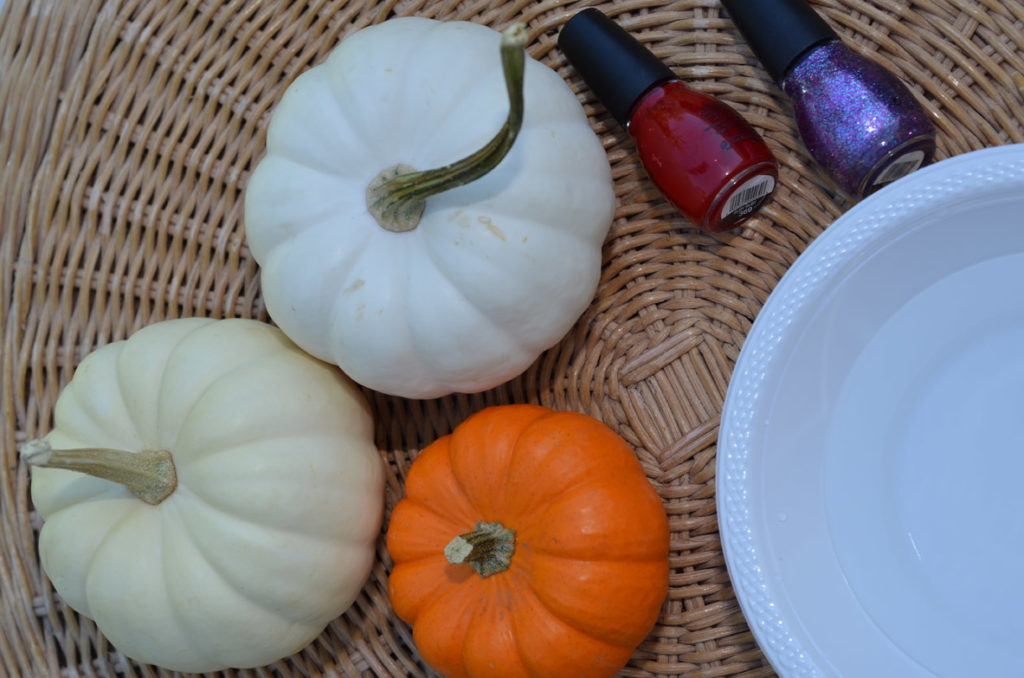
    • Nail polish
    • Warm water
    • Disposable bowls
    • Mini Pumpkins
    • Glue dots
    • Flowers

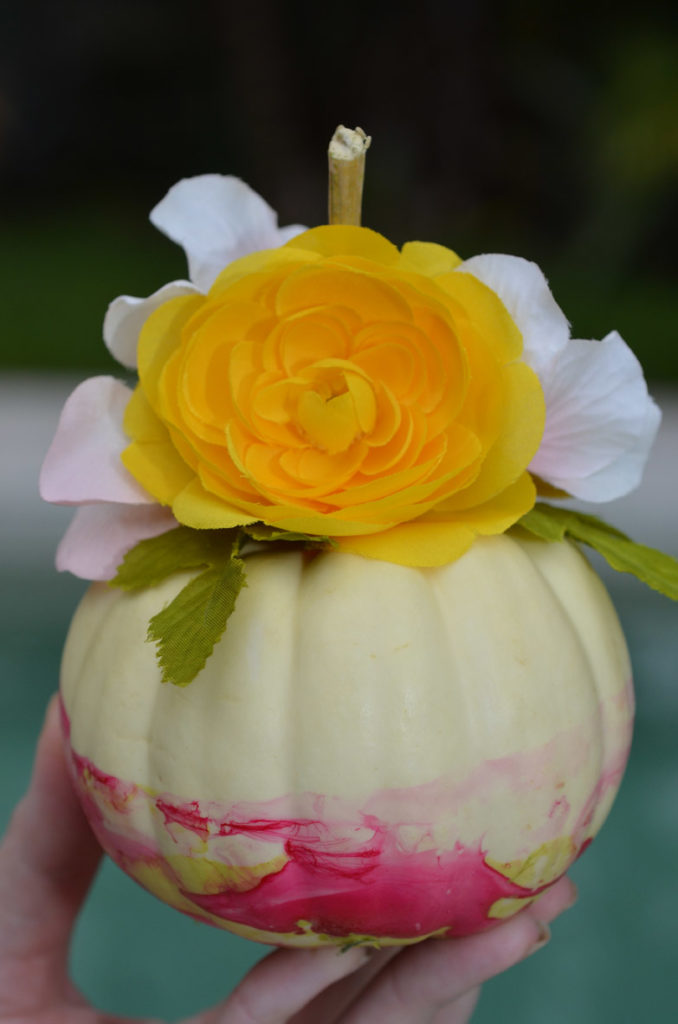
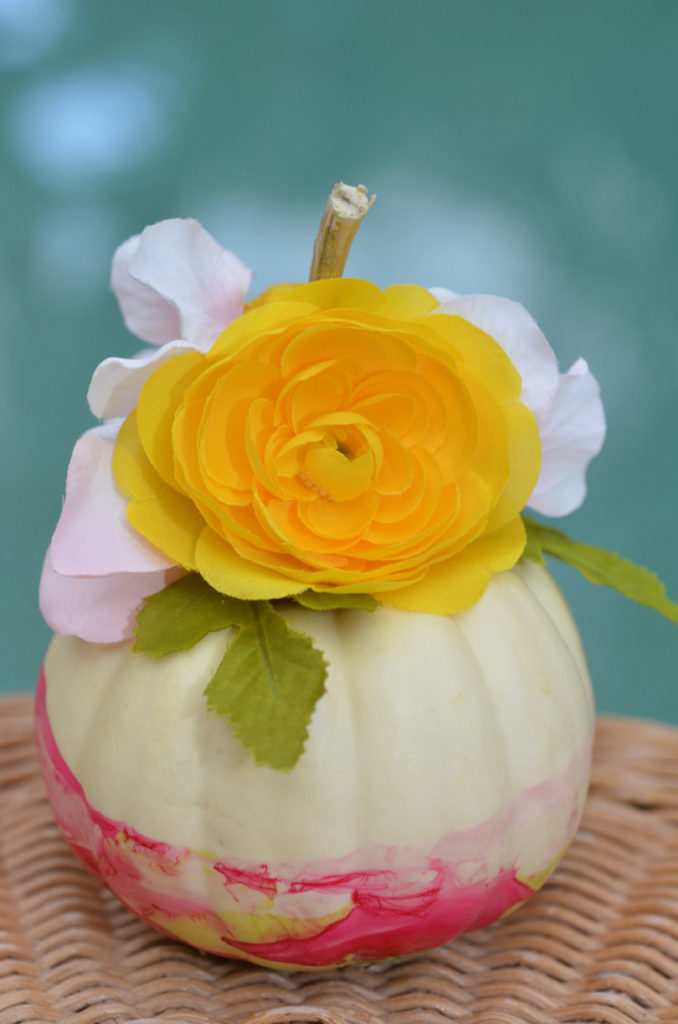
    Pro Tip: We tried both white and orange mini pumpkins.  The white ones worked best.
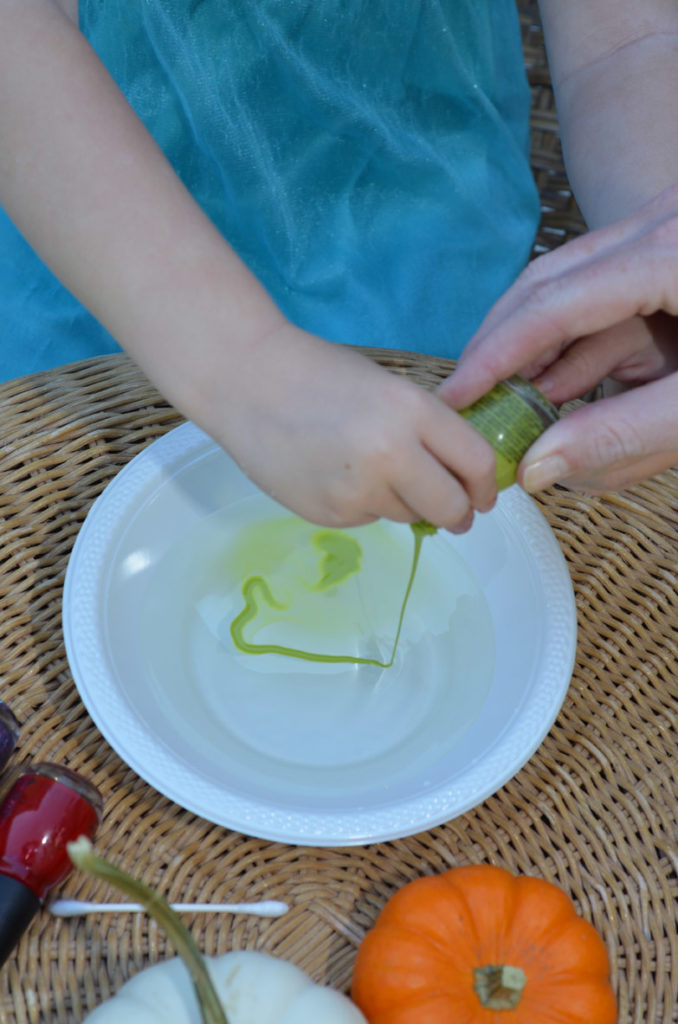
    Marbleized Floral Pumpkins by Happy Family Blog  Our Marbleized Floral Pumpkins are a great project for all skill levels. These use nail polish and flowers to add pops of color to your fall decor.

    Step 1 

    Fill the bowl with warm water.  Then pour the nail polish into a pattern in the bow.

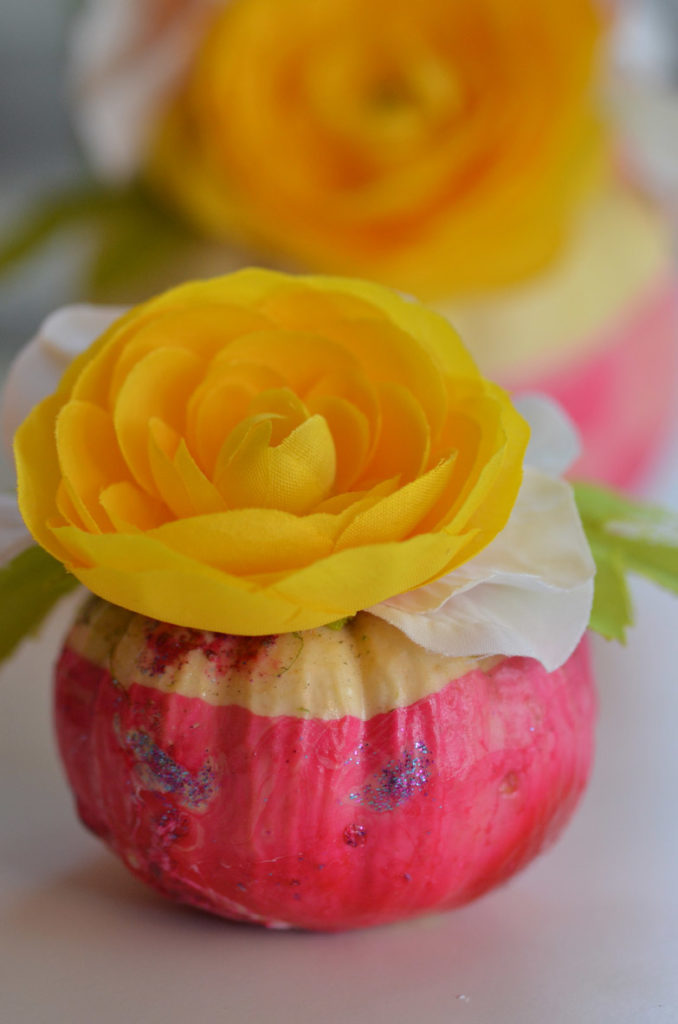
    Pro Tip: Make sure the water is warm and not cold and pour the nail polish slowly.  When you pour it too fast it all drops to the bottom of the bowl.  Do not fill the bowl too full so that it does not overflow when you put the pumpkin in.  You can use a tooth pick to create a design.  Bailey and I originally tried with a cotton stab but all the polish stuck to it. White pumpkins work best so the color pops.
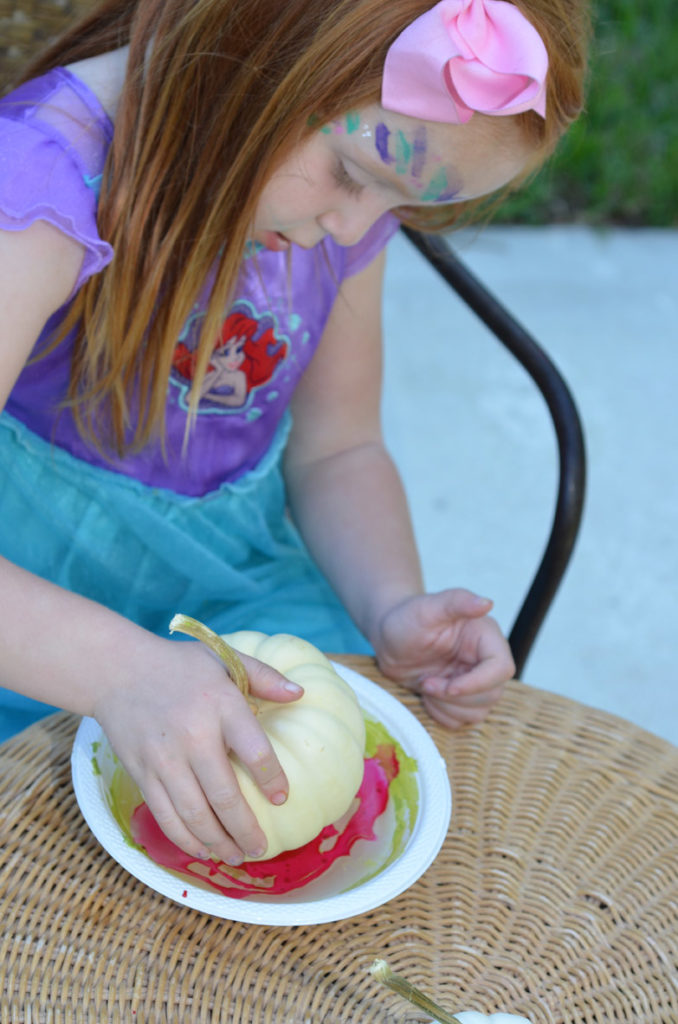
    Marbleized Floral Pumpkins by Happy Family Blog  Our Marbleized Floral Pumpkins are a great project for all skill levels. These use nail polish and flowers to add pops of color to your fall decor.

    Step 2

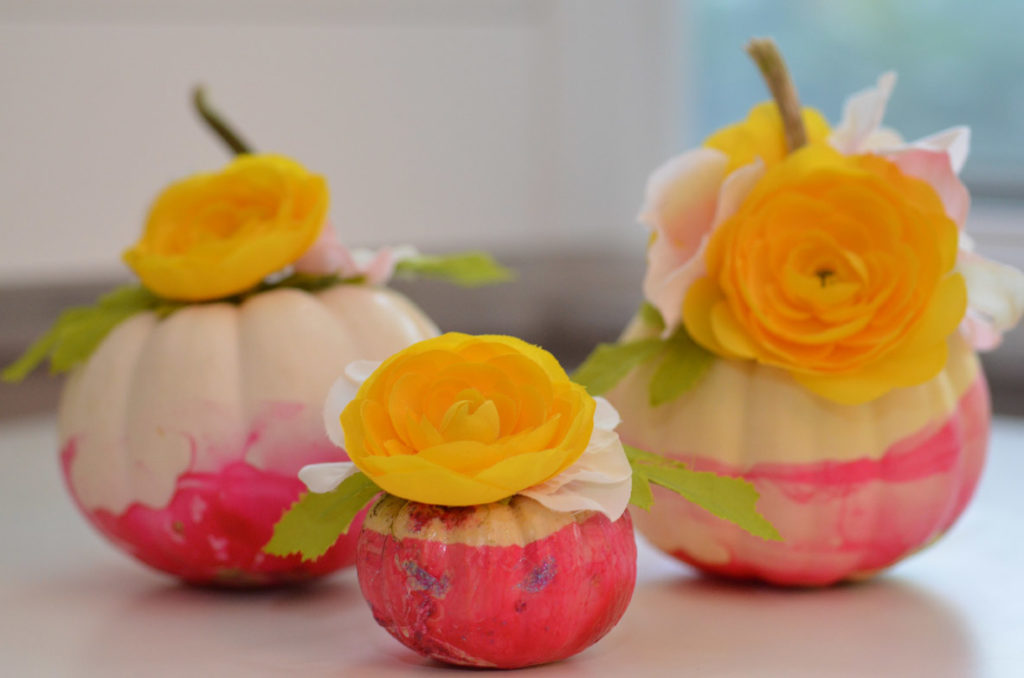
    Place the pumpkin into the bowl and spin around.  Then pull the pumpkin out of the water slowly and place to the side to dry.
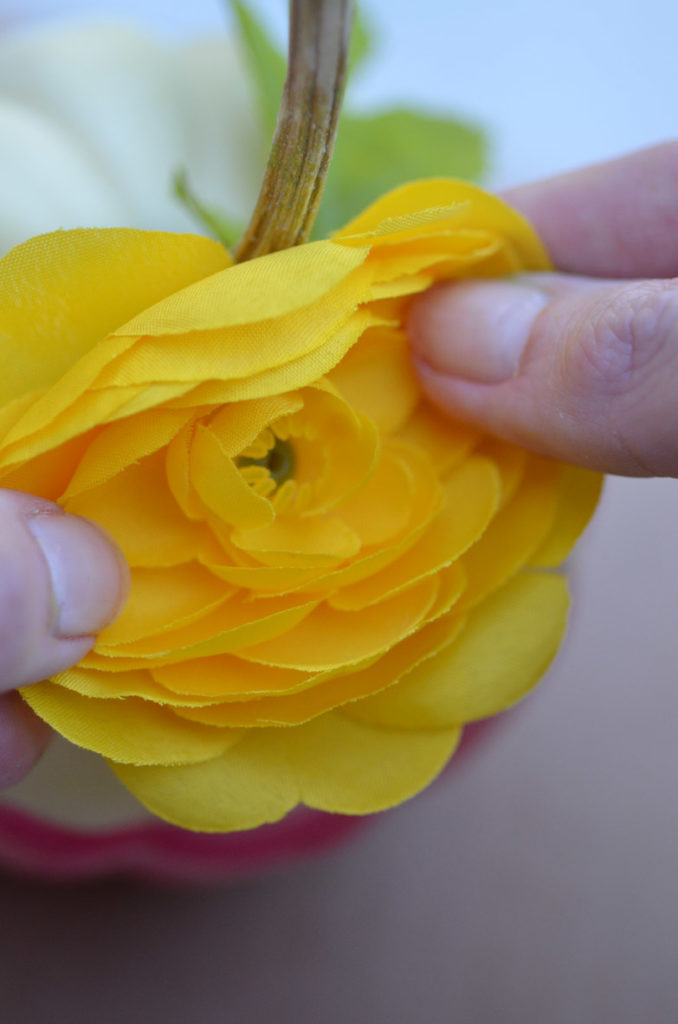
    Marbleized Floral Pumpkins by Happy Family Blog

    Step 3

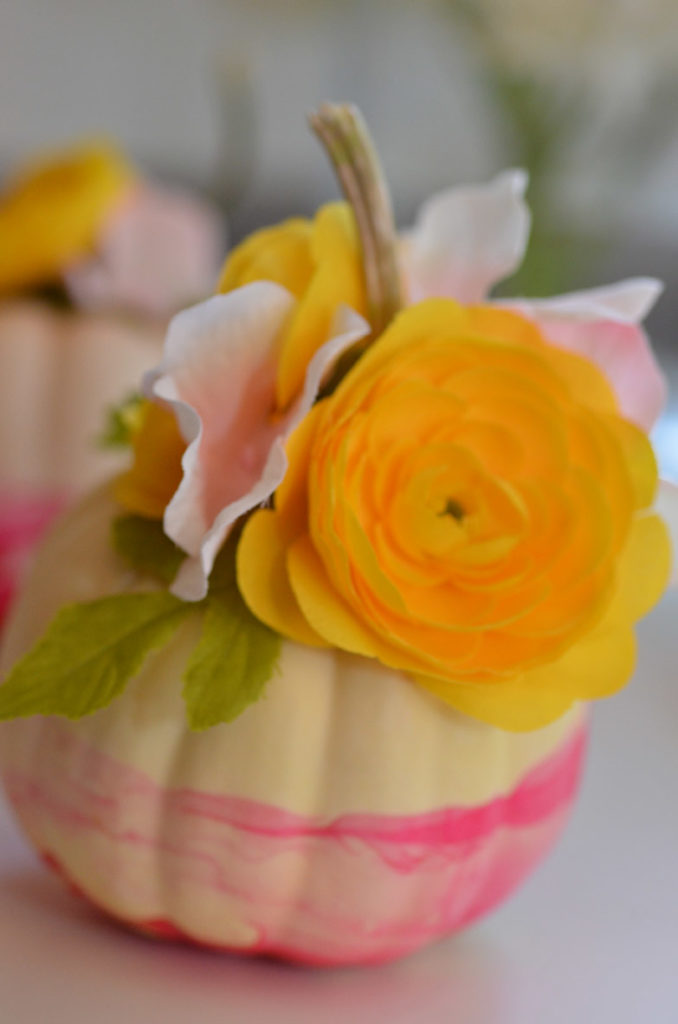
    Once the pumpkins are dry you can add your flowers.  Simply place a glue dot on the end of the flower or leaf and place on the pumpkin.

    Pro Tip: You can use real or fake flowers.  Generally I select real over fake, but for this project I wanted them to last all fall so I used some fake flowers.  You can use a glue gun or glue dots.

    Marbleized Floral Pumpkins by Happy Family Blog

    Now it is time to find a home for them.  I have moved them around over and over again because I cannot get enough of them.

    What do you think?  Do you have a favorite way to decorate pumpkins?

    Marbleized Floral Pumpkins by Happy Family Blog  Our Marbleized Floral Pumpkins are a great project for all skill levels. These use nail polish and flowers to add pops of color to your fall decor.

    Marbleized Floral Pumpkins by Happy Family Blog  Our Marbleized Floral Pumpkins are a great project for all skill levels. These use nail polish and flowers to add pops of color to your fall decor.

    Marbleized Floral Pumpkins by Happy Family Blog  Our Marbleized Floral Pumpkins are a great project for all skill levels. These use nail polish and flowers to add pops of color to your fall decor.

    Marbleized Floral Pumpkins by Happy Family Blog  Our Marbleized Floral Pumpkins are a great project for all skill levels. These use nail polish and flowers to add pops of color to your fall decor.

    Marbleized Floral Pumpkins by Happy Family Blog  Our Marbleized Floral Pumpkins are a great project for all skill levels. These use nail polish and flowers to add pops of color to your fall decor.

    Marbleized Floral Pumpkins by Happy Family Blog  Our Marbleized Floral Pumpkins are a great project for all skill levels. These use nail polish and flowers to add pops of color to your fall decor.

    Marbleized Floral Pumpkins by Happy Family Blog Our Marbleized Floral Pumpkins are a great project for all skill levels. These use nail polish and flowers to add pops of color to your fall decor.

    Reader Interactions

    Leave a Reply Cancel reply

    Your email address will not be published. Required fields are marked *

    Recipe Rating


    Primary Sidebar

    Join the Party!

    Subscribe for exclusive party inspiration, hosting tips, recipes and family fun ideas.

    • Facebook
    • Instagram
    • Pinterest
    • Twitter

    Amazon Disclosure

    We are a participant in the Amazon Services LLC Associates Program, an affiliate advertising program designed to provide a means for us to earn fees by linking to Amazon.com and affiliated sites.

    Footer

    ↑ back to top

    About

    • Privacy Policy

    Newsletter

    • Sign Up! for emails and updates

    Contact

    • Press
    • Partner

    As an Amazon Associate I earn from qualifying purchases.

    Copyright © 2023 Happy Family Blog