
Last Halloween we hit up Target the day after Halloween and we stocked up on costumes. Originally I kept them in Bailey's bedroom. The problem was that when they were in Bailey's bedroom she never used them. We moved them into the playroom. We had no where to hang them up so they hung on the side of a chair. For her birthday I wanted to make her a dress up closet. It took me a number of weeks to find the perfect dresser.
Step 1 - Find the perfect dresser to start with. I started with local 2nd hand shops, but I had no luck. I also checked eBay local and Craigslist. I finally found the right dresser that needed a little extra TLC. 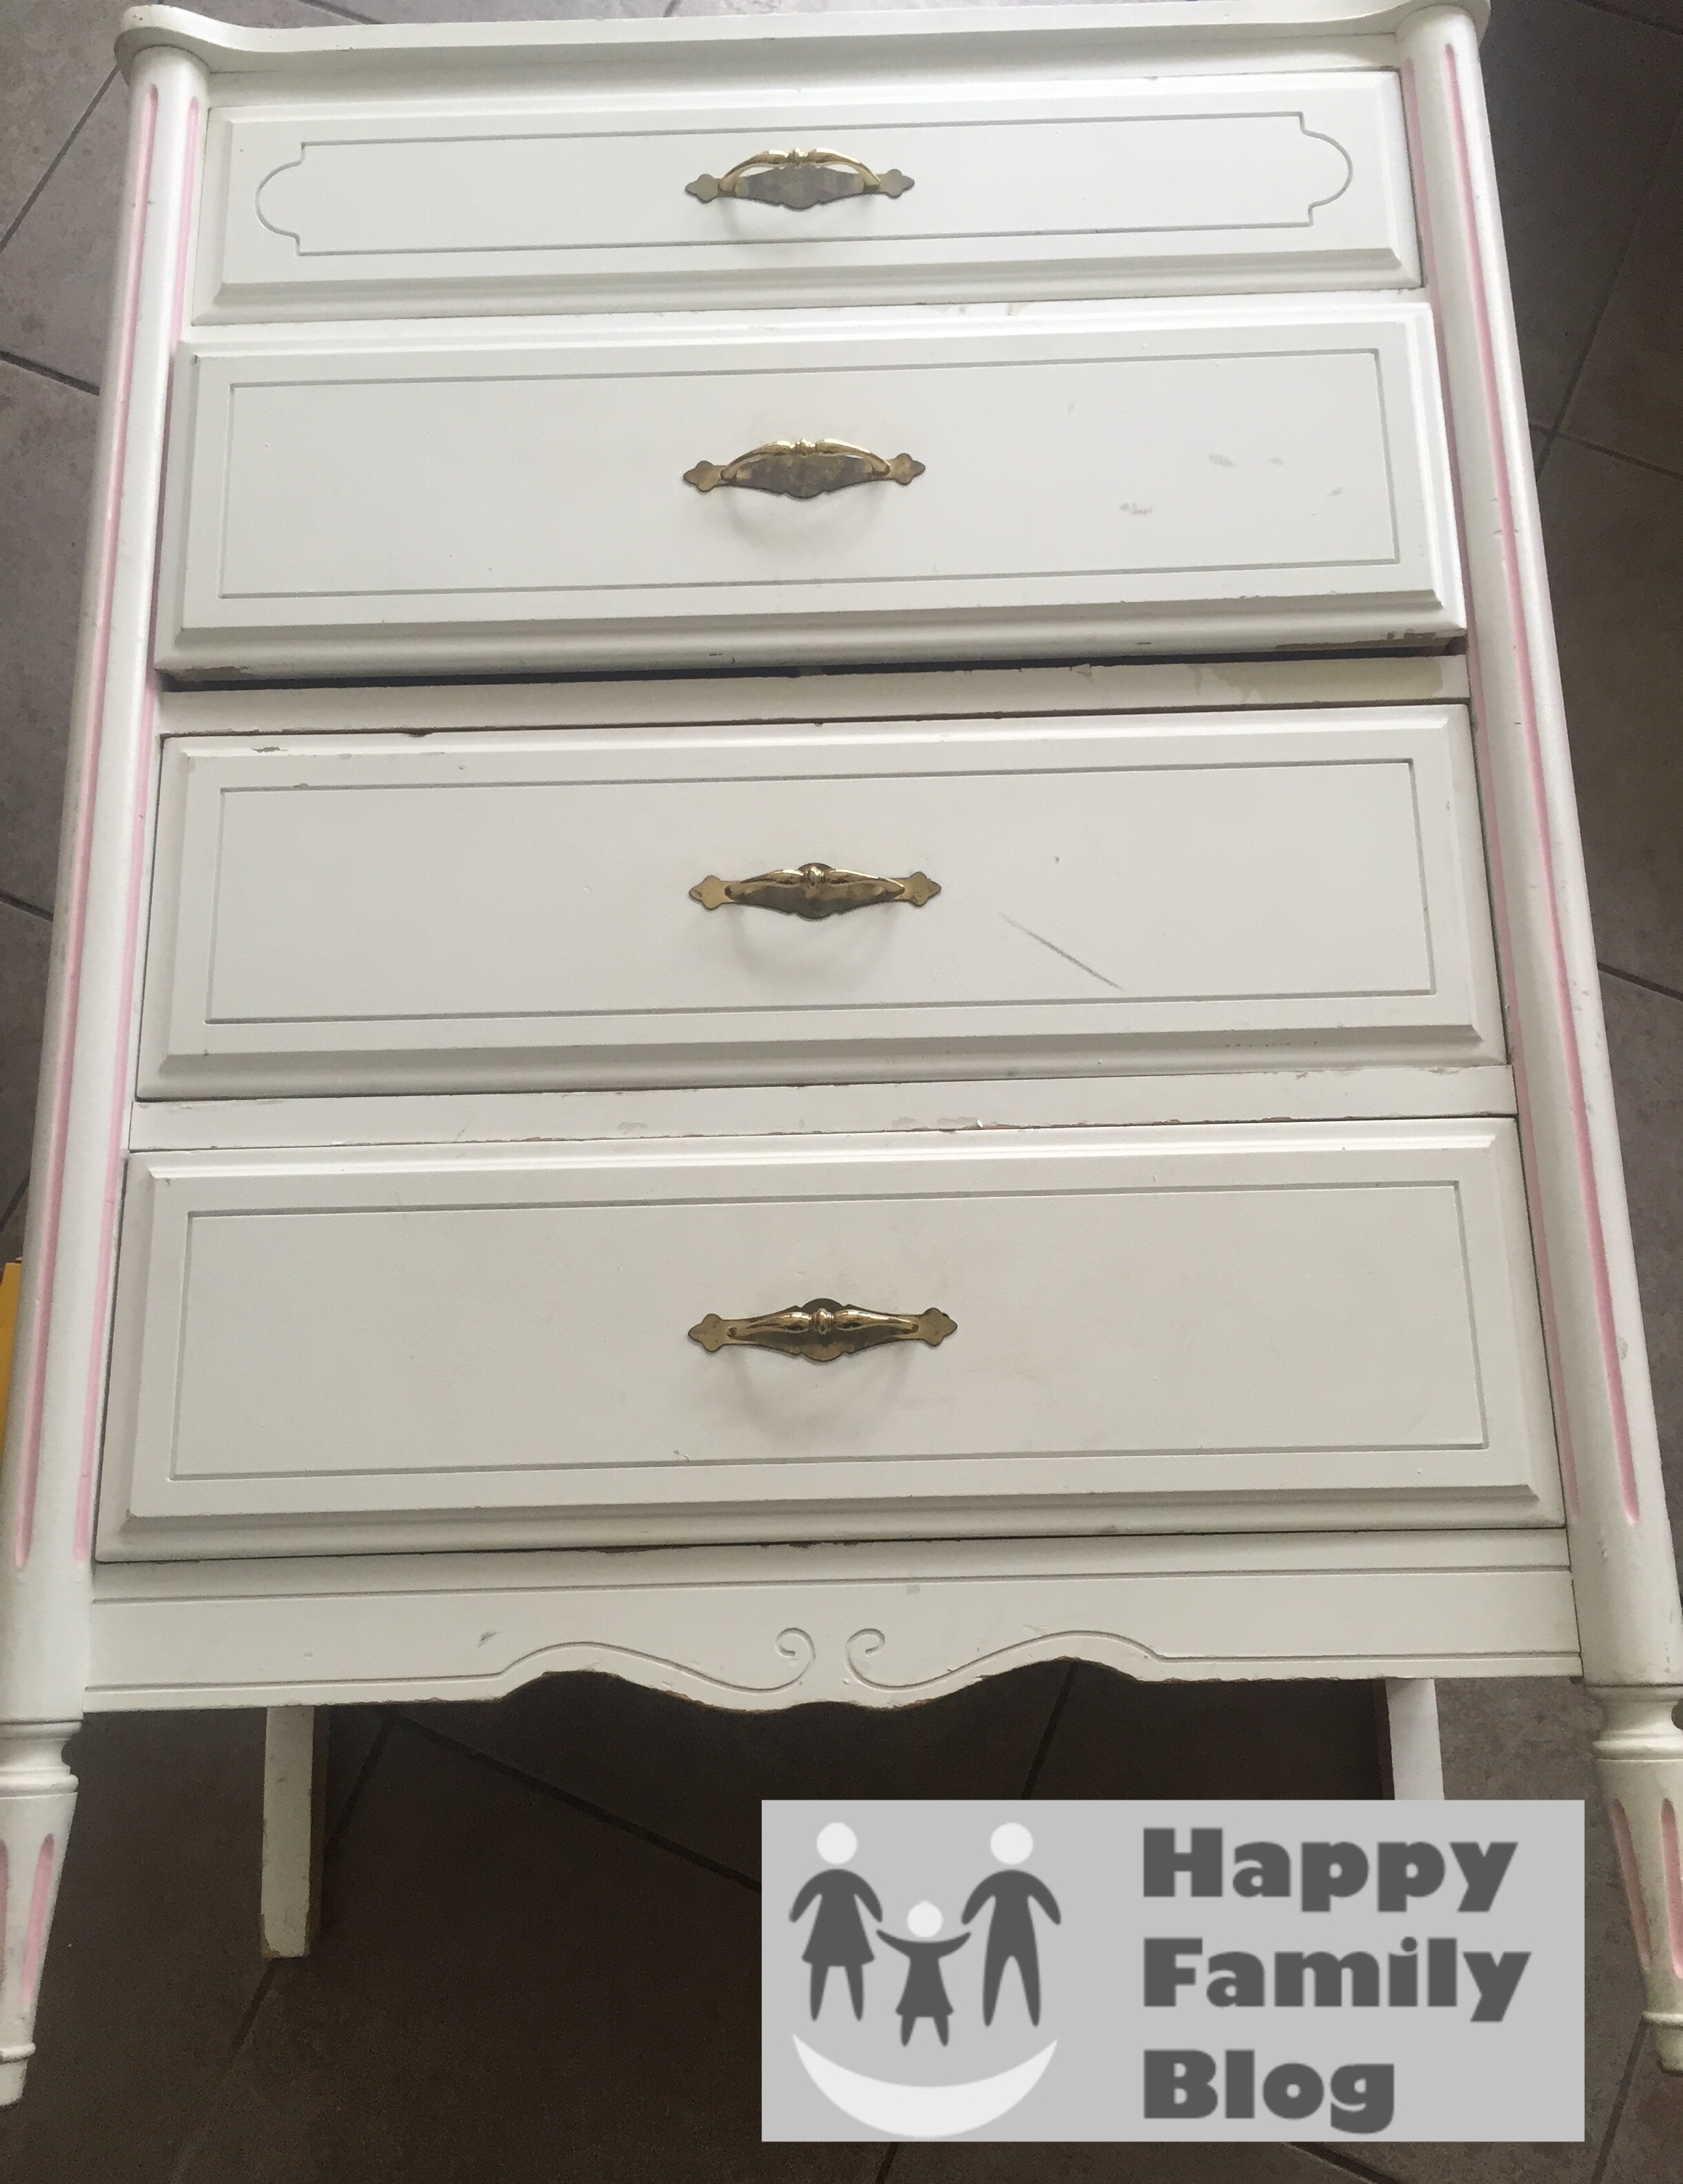
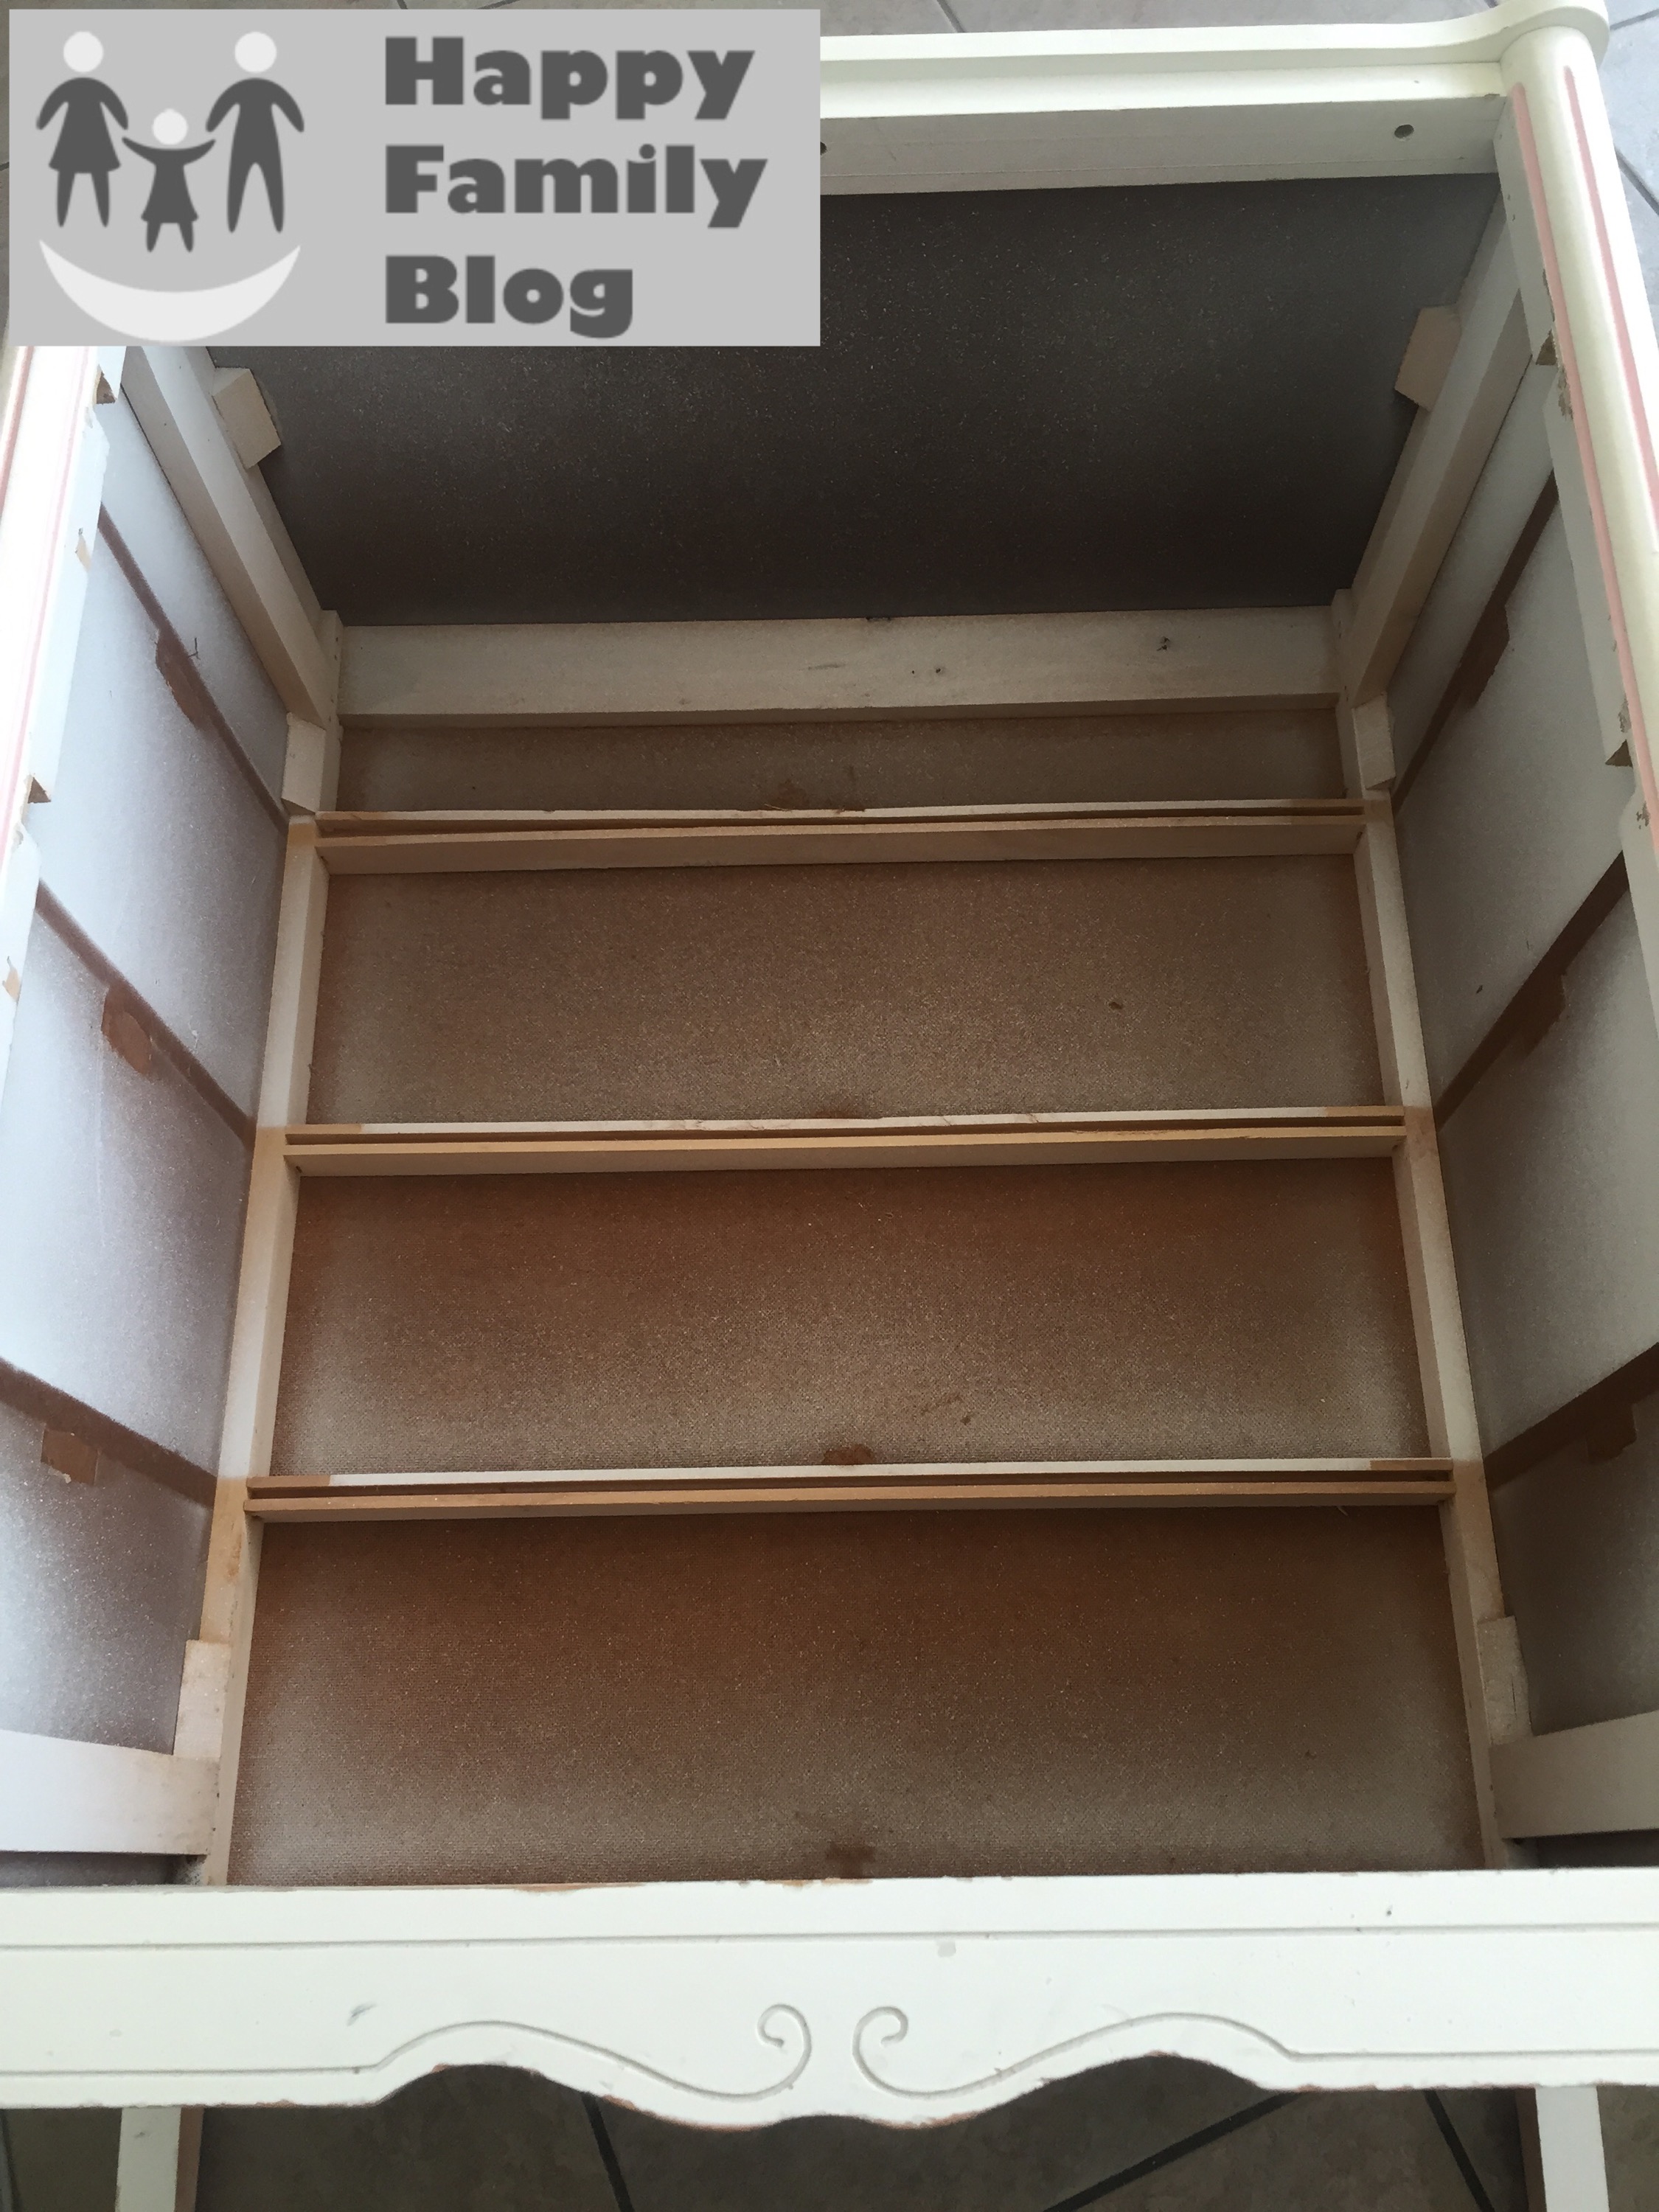
Step 2 - Remove all the drawers. Originally I was going to leave the bottom drawer in place to have a place to store the accessories. After I measured some of the outfits I realized we needed to remove all the drawers. This step proved to be much more difficult than I thought. I had to call in the big guns, my hubby. He brought in hammer, straight crowbar (I am guessing that is what it is called), and a saw. 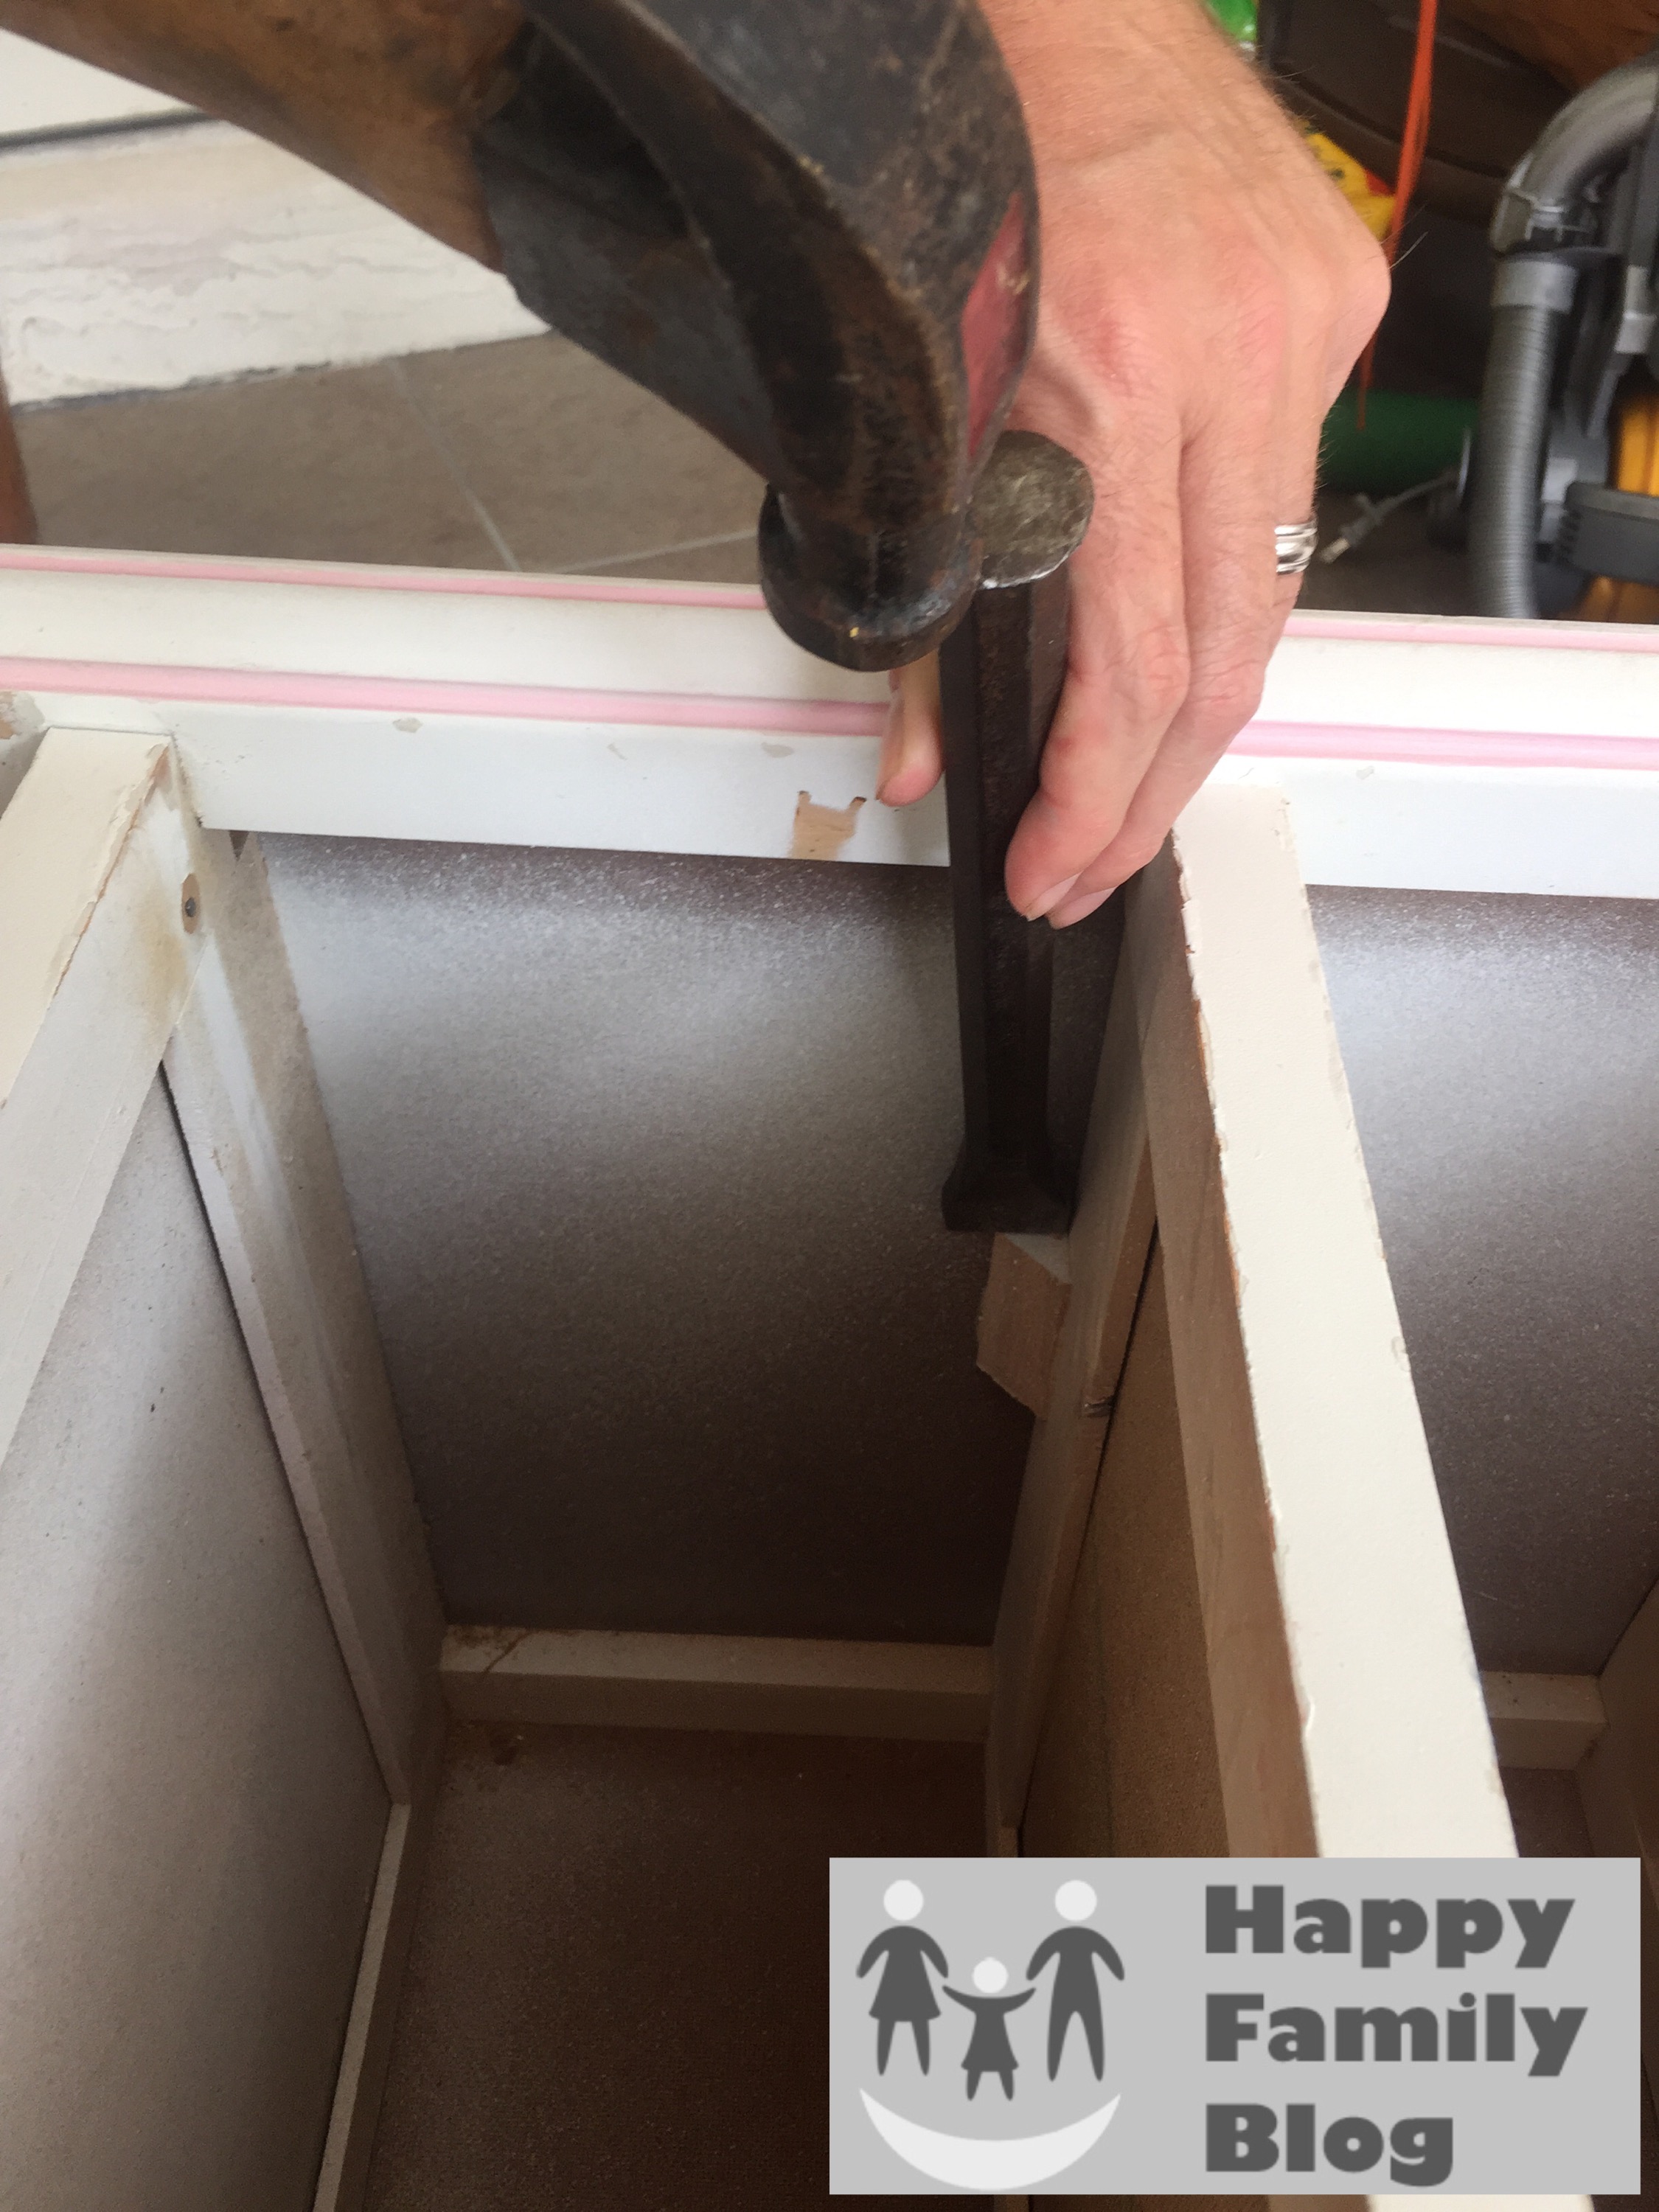

Step 3 - Once we got all the drawers out I painted the outside of the dresser. I debated the best way to do the interior and determined that the best way to line the interior with fabric. I tried a number of online stores to find the perfect fabric. I ended up finding the perfect fabric at Hobby Lobby. I used spray glue to affix the fabric to the interior.
 Final Product: Bailey was thrilled with her birthday present and she has used it almost daily.
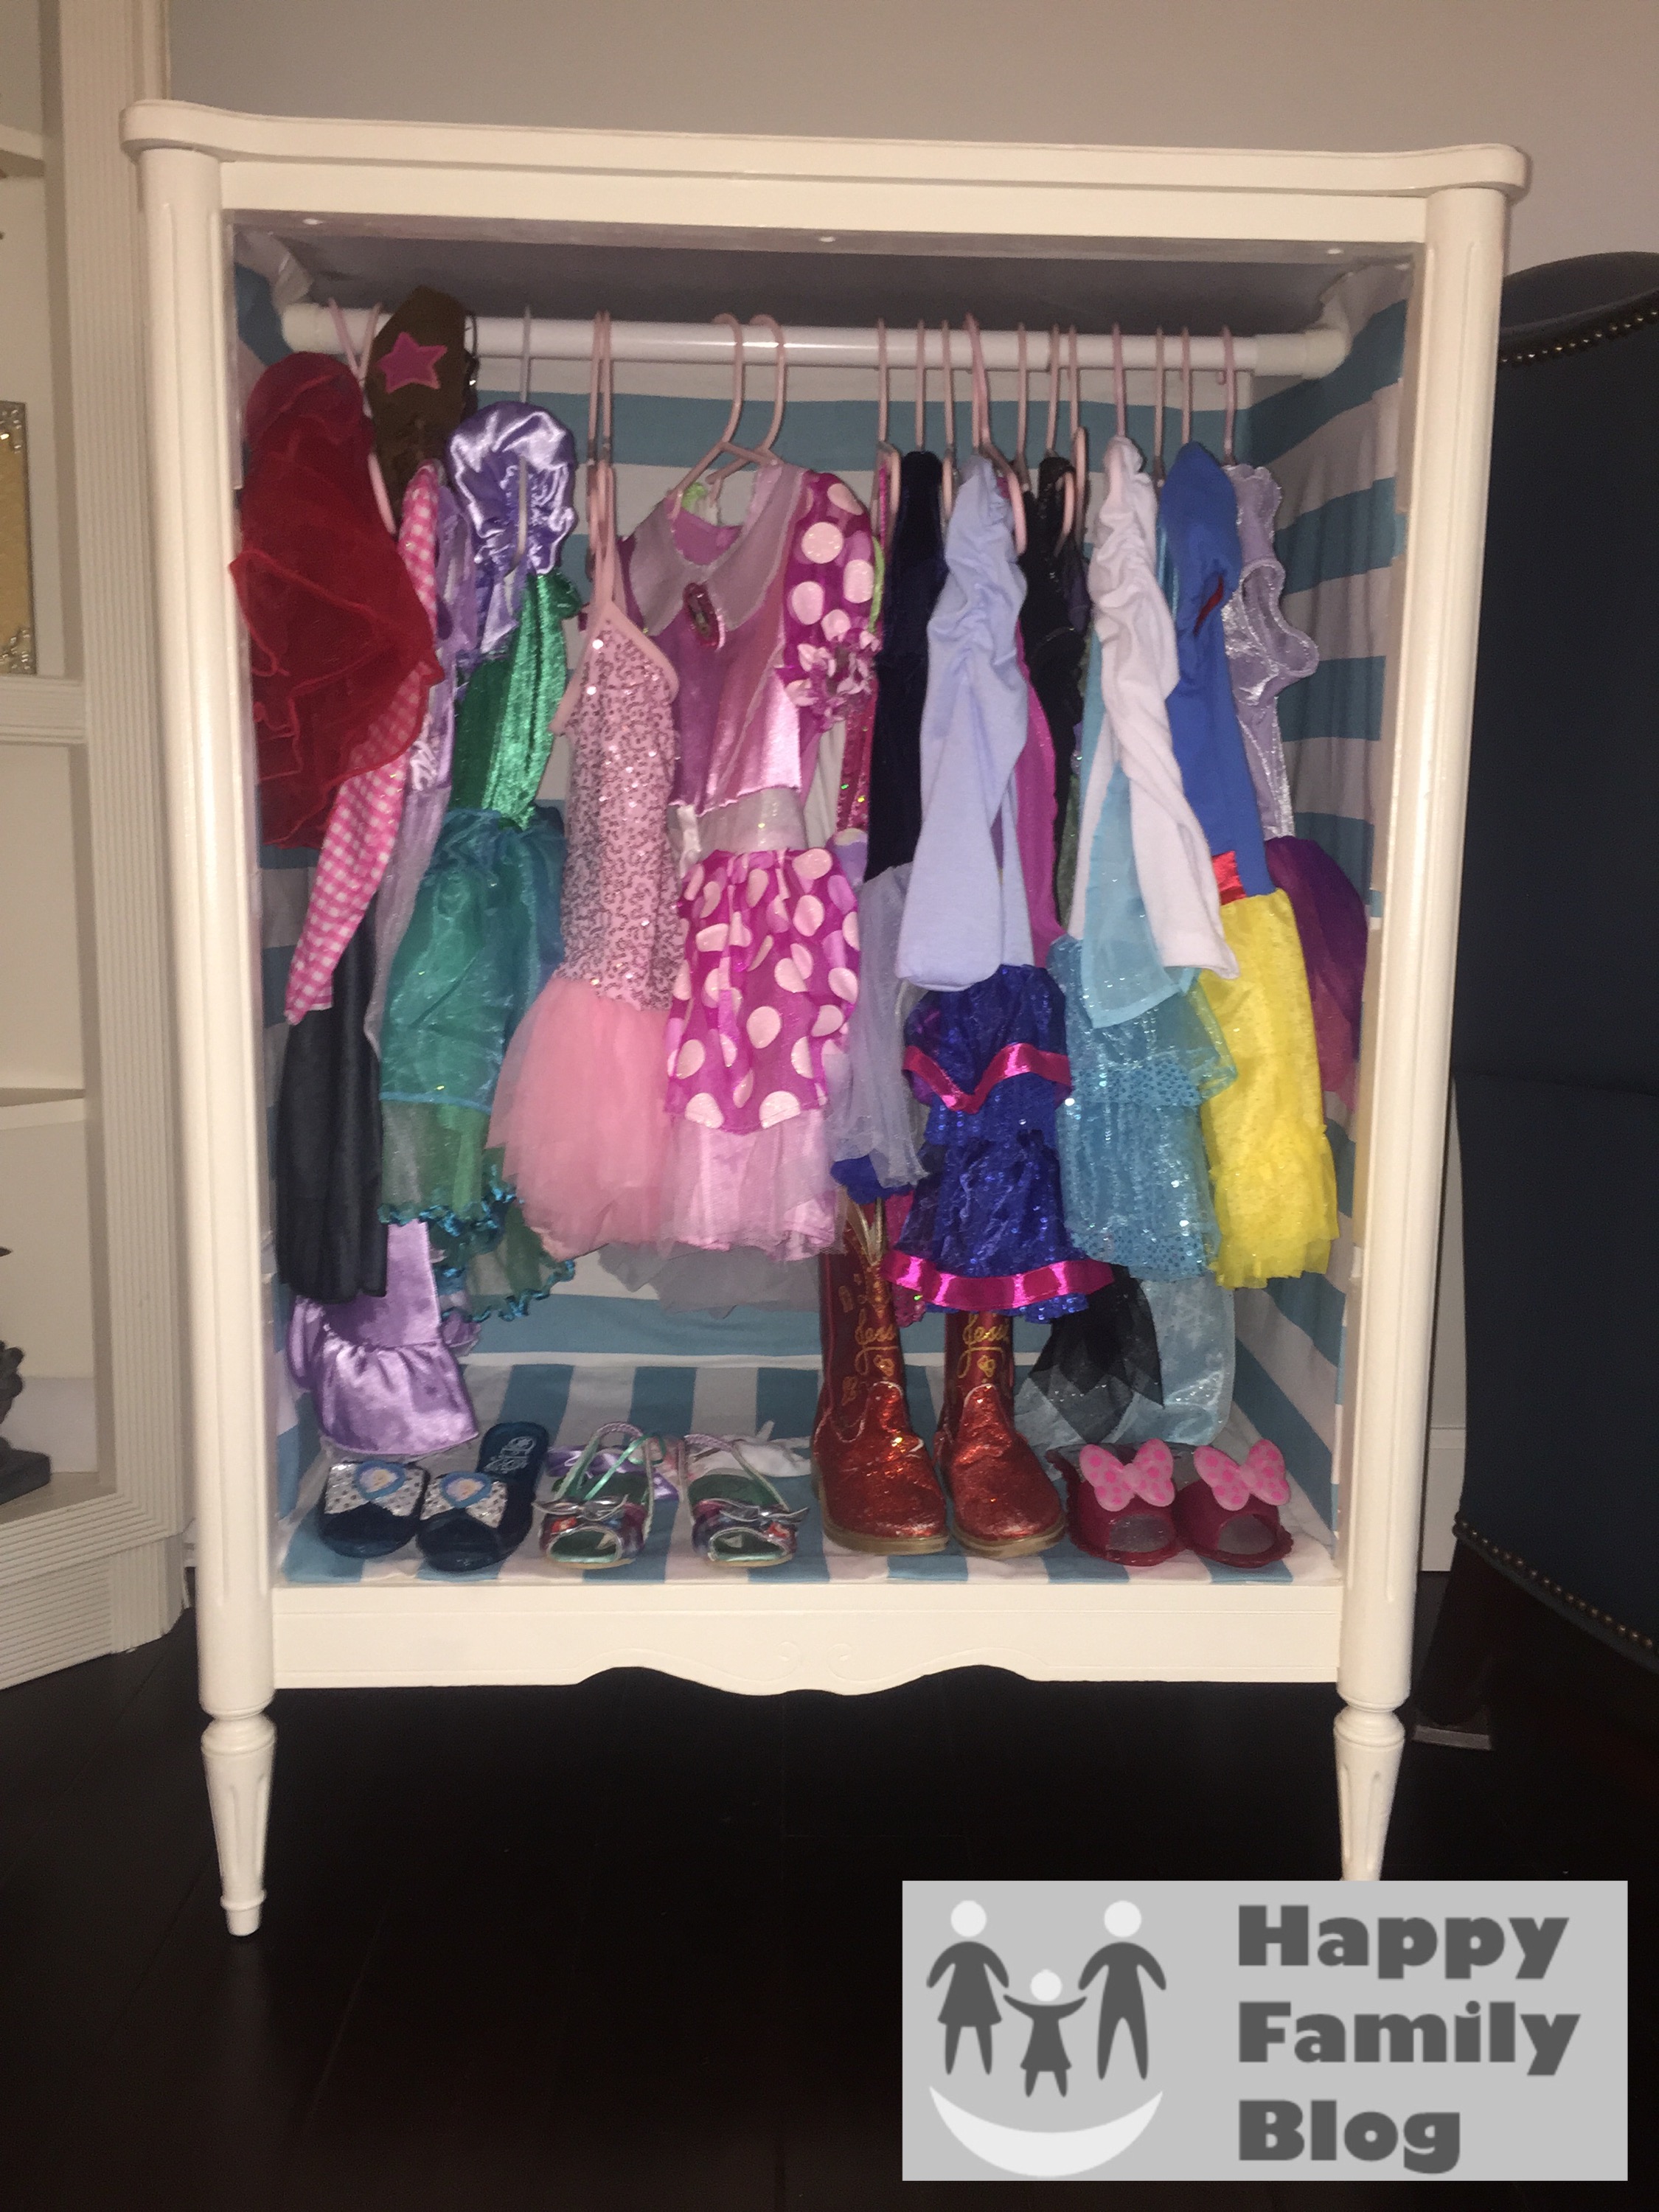
Kendra G. says
Super cute! Good work!
[email protected] says
Thank you. I think it is my favorite DIY craft yet.
Jo says
Great post - thank you! I might look at doing something like this for my daughter's dance costumes.
[email protected] says
Thank you for reading and commenting. Let me know if you make one. I was just sitting in our playroom staring at it today. One of my all time favorite DIY projects to date.